
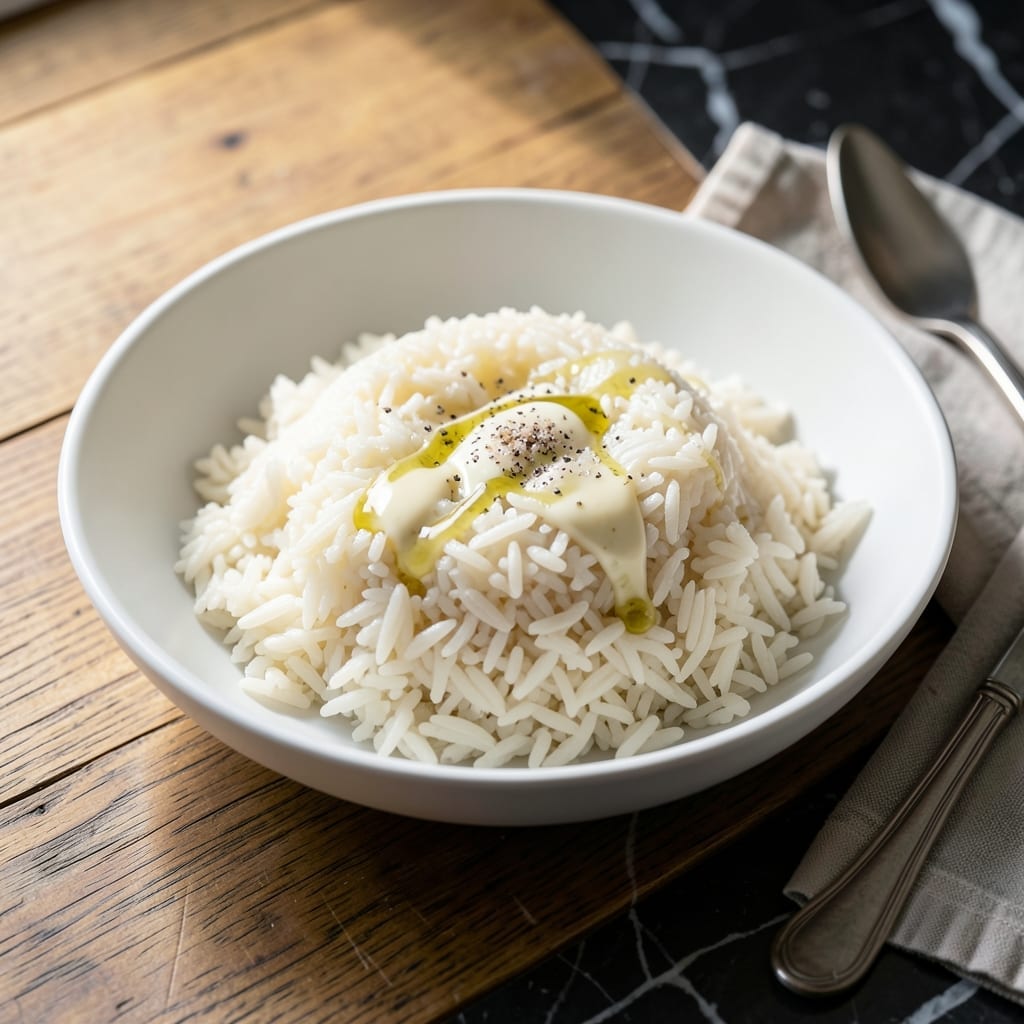
Mastering fluffy white rice in the Instant Pot is easier than you think. This method delivers perfectly cooked grains every time with minimal effort.
The key is the right water-to-rice ratio and precise cooking time. For 2 cups of rice, you’ll need just 2 cups of water and 3 minutes of pressure cooking.
After cooking, let the pressure release naturally for 10 minutes, then quick-release any remaining pressure. This ensures even cooking and prevents mushy rice.
You’ll end up with light, separate grains that pair well with any meal. No more sticky or undercooked rice—just reliable, foolproof results.
Ingredients for Instant Pot White Rice Recipe 2 Cups
Five simple ingredients transform into perfectly cooked, fluffy white rice every time.
| Ingredient | Amount | Notes |
|---|---|---|
| Long-Grain White Rice 🍚 | 2 cups | Rinsed until water runs clear |
| Water 💧 | 2 cups | Filtered or distilled preferred |
| Fine Sea Salt 🧂 | ½ tsp | Adjust to taste after cooking |
| Neutral Cooking Oil 🫒 | 1 tsp | Optional for inner pot coating |
| Unsalted Vegan Butter 🧈 | 1 tbsp | Optional for fluffing finished rice |
The rice quality matters most here. Jasmine or basmati give the fluffiest results, but standard long-grain works perfectly too. I grab mine from Trader Joe’s or the bulk bins at Whole Foods—just check the expiration date. Rinse until the water runs completely clear (worth the extra minute) to remove excess starch and prevent gumminess.
No long-grain white rice? Short-grain at a 1:1 ratio works but will be stickier. Brown rice needs more water and time—1.5 cups water per 1 cup rice and 22 minutes pressure. For extra flavor, swap water for vegetable broth. The salt can be skipped if you’re serving with a saucy dish (or added later).
Uncooked rice keeps in a sealed container for 1-2 years in a cool, dry place. Cooked rice stays fresh in the fridge for 4-5 days or freezes beautifully for 6 months. Reheat with a splash of water to restore moisture (don’t skip this part).
Why You’ll Love This Recipe
- One-Pot Wonder: I just dump in 2 cups rice, water, and a pinch of salt—no babysitting, no stirring, just walk away.
- Buttery Perfection: The vegan butter melts right in, giving every grain that subtle richness I crave.
- Meal Prep MVP: Cooks a big batch that stays fluffy for days, so I can toss it in burrito bowls or fried rice all week.
- 20-Minute Magic: Honestly, it’s ready before I finish setting the table—faster than takeout, and way cheaper.
Step-by-Step Instructions for Instant Pot White Rice
Here’s the method I use for perfectly fluffy grains every time, no guesswork required.
Step 1: Rinse and Prepare the Rice
Place the 2 cups Long-Grain White Rice in a fine-mesh strainer and rinse under cold running water. I agitate the grains with my fingers while rinsing, and I don’t stop until the water runs completely clear. This removes excess starch that would otherwise make your rice gummy.
Once rinsed, give the strainer a good shake to remove excess water. You want the grains damp but not dripping. While the rice drains, I measure out the 2 cups Water and set it aside—having everything ready before starting is key to consistent results.
Step 2: Coat the Inner Pot and Add Ingredients
Add the 1 tsp Neutral Cooking Oil to the Instant Pot inner pot and use a paper towel to spread it evenly across the bottom and up the sides. This light coating prevents sticking, especially with the small quantity we’re making. Then add the rinsed rice and the 2 cups Water to the pot.
Stir in the 0.5 tsp Fine Sea Salt until it dissolves completely. I always taste the water at this point—it should taste pleasantly seasoned, not salty. If you’re sensitive to salt, remember you can always adjust after cooking, but you can’t take it out once it’s in there.
Step 3: Pressure Cook with Precise Timing
Secure the lid on your Instant Pot, making sure the valve is set to Sealing. Select the Pressure Cook or Manual setting and adjust the time to 3 minutes on High Pressure. Yes, just three minutes—that’s all it takes for perfect rice.
The Instant Pot will take about 10-15 minutes to come to pressure before the cooking time begins. Once the 3 minutes of cooking is complete, let the pressure release naturally for 10 minutes, then quick-release any remaining pressure. This natural release prevents the rice from becoming mushy or sticking to the bottom.
Step 4: Rest and Fluff for Maximum Fluffiness
Once all pressure has released, carefully open the lid. The rice will look slightly wet on top—that’s normal. Let it sit uncovered in the pot for 5 minutes to allow excess moisture to evaporate. This resting period is crucial for achieving separate, fluffy grains.
After resting, use a fork to gently fluff the rice from the bottom up. If you’re using the 1 tbsp Unsalted Vegan Butter, add it now and fold it in while fluffing. The butter adds a subtle richness and helps separate any grains that might be sticking together. Taste and adjust seasoning if needed, though I rarely find it necessary with the initial salt measurement.
Pro Tips For Making Instant Pot White Rice Recipe 2 Cups
- Rinse the Rice: Always rinse your long-grain white rice until the water runs clear—this removes excess starch and keeps the grains separate instead of gummy.
- Use Equal Water: For 2 cups of rice, use exactly 2 cups of water; any more and you’ll end up with mushy rice, any less and it’ll be undercooked.
- Let It Steam: After the pressure cooker beeps, let the rice sit for a full 10 minutes before releasing the valve—this guarantees even cooking and fluffier texture.
- Stir in Butter: Once the rice is done, fold in that unsalted vegan butter while it’s still hot so it melts evenly and adds a rich, creamy finish.
Dietary Considerations for This Dish
Vegan Friendly
This recipe is naturally vegan with no animal products. The basic ingredients—long-grain white rice, water, salt, and optional vegan butter—keep it plant-based while delivering perfect texture every time. 🌱
Gluten-Free Naturally
White rice contains no gluten, making this dish safe for anyone with celiac disease or gluten sensitivity. Just ensure your vegan butter is certified gluten-free, as some brands may have cross-contamination.
Low Sodium Option
For those watching sodium intake, you can reduce the 0.5 tsp salt by half or omit it entirely. The rice will still cook perfectly, and you can season to taste after cooking with a pinch of Himalayan pink salt. 💡
Allergen Information
This recipe is free from the top allergens: dairy, eggs, nuts, soy, and wheat. The only potential concern is vegan butter, which may contain soy—check labels if allergies are a concern.
Diabetic Considerations
White rice has a high glycemic index, so portion control is key. Stick to ½ cup cooked rice per serving and pair with protein and fiber to slow glucose absorption. Basmati rice has a slightly lower glycemic index than other white rice varieties.
Weight Management
At about 200 calories per ½ cup cooked, this rice fits well into balanced meal plans. The Instant Pot method ensures you won’t need extra fat for cooking, keeping calories in check.
Nutrition Facts
Frequently Asked Questions
Why do I need to rinse the rice first?
Rinsing removes excess starch that can make your rice gummy. It also washes away any dust or debris. Keep rinsing until the water runs completely clear for the best texture.
Can I use a different type of rice?
Yes, but adjust the water ratio. For short-grain, use the same amount. For brown rice, increase water to 1.5 cups per 1 cup rice and cook for 22 minutes.
What if my rice is undercooked?
If the grains are still firm, add 2-3 tablespoons of hot water, seal the lid, and pressure cook for another 1-2 minutes. Let it rest again before checking.
How do I prevent the burn notice?
Always use the correct water ratio and degrease the inner pot well. Adding a light coating of oil helps too. If you get the notice, release pressure and check for stuck rice.

- Mujadara Rice and Lentils Recipe: Earthy Spiced Lentils With Caramelized Onions - November 1, 2026
- Naija Fried Rice Recipe: Street-Style Spice With Veggie Crunch - November 1, 2026
- Mushy Rice Recipe: Fluffy Grains Transformed in Minutes - November 1, 2026