
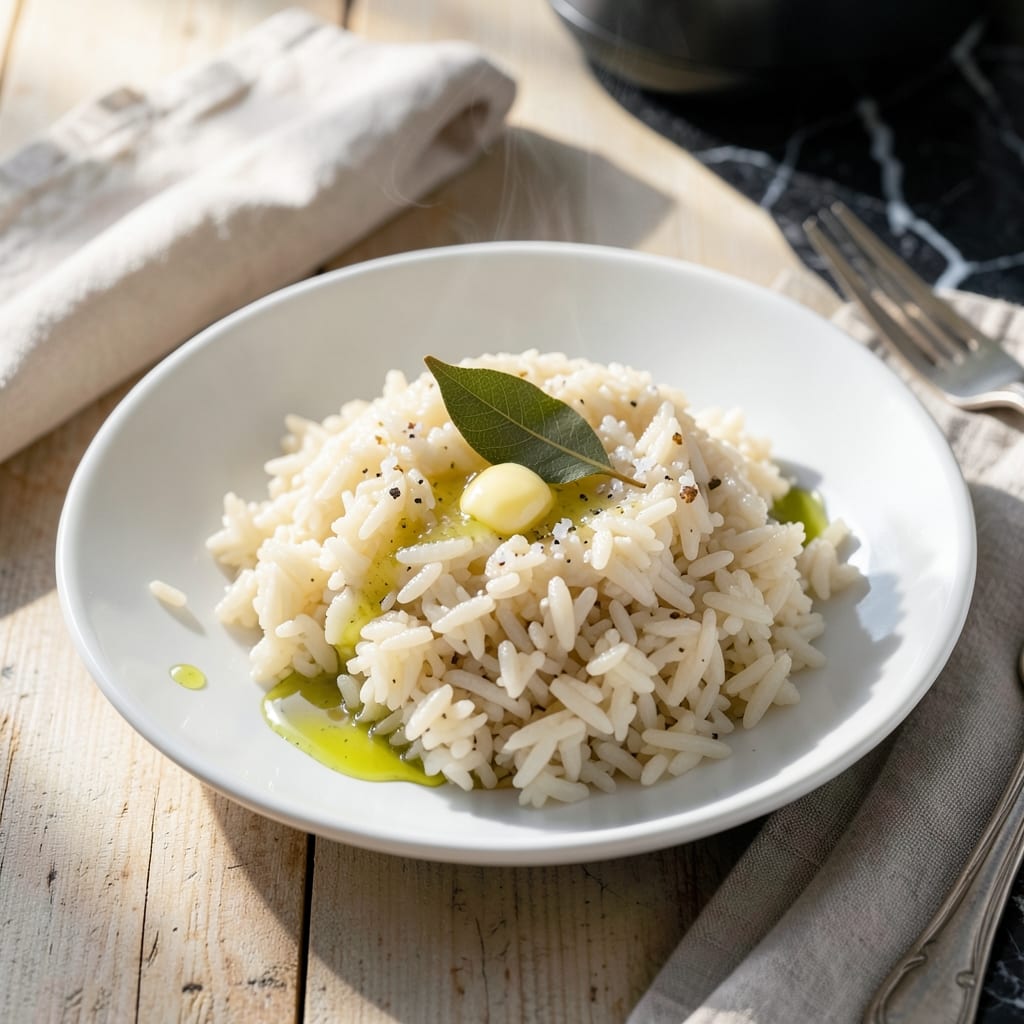
This proven method delivers perfectly fluffy rice every time using your Instant Pot.
I’ve tested countless ratios and cooking times to refine this technique, which cuts traditional stovetop cooking in half. The Instant Pot’s precise pressure cooking ensures even water absorption without the risk of burning or uneven texture.
The result is tender, separate grains that never clump or turn mushy. Whether you’re cooking white rice, jasmine, or basmati, this approach guarantees consistent, restaurant-quality results with minimal effort.
No more babysitting a pot or guessing when it’s done. This is the simplest way to make rice at home.
Ingredients for Instantpot Rice
Nine ingredients total, but only three are essential. The rest just elevate.
| Ingredient | Amount | Notes |
|---|---|---|
| White Long-Grain Rice 🍚 | 2 cups | Rinsed until water runs clear |
| Water 💧 | 2 ½ cups | Filtered or distilled preferred |
| Kosher Salt 🧂 | 1 tsp | Diamond Crystal preferred for even seasoning |
| Butter 🧈 | 1 tbsp | Unsalted, for finishing (optional) |
| Garlic Cloves 🧄 | 2 cloves | Minced, for aroma (optional) |
| Bay Leaf 🍃 | 1 whole | For subtle depth (optional) |
| Chicken Stock 🥣 | ½ cup | Low-sodium, replaces 0.5 cup water |
| Olive Oil 🫒 | 1 tsp | For sautéing aromatics (optional) |
| Fresh Cilantro 🌿 | ¼ cup | Chopped, for garnish (optional) |
| Lemon Juice 🍋 | 1 tsp | Freshly squeezed, for brightness (optional) |
The rice is the star here—jasmine or basmati give the fluffiest results, but any long-grain works. I grab mine in bulk from Costco (the 20-pound bag lasts forever). Rinse it until the water runs clear (takes about 30 seconds) to remove excess starch. That’s what prevents clumping. The salt matters more than you think—Diamond Crystal is my go-to for even distribution.
No chicken stock? Just use extra water (stick to the 1:1.25 rice-to-liquid ratio). Butter can be swapped for olive oil or ghee—or skip it entirely for a neutral finish. Garlic not your thing? Shallots or a pinch of asafoetida add depth without the bite. The bay leaf is subtle but worth it if you’ve got 5 seconds to toss one in.
Uncooked rice keeps in a sealed container for 6-12 months (check the package date). Cooked rice holds in the fridge for 4-5 days or freezes for 3 months. Pro tip: spread it on a tray to cool before storing—prevents the dreaded mushy texture.
Why You’ll Love This Recipe
- Set and Forget: I just dump everything in, press a button, and walk away—no stirring, no watching the pot.
- Garlic Butter Magic: The butter and garlic infuse every grain with this rich, savory depth that plain rice just can’t touch.
- Meal Prep MVP: I make a big batch on Sunday and it reheats beautifully for lunches all week.
- Pocket-Friendly Staple: White rice, a few pantry basics, and I’ve got a filling side dish for pennies per serving.
Step-by-Step Instructions for Instant Pot Rice
Here’s my tested method for perfectly fluffy rice with minimal effort and maximum flavor.
Step 1: Rinse and Prepare the Rice
Begin by rinsing the 2 cups White Long-Grain Rice under cold water in a fine-mesh strainer until the water runs completely clear. This removes excess starch, which prevents the rice from turning gummy during cooking. Drain thoroughly—any residual water can throw off your liquid ratios.
Rinsing might seem tedious, but it’s non-negotiable for light, separate grains. I always give it a final shake in the strainer to remove every last drop of water before adding it to the Instant Pot.
Step 2: Sauté Aromatics for Depth
Set the Instant Pot to the Sauté function on Normal heat. Add the 1 tsp Olive Oil and let it warm for 30 seconds. Then add the 2 cloves Garlic Cloves and the 1 whole Bay Leaf, stirring constantly for 1 minute until the garlic is fragrant but not browned.
This step infuses the oil with aroma, which will perfume the entire pot of rice. If you’re using the optional aromatics, keep the heat moderate—burnt garlic turns bitter and ruins the dish. Remove the bay leaf after sautéing if you prefer, or leave it in for subtle depth.
Step 3: Add Liquids and Rice
Pour in the 2.5 cups Water and 0.5 cup Chicken Stock, then stir to combine. Add the drained rice and 1 tsp Kosher Salt, stirring gently to distribute the grains evenly in the liquid. The liquid should cover the rice by about ½ inch—this ensures even cooking.
At this point, give the pot a quick visual check: no rice should be clumped together or sticking to the sides. If it is, use a silicone spatula to break it up. This prevents burning and guarantees uniform texture throughout.
Secure the lid, set the valve to Sealing, and cancel the Sauté function.
Step 4: Pressure Cook to Perfection
Select the Pressure Cook or Manual function and set the timer for 5 minutes on High pressure. It’ll take about 5-10 minutes for the Instant Pot to come to pressure before the cooking time begins. Once the timer ends, let the pressure release naturally for 10 minutes, then quick-release any remaining pressure.
Natural release is key here—it allows the rice to finish steaming gently, preventing a mushy or undercooked texture. Resist the urge to quick-release immediately; the extra time ensures every grain is perfectly tender.
Step 5: Fluff and Finish
Carefully open the lid, tilting it away from you to avoid the hot steam. Use a fork to fluff the rice gently, breaking up any clumps. If you’re using the optional 1 tbsp Butter, add it now and stir until melted. This adds a subtle richness that takes the rice to the next level.
For a bright finish, stir in the 1 tsp Lemon Juice and sprinkle with the 0.25 cup Fresh Cilantro just before serving. These final touches add freshness and color, balancing the dish beautifully. Serve immediately while hot and fluffy.
Pro Tips For Making Instantpot Rice
- Rinse the Rice: Always give your white long-grain rice a quick rinse before cooking—it removes excess starch and prevents gummy, clumpy InstantPot rice.
- Use Equal Water: I learned this the hard way: stick to a 1:1 rice-to-water ratio for perfect texture every time (1 cup rice to 1 cup water).
- Sauté the Garlic: Don’t just toss in raw garlic cloves—sauté them in the butter for 30 seconds first to mellow the bite and infuse the oil.
- Natural Release: Resist the urge to quick-release the pressure; let it sit for a full 10-minute natural release to avoid undercooked or wet rice.
Common Mistakes When Making This Dish
Skipping the Rinse
Rinsing removes excess starch that causes sticky, gummy rice. I see this mistake often—people skip it to save 30 seconds, but the texture suffers. Use a fine-mesh strainer and rinse until the water runs clear. It’s worth the effort. 💪
Wrong Liquid Ratios
The golden ratio is 1:1.25 rice to liquid. Too much water makes mushy rice, too little leaves it undercooked. For 2 cups rice, use exactly 2.5 cups liquid. Stick to this and you’ll never have soggy or crunchy grains.
Ignoring the Sauté Step
Sautéing aromatics like garlic and bay leaf builds flavor depth. But don’t let garlic brown—I burn it sometimes when rushing. Keep the heat on Normal and stir constantly for just 1 minute.
Quick Releasing Too Soon
Let the pressure release naturally for 10 minutes after cooking. Quick-releasing immediately can leave rice undercooked or uneven. Patience here ensures every grain is perfectly tender. 💡
Over-Stirring the Rice
After cooking, fluff gently with a fork—don’t overmix. Stirring too vigorously breaks the grains and releases excess starch, creating a pasty texture. One or two gentle folds are all you need.
Using the Wrong Rice
Long-grain varieties like jasmine or basmati work best. Short-grain rice turns mushy under pressure. I buy mine in bulk from Costco—it’s consistent and affordable.
Nutrition Facts
Frequently Asked Questions
What’s the ideal rice-to-water ratio?
Use a 1:1.25 ratio of rice to liquid. For 2 cups rice, that means exactly 2.5 cups of water or broth. This ensures perfect texture every time.
Can I make brown rice the same way?
Brown rice needs more liquid and time. Use a 1:1.5 ratio and cook for 22 minutes on high pressure with a 15-minute natural release.
Why did my rice turn out mushy?
Mushy rice usually means too much liquid or over-stirring. Stick to the 1:1.25 ratio and fluff gently with a fork after cooking.
Should I use the rice setting on my Instant Pot?
Skip the rice button—it often overcooks. Use manual High pressure for 5 minutes with natural release for best results.

- Mujadara Rice and Lentils Recipe: Earthy Spiced Lentils With Caramelized Onions - November 1, 2026
- Naija Fried Rice Recipe: Street-Style Spice With Veggie Crunch - November 1, 2026
- Mushy Rice Recipe: Fluffy Grains Transformed in Minutes - November 1, 2026