
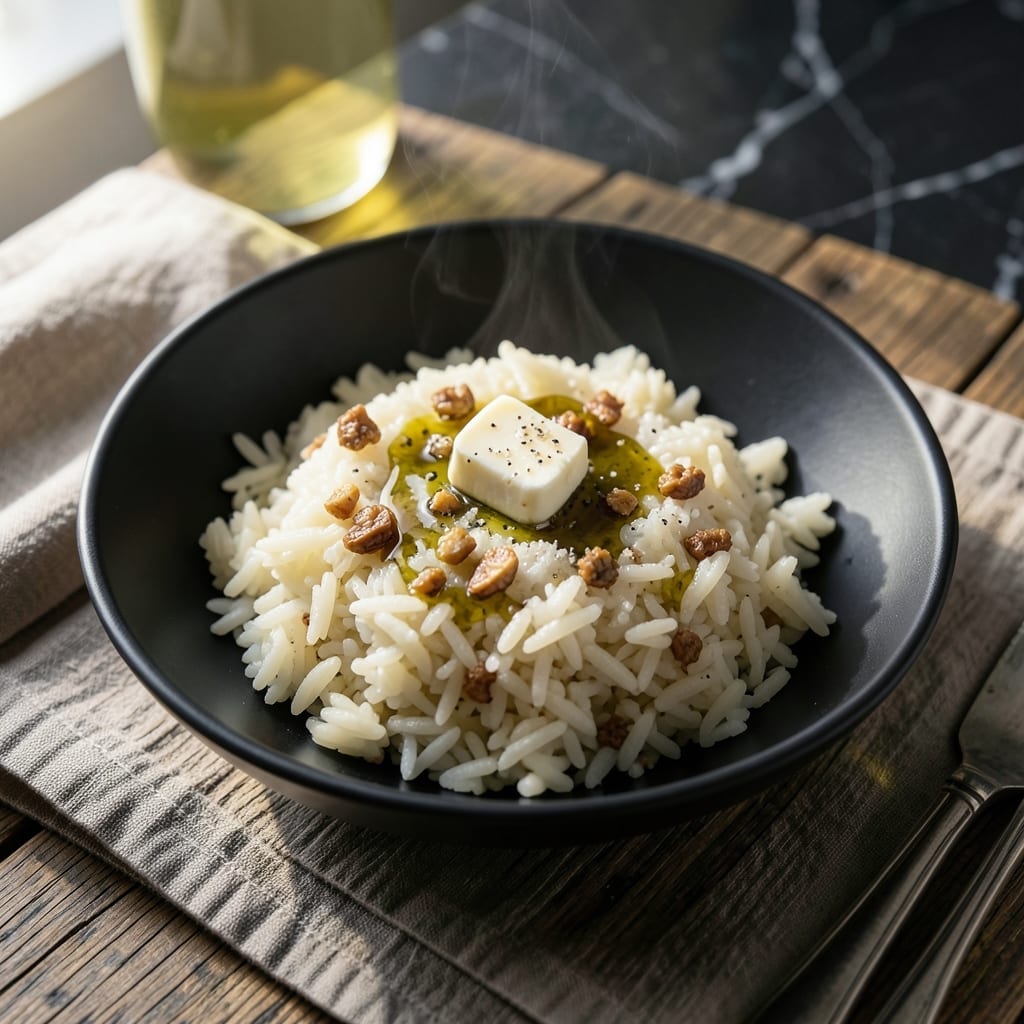
This proven method delivers perfectly fluffy rice every time with minimal effort. The Instant Pot eliminates guesswork, ensuring consistent results without monitoring.
With just a few basic ingredients and precise pressure settings, anyone can achieve restaurant-quality grains. The process takes less than 20 minutes from start to finish.
Each bite will be light, separate, and never mushy. The technique works for white, brown, or basmati varieties with simple adjustments.
No more burnt pots or undercooked centers. This reliable approach makes rice preparation effortless and foolproof.
Ingredients for Instapot Rice
A handful of pantry staples yields restaurant-quality rice with zero guesswork.
| Ingredient | Amount | Notes |
|---|---|---|
| Long-Grain White Rice 🍚 | 2 cups | Rinsed until water runs clear |
| Water 💧 | 2 ½ cups | Filtered or distilled preferred |
| Unsalted Butter 🧈 | 1 tbsp | Optional for richness |
| Kosher Salt 🧂 | 1 tsp | Diamond Crystal preferred |
| Extra-Virgin Olive Oil 🫒 | 1 tsp | For sautéing if desired |
| Garlic Cloves 🧄 | 2 cloves | Minced, optional for flavor |
| Bay Leaf 🍃 | 1 whole | For aroma, remove before serving |
| Chicken Stock 🍲 | ½ cup | Substitute for half the water |
| Fresh Parsley 🌿 | 2 tbsp | Chopped, for garnish |
| Lemon Juice 🍋 | 1 tsp | Freshly squeezed, optional |
The rice quality is non-negotiable for fluffy results. Basmati or jasmine work beautifully, but standard long-grain is most reliable. Rinsing removes excess starch—skip this and you risk gummy grains. I source mine from Whole Foods bulk bins for freshness. The Instant Pot’s precision means even cheaper brands deliver consistent texture here.
No butter? Olive oil or vegan butter work equally well. Prefer brown rice? Increase water to 3 cups and extend cook time to 22 minutes. For extra flavor, swap water for low-sodium chicken stock. The bay leaf and garlic are optional but elevate the dish—remove the bay leaf before serving to avoid bitterness.
Cooked rice holds beautifully in the Instant Pot on warm mode for up to 2 hours. Store leftovers in an airtight container for 4-5 days in the fridge, or freeze for 3 months. Reheat with a splash of water to restore moisture.
Why You’ll Love This Recipe
- Set It and Forget: I toss in the rice, water, and a pat of butter, then walk away—no stirring, no watching the pot.
- Buttery Richness: The combo of butter and olive oil gives it this subtle depth that plain rice just can’t match.
- Meal Prep MVP: I make a big batch on Sunday and it reheats beautifully for lunches all week.
- Pantry Staples: Five ingredients I always have on hand, and it still tastes like I put in real effort.
Step-by-Step Instructions for Instapot Rice
This method guarantees perfectly fluffy grains with minimal effort and maximum flavor.
Step 1: Rinse and Prepare the Rice
Place the 2 cups Long-Grain White Rice in a fine-mesh strainer and rinse under cold running water until the water runs completely clear. This removes excess starch that would otherwise make your rice gummy. I always give it a gentle swirl with my hand to ensure every grain gets rinsed.
Once rinsed, drain thoroughly. The rice should look clean and feel slightly gritty between your fingers. This step is non-negotiable for achieving separate, fluffy grains rather than a sticky mass.
Step 2: Sauté Aromatics for Depth of Flavor
Set your Instant Pot to the Sauté function on Normal heat. Add the 1 tsp Extra-Virgin Olive Oil and 1 tbsp Unsalted Butter, allowing the butter to melt completely. Then add the 2 cloves Garlic Cloves (minced) and 1 whole Bay Leaf, stirring for 30-45 seconds until the garlic becomes fragrant but not browned.
This brief sautéing step infuses the oil with aromatic compounds that will perfume the entire pot of rice. Be vigilant—garlic burns easily and bitter burnt garlic will ruin the flavor of your dish.
Step 3: Combine Liquids and Rice
Add the rinsed 2 cups Long-Grain White Rice to the pot, stirring to coat the grains in the buttery, garlic-infused oil. Then pour in the 2.5 cups Water and 0.5 cup Chicken Stock. The liquid should cover the rice by about an inch.
Add the 1 tsp Kosher Salt and stir gently but thoroughly to distribute the rice and salt evenly. Make sure no grains are clumped together or sticking to the bottom of the pot, as this could lead to burning during the pressure cooking process.
Step 4: Pressure Cook to Perfection
Secure the lid on your Instant Pot, ensuring the valve is set to Sealing. Select the Pressure Cook function and set the timer for 3 minutes on High pressure. The pot will take about 10-15 minutes to come to pressure before the timer begins.
Once the cooking cycle completes, allow the pressure to release naturally for 10 minutes, then quick-release any remaining pressure. This natural release prevents the rice from becoming mushy by allowing it to finish steaming gently.
Step 5: Fluff and Finish
Carefully remove the lid, tilting it away from you to avoid the hot steam. Remove the 1 whole Bay Leaf and discard it. Gently fluff the rice with a fork, breaking up any clumps without mashing the grains.
Stir in the 2 tbsp Fresh Parsley and 1 tsp Lemon Juice if using. The parsley adds a fresh herbal note while the lemon juice brightens the flavors. Serve immediately while hot and fluffy, with each grain distinct and perfectly tender.
Pro Tips For Making Instapot Rice
- Rinse the Rice: Always rinse your long-grain white rice until the water runs clear—this removes excess starch and prevents gummy, sticky grains in your Instant Pot.
- Use Equal Water: For perfect texture, stick to a 1:1 rice-to-water ratio. I learned this the hard way after a few mushy batches.
- Natural Release Only: Skip the quick release and let the pressure drop naturally for 10 minutes—this keeps the rice light and fluffy, not dense or wet.
- Toast the Rice: Sauté the rice in olive oil for 2 minutes before adding liquid. Sounds small, but it adds a nutty depth that plain steamed rice lacks.
Health Benefits of This Dish
Energy Source
This dish is primarily a complex carbohydrate powerhouse, with each serving of cooked rice providing about 45 grams of carbs. These slow-digesting carbs offer steady energy, making it an excellent foundation for active days. I find it keeps me full and focused for hours. 💪
Low-Fat Fuel
With only 0.5 grams of fat per serving (without added butter), this is naturally low-fat. Even with the optional 1 tbsp butter, it remains a lean option. The Instant Pot method preserves this natural leanness while maximizing flavor.
Essential Minerals
Rice delivers magnesium and phosphorus, crucial for bone health and energy metabolism. A 1-cup serving provides about 15% of your daily magnesium needs. These minerals support muscle function and nerve signaling.
B Vitamin Boost
Enriched white rice contains thiamine (B1), riboflavin (B2), and niacin (B3). These vitamins help convert food into energy and maintain healthy skin and eyes. The enrichment process restores nutrients lost during milling.
Digestive Benefits
When properly rinsed and cooked, this creates easily digestible grains. The Instant Pot’s precise pressure cooking breaks down starches, making them gentler on your stomach. I notice less bloating compared to stovetop methods. ✨
Gluten-Free Goodness
Naturally gluten-free, this is safe for celiac sufferers and those with gluten sensitivities. The simple ingredient list minimizes allergen risks while delivering satisfying, fluffy results every time.
Nutrition Facts
Frequently Asked Questions
What’s the ideal water-to-rice ratio?
Use 1.25 cups liquid per 1 cup rice for white varieties. For brown rice, increase to 1.5 cups to account for the longer cook time.
Can I use broth instead of water?
Swap water for chicken, vegetable, or beef broth to add depth. Reduce added salt by half since broths are already seasoned.
Why did my rice turn out mushy?
Overcooking or using too much liquid is usually the culprit. Stick to 3 minutes high pressure for white rice, and always let pressure release naturally for 10 minutes.
How do I double the recipe?
Scale ingredients equally but never exceed the 2/3 max fill line of your Instant Pot. For 4 cups rice, use 5 cups liquid and the same cook time.

- Mujadara Rice and Lentils Recipe: Earthy Spiced Lentils With Caramelized Onions - November 1, 2026
- Naija Fried Rice Recipe: Street-Style Spice With Veggie Crunch - November 1, 2026
- Mushy Rice Recipe: Fluffy Grains Transformed in Minutes - November 1, 2026