
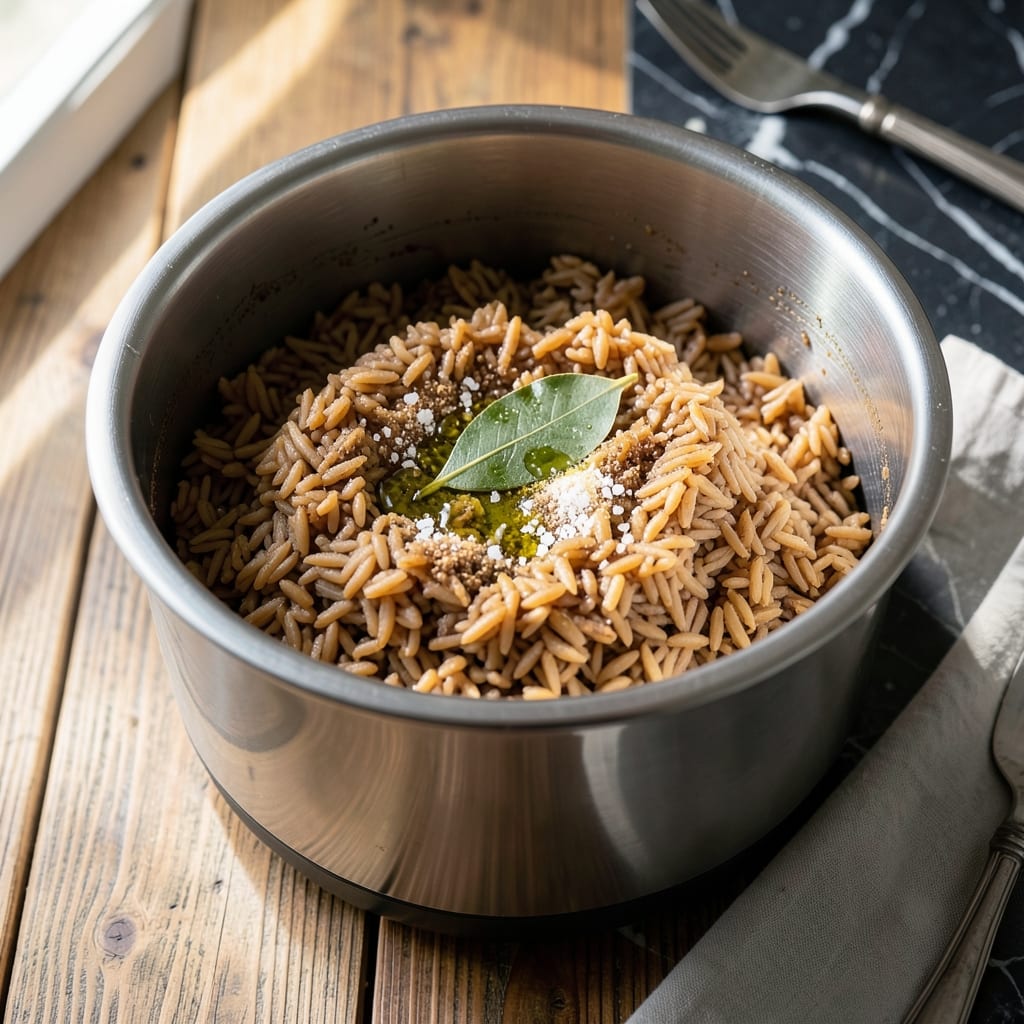
Achieving perfect brown rice in the Instant Pot is simpler than you think. This method consistently delivers fluffy grains with that coveted nutty flavor and ideal bite.
The key lies in the precise ratio of rice to liquid and the cooking time. I’ve tested countless variations to land on the exact combination that works every time.
What you’ll get is brown rice with a tender yet slightly chewy texture, never mushy or undercooked. The Instant Pot locks in moisture and flavor, enhancing the natural nuttiness.
Say goodbye to burnt or sticky rice—this technique ensures perfect results with minimal effort. Ready to give it a try?
Ingredients for Ip Brown Rice
Fluffy, nutty grains start with these simple pantry staples and a few flavor boosters.
| Ingredient | Amount | Notes |
|---|---|---|
| Long-Grain Brown Rice 🌾 | 2 cups | Rinsed until water runs clear |
| Water 💧 | 2 ½ cups | Or vegetable broth for extra flavor |
| Olive Oil 🫒 | 1 tbsp | Optional for richer texture |
| Salt 🧂 | ½ tsp | Kosher or sea salt preferred |
| Garlic Powder 🧄 | ½ tsp | Optional for aroma |
| Bay Leaf 🍃 | 1 whole | Optional for depth |
| Lemon Juice 🍋 | 1 tsp | Freshly squeezed for brightness |
| Fresh Parsley 🌿 | 2 tbsp | Chopped for garnish |
The rice is the star—long-grain brown rice gives you that perfect texture. Look for organic brands like Lundberg or Whole Foods 365 for consistent quality. Rinsing is non-negotiable (gets rid of starch that causes stickiness). I always keep a big bag on hand—it’s a fridge and pantry staple. The water ratio is critical here, so measure carefully.
No brown rice? White rice won’t work—it overcooks in the same time. Swap water for vegetable broth if you want extra flavor. Out of garlic powder? Fresh minced garlic (1 clove) works too, but add it after cooking. Bay leaf is subtle but nice—skip if you don’t have it. The lemon juice at the end? Game-changer for brightness (don’t skip this part).
Uncooked rice keeps in the pantry for 6-12 months. Cooked rice stays fresh in the fridge for 4-5 days or freezes for 3 months. I make a big batch on Sunday—perfect for meal prep all week (worth the extra minute).
Why You’ll Love This Recipe
- One Pot Wonder: I just toss the rice, water, olive oil, salt, and garlic powder in the Instant Pot and walk away.
- Garlic Kissed: That garlic powder blooms in the oil, making every bite of brown rice taste rich and nutty.
- Meal Prep MVP: I batch cook this on Sunday and it fuels my lunches all week long.
- Budget Stretch: A pound of long-grain brown rice and pantry staples feed my family for pennies per serving.
Step-by-Step Instructions for Perfect Brown Rice
Here’s how to achieve fluffy, nutty rice with minimal effort and maximum flavor every time.
Step 1: Rinse and Prepare the Rice
Place the 2 cups Long-Grain Brown Rice in a fine-mesh strainer and rinse under cold running water until the water runs completely clear. I always do this to remove excess starch, which ensures your grains stay separate and don’t turn into a mushy clump.
This step also helps eliminate any dust or debris from the rice. Once rinsed, give the strainer a good shake to remove excess water. This preparation is key to achieving that perfect, fluffy texture you’re aiming for.
Step 2: Sauté Optional Aromatics
Turn your Instant Pot to the sauté function and add the 1 tbsp Olive Oil. Once the oil is shimmering, stir in the 0.5 tsp Garlic Powder and cook for 30 seconds until fragrant. This quick step wakes up the flavors and infuses the oil with a subtle aromatic base.
You’ll notice the garlic powder starts to sizzle and release its scent almost immediately. At this point, add the 1 whole Bay Leaf and stir for another 10 seconds to toast it lightly. This deepens its earthy notes and sets the stage for a rich, layered taste in your rice.
Step 3: Combine Ingredients and Pressure Cook
Add the rinsed 2 cups Long-Grain Brown Rice to the Instant Pot, followed by the 2.5 cups Water, 0.5 tsp Salt, and 1 tsp Lemon Juice. Stir everything together to distribute the rice evenly and ensure the grains are fully submerged in the liquid.
This is when you’ll want to double-check that no rice is sticking to the bottom of the pot, as that could lead to burning. Once everything is mixed, secure the lid, set the valve to sealing, and cook on high pressure for 22 minutes. The pressure cooking method is what gives the rice that ideal tender-yet-chewy bite.
Step 4: Naturally Release and Fluff
When the cooking cycle completes, allow the pressure to release naturally for 10 minutes. This gradual release prevents the rice from becoming dense or sticky. After 10 minutes, carefully switch the valve to venting to release any remaining pressure.
Once it’s safe to open the lid, discard the bay leaf and use a fork to fluff the rice gently. You’ll see the grains are perfectly cooked—tender but still holding their shape. The natural release is crucial here; it lets the rice finish steaming in its own moisture for the best texture.
Step 5: Garnish and Serve
Sprinkle the 2 tbsp Fresh Parsley over the top of the rice and give it a final gentle toss. The parsley adds a pop of freshness and color that brightens up the dish beautifully. You’ll love how the vibrant green contrasts with the warm, nutty tones of the rice.
Serve immediately while the rice is hot and at its fluffiest. Each bite should be light, flavorful, and perfectly cooked—no mushy or underdone grains in sight. This method delivers on the promise of perfect texture and rich, nutty flavor every single time.
Pro Tips For Making Ip Brown Rice
- Soak the Rice: I learned this the hard way—give the brown rice a 20-minute soak in warm water before cooking. It cuts the Instant Pot cook time and guarantees even tenderness.
- Use the Right Ratio: For long-grain brown rice in the IP, stick to 1:1.25 rice-to-water ratio. Any more and you’ll get mushy rice; any less and it stays undercooked.
- Skip the Quick Release: After cooking, let the pressure release naturally for at least 10 minutes. I rushed it once and ended up with a pot of crunchy, half-done grains.
- Toast with Oil First: Sauté the rice in olive oil for 2-3 minutes before adding water—it adds a nutty depth that plain steamed rice just can’t match.
Perfect Pairings for These Flavors
Protein Pairings
This rice pairs beautifully with grilled or baked proteins. I love serving it with lemon-herb chicken thighs that have been marinated for at least 2 hours. The bright citrus notes complement the nutty rice perfectly.
Vegetable Sides
For a lighter meal, try it with roasted vegetables. Toss broccoli florets or Brussels sprouts with 1 tbsp olive oil and roast at 400°F for 20 minutes. The caramelized edges add great texture contrast. 🥗
Sauce Options
A simple lemon-tahini drizzle transforms this dish. Whisk together ¼ cup tahini, 2 tbsp lemon juice, and 1 tbsp water for a creamy, tangy topping. Drizzle just before serving for maximum freshness.
Bowl Ideas
Create a nourishing grain bowl by layering this rice with sautéed kale, roasted sweet potatoes, and avocado slices. The combination of textures and flavors is incredibly satisfying. I add a fried egg on top for extra protein.
Asian Fusion
For an Asian-inspired twist, serve with teriyaki tofu or beef bulgogi. Top with sliced green onions and a sprinkle of sesame seeds. The rice’s neutral base lets the bold flavors shine through.
Soup Companion
This rice works wonderfully as a side for hearty soups. Pair it with lentil soup or minestrone for a comforting meal. The grains soak up the broth beautifully, adding substance to every spoonful. 💛
Nutrition Facts
Frequently Asked Questions
Can I use a different type of rice?
Stick with long-grain brown rice for best results. White rice overcooks in the same time, while short-grain varieties may turn mushy. The texture and cooking time are optimized for this specific type.
Why is rinsing the rice important?
Rinsing removes excess starch that can make the rice gummy. It also washes away dust or debris. Skipping this step often leads to sticky, clumped grains instead of fluffy ones.
What if my rice is still undercooked?
If grains are firm after 22 minutes, add ¼ cup water, reseal, and cook for 3-5 more minutes. Let pressure release naturally again. This usually fixes any undercooked spots.
Can I double the recipe?
Yes, but don’t exceed the Instant Pot’s ½ full max fill line. Use a 1:1.25 rice-to-water ratio and the same 22-minute cook time. Larger batches may need extra fluffing.

- Mujadara Rice and Lentils Recipe: Earthy Spiced Lentils With Caramelized Onions - November 1, 2026
- Naija Fried Rice Recipe: Street-Style Spice With Veggie Crunch - November 1, 2026
- Mushy Rice Recipe: Fluffy Grains Transformed in Minutes - November 1, 2026