
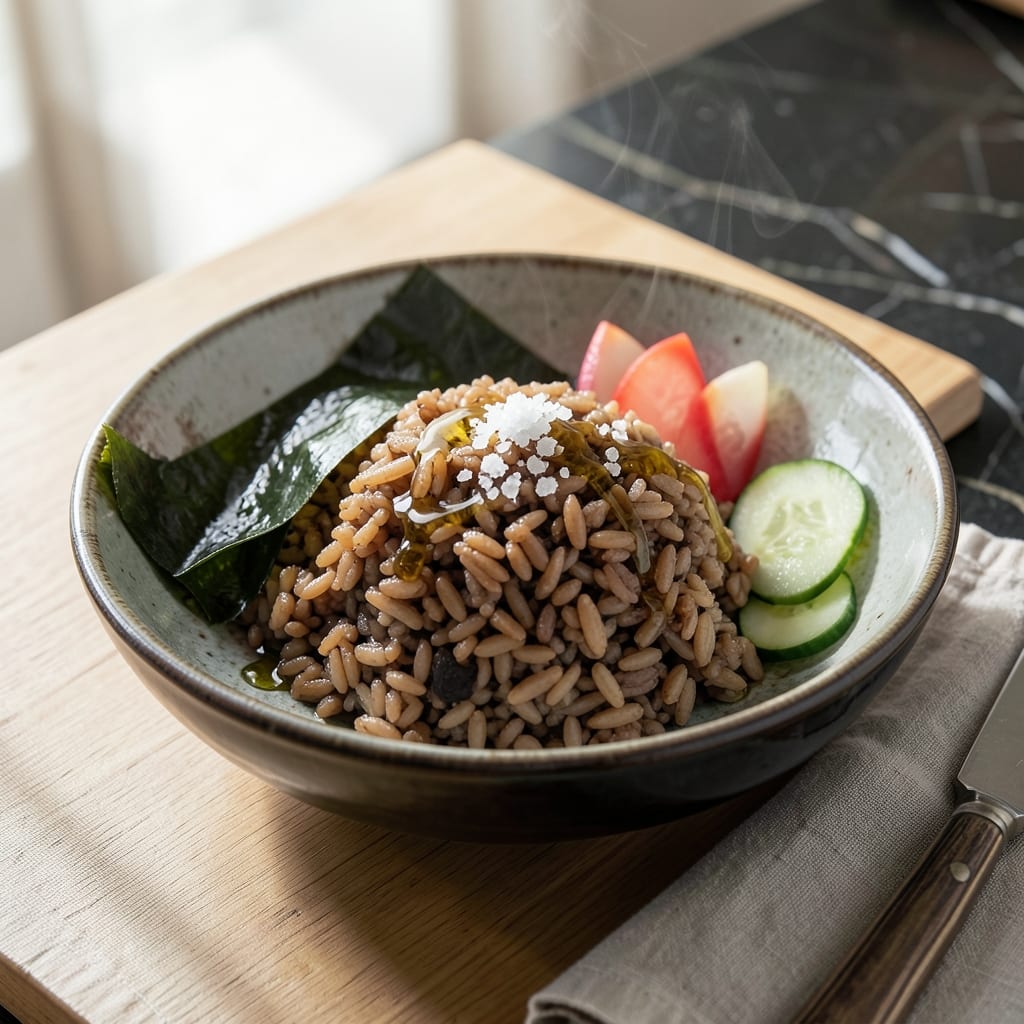
This brown rice delivers the signature nutty flavor and chewy texture that defines Japanese-style grains. The method ensures each bite maintains its integrity while absorbing just enough moisture to stay tender.
With a precise water-to-rice ratio and proper soaking time, you’ll achieve perfectly cooked rice that’s both hearty and satisfying. This version stays true to tradition while working seamlessly with modern kitchen tools.
Ingredients for Japanese Brown Rice
Ten simple ingredients create this authentic, nutty, chewy Japanese-style brown rice dish at home.
| Ingredient | Amount | Notes |
|---|---|---|
| Japanese Short-Grain Brown Rice 🌾 | 2 cups | Rinsed until water runs clear |
| Water 💧 | 4 ½ cups | Filtered for best results |
| Rice Vinegar 🍶 | 1 tbsp | Optional for brightness |
| Sea Salt 🧂 | ½ tsp | Fine grain preferred |
| Kombu Sheet 🌿 | 1 piece | 2-inch square for umami |
| Sake 🍶 | 1 tbsp | Optional for depth |
| Neutral Oil 🫒 | 1 tsp | For rice cooker bowl |
| Toasted Sesame Seeds 🌰 | 1 tbsp | For garnish if desired |
| Scallions 🧅 | 2 whole | Thinly sliced for serving |
| Soy Sauce 🥄 | 1 tsp | For serving adjustment |
The rice itself is non-negotiable—Japanese short-grain brown rice (often labeled haiga or genmai) delivers the signature texture. Koshihikari or Nishiki brands are reliable and widely available at Asian markets or Whole Foods. Avoid long-grain varieties; they lack the stickiness and chew this dish requires. The kombu sheet, while optional, adds subtle umami depth that elevates the flavor profile significantly.
No sake on hand? Dry white wine at half the amount works as a substitute, or simply omit it. Rice vinegar can be swapped with apple cider vinegar in a pinch. For a gluten-free version, use tamari instead of soy sauce. The sesame seeds and scallions are garnishes—skip them if you prefer, but they add a nice finishing touch (and color).
Uncooked rice keeps indefinitely in a cool, dark place. Once cooked, it stays fresh in the fridge for 4-5 days or freezes beautifully for up to 3 months. Reheat with a splash of water to restore moisture and prevent drying out.
Why You’ll Love This Recipe
- Set It & Forget It: Honestly, it’s just rice, water, and a kombu sheet—toss it in the pot and walk away.
- Umami Bomb: That kombu sheet and rice vinegar combo gives every bite this deep, savory richness.
- Meal Prep Hero: I make a big batch Sunday and it’s my lunch base all week, hot or cold.
- Budget Stretch: One bag of short-grain brown rice feeds us for days, and it’s cheaper than takeout.
Step-by-Step Instructions for Japanese Brown Rice
Precision in technique ensures perfectly textured rice with deep, nutty flavor.
Step 1: Rinse and Prepare the Rice
Place the 2 cups Japanese Short-Grain Brown Rice in a fine-mesh strainer and rinse under cold water, swirling with your hand, until the water runs completely clear. This removes excess starch that could make the grains gummy rather than distinct. Drain thoroughly—any residual water will affect your cooking ratio.
Transfer the rinsed rice to your rice cooker bowl. The grains should look clean and separate, not clumped. I always let it sit for 5 minutes after rinsing to ensure complete drainage before adding liquids.
Step 2: Add Liquids and Umami Boosters
Pour in the 4.5 cups Water and add the 1 piece Kombu Sheet, 1 tbsp Sake, 1 tsp Neutral Oil, and 0.5 tsp Sea Salt. The kombu infuses subtle oceanic depth, while sake adds a mellow sweetness that enhances the rice’s natural nuttiness. Gently stir once to distribute the seasonings without agitating the grains too much.
Let the rice soak in the water for 20 minutes before cooking. This hydration step is crucial for brown rice, which has a tougher outer bran layer. You’ll notice the grains plump slightly, which ensures even cooking and prevents a hard center.
Step 3: Cook with Precision Timing
Secure the rice cooker lid and select the brown rice setting. Cook for 50-55 minutes—brown rice requires more time than white to soften the bran while maintaining the chewy texture. Avoid opening the lid during cooking; the steam is essential for proper hydration.
When the cooker switches to “keep warm,” let the rice steam undisturbed for an additional 10 minutes. This final rest allows the grains to absorb any remaining liquid and achieve uniform tenderness. The rice should look slightly glossy with no visible water at the bottom of the pot.
Step 4: Fluff and Season to Taste
Remove the kombu sheet and discard. Gently fold the rice from the bottom to the top with a rice paddle, taking care not to crush the grains. The texture should be tender with a slight bite—this is the hallmark of properly cooked short-grain brown rice.
Drizzle in the 1 tbsp Rice Vinegar and fold again. The vinegar brightens the earthy notes without overpowering. Taste and adjust seasoning with the 1 tsp Soy Sauce if needed, though the initial salt should provide enough enhancement.
Step 5: Garnish and Serve Immediately
Transfer the rice to a serving bowl. Sprinkle with the 1 tbsp Toasted Sesame Seeds and the 2 whole Scallions, thinly sliced. The sesame adds a nutty crunch, while scallions provide a fresh, oniony contrast to the rich, chewy grains.
Serve at once while the rice is hot and the aromas are at their peak. Each grain should be distinct yet cohesive, with a satisfying resistance when chewed and a subtle sheen from the gentle folding process.
Pro Tips For Making Japanese Brown Rice
- Soak the Rice: Cover the brown rice with water and let it sit for at least 30 minutes—this cuts down cooking time and guarantees even tenderness. I learned this the hard way after too many chewy, undercooked batches.
- Use Kombu Wisely: Wipe the kombu sheet with a damp cloth to remove dust, but don’t rinse it—you’ll wash away the natural umami. A 2-inch piece is plenty for a pot of rice.
- Avoid Peeking: Resist the urge to lift the lid while cooking—every time you do, you lose steam and risk unevenly cooked rice. After burning one too many pots, I finally started setting a timer instead.
- Finish with Vinegar: Stir in the rice vinegar after cooking, not before—it brightens the flavor without making the grains mushy. Sounds weird, but it works.
Pro Cooking Tips for Great japanese brown rice
Rinsing Technique
I always rinse the rice in 3-4 changes of cold water until it runs completely clear. Use your hand to agitate the grains gently in a circular motion. This removes excess starch that could make the grains gummy instead of distinct and chewy.
Soaking Time
After rinsing, let the rice soak in the cooking water for 20 minutes minimum. This is non-negotiable for brown rice—the bran layer needs this hydration to soften properly. I’ve found 30 minutes works even better for extra chewiness.
Water Ratio Precision
The 2:1.125 rice-to-water ratio (2 cups rice to 4.5 cups water) is perfect for most rice cookers. If using a pot, add an extra ¼ cup water to account for evaporation. Measure carefully—this is the difference between perfect and mushy. 💧
Kombu Trick
Place the 2-inch kombu square on the surface of the water before cooking. Don’t stir it in—just let it float. Remove it after cooking to avoid overpowering the delicate rice flavor with too much umami.
Resting Period
After the cooker switches to “keep warm,” resist the urge to peek. Let it rest for 10 minutes to allow steam to finish the cooking process. This ensures even texture throughout every grain. 🌡️
Folding Method
Use a rice paddle to gently fold from the bottom up in a cutting motion. Never stir in circles—this crushes the grains. The goal is to separate and fluff while maintaining each grain’s integrity.
Nutrition Facts
Frequently Asked Questions
Why soak brown rice before cooking?
Soaking softens the tough outer bran layer, ensuring even cooking and preventing a hard center. 20-30 minutes is ideal for optimal texture and reduced cooking time.
Can I use a regular pot instead of a rice cooker?
Yes! Use a heavy pot with a tight lid. Bring to a boil, then reduce to low heat for 45-50 minutes. Add ¼ cup extra water to account for evaporation.
What if my rice turns out mushy?
This usually means too much water or stirring during cooking. Stick to the 2:1.125 rice-to-water ratio and avoid opening the lid. Next time, rinse more thoroughly to remove excess starch.
How do I store leftover rice?
Cool completely, then transfer to an airtight container. Refrigerate for up to 5 days or freeze for 3 months. Reheat with a splash of water to restore moisture.

- Mujadara Rice and Lentils Recipe: Earthy Spiced Lentils With Caramelized Onions - November 1, 2026
- Naija Fried Rice Recipe: Street-Style Spice With Veggie Crunch - November 1, 2026
- Mushy Rice Recipe: Fluffy Grains Transformed in Minutes - November 1, 2026