
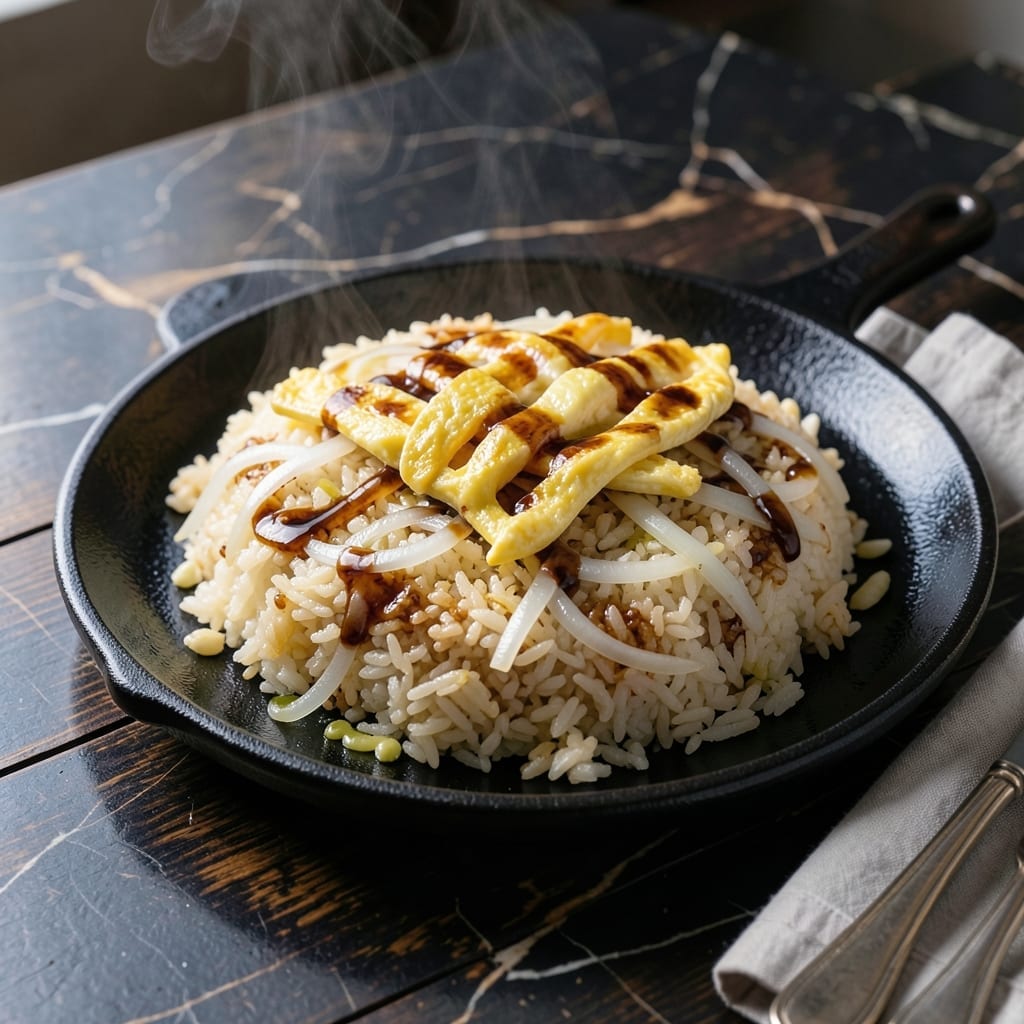
This hibachi-style fried rice brings the theatrical flare of Benihana to your home kitchen. I’ve perfected the technique to replicate the smoky, savory flavors of teppanyaki cooking with simple ingredients and a hot pan.
The key lies in using day-old rice, high heat, and the right balance of soy sauce and sesame oil. Benihana’s signature style comes alive with diced vegetables, scrambled eggs, and your choice of protein, all cooked quickly for maximum flavor.
What you’ll get is a dish with tender grains, vibrant color, and that unmistakable umami richness. The process is as much about the sizzle as it is about the taste, making it a fun and impressive meal.
Ready in under 30 minutes, this recipe delivers restaurant-quality results with minimal effort. Let’s recreate the experience at home.
Ingredients for Japanese Fried Rice Recipe Benihana
Day-old rice, fresh veggies, and a few pantry staples bring this teppanyaki classic to life at home.
| Ingredient | Amount | Notes |
|---|---|---|
| Day-Old Cooked White Rice 🍚 | 4 cups | Cold, preferably overnight |
| Large Eggs 🥚 | 3 whole | Beaten until frothy |
| Soy Sauce 🫒 | 3 tbsp | Low-sodium preferred |
| Sesame Oil 🫒 | 1 ½ tbsp | Toasted for depth |
| Vegetable Oil 🫒 | 2 tbsp | High smoke point |
| White Onion 🧅 | ½ whole | Finely diced |
| Carrots 🥕 | 2 whole | Small dice, about 1 cup |
| Zucchini 🥒 | 1 whole | Small dice, about 1 cup |
| Green Onions 🧅 | 3 whole | Thinly sliced, green parts only |
| Garlic Cloves 🧄 | 2 cloves | Minced finely |
| Frozen Peas 🌱 | ¾ cup | Thawed if preferred |
| Chicken Breast 🍗 | ¾ lb | Boneless, skinless, diced small |
| Salt 🧂 | ½ tsp | Or to taste |
| Ground White Pepper 🌶️ | ¼ tsp | Traditional for color |
| Butter 🧈 | 1 tbsp | Optional for richness |
The rice is everything here. Day-old, cold rice won’t turn mushy when stir-fried. I grab mine from Trader Joe’s or make a big batch the night before. For the soy sauce, Kikkoman low-sodium is my go-to—just the right balance of salt and umami. The veggies should be fresh and crisp; Whole Foods has great organic options if that’s your thing (worth the extra minute to dice them small).
No chicken? Shrimp or tofu work great—just cook them first and set aside. Out of sesame oil? Toasted sesame seeds plus a dash of peanut oil gets you close. White pepper is traditional (keeps the rice looking clean), but black pepper at half the amount works in a pinch. Frozen peas are perfect here (no thawing needed). Skip the butter if you want to keep it lighter—still delicious.
This keeps 3-4 days in the fridge but honestly tastes best fresh off the heat. Reheat in a skillet with a splash of water to bring back the sizzle. Freeze without the egg if you’re prepping ahead—add it fresh when cooking.
Why You’ll Love This Recipe
- One Pan Wonder: I toss the rice, eggs, and soy sauce in a hot pan with a drizzle of sesame oil—dinner’s ready before the takeout would even arrive.
- Umami Bomb: That first bite with the nutty sesame oil and salty soy hitting the rice? Ridiculously good.
- Feeds the Crew: I make a big batch on Sunday and we’re set for lunches all week—no sad desk meals here.
- Leftovers Hero: Day-old rice actually works better, so I’m basically getting paid to clean out the fridge.
Step-by-Step Instructions for Hibachi-Style Fried Rice
Here’s how I nail that perfect Benihana texture every time—crispy bits with tender rice.
Step 1: Prep and Scramble the Eggs
Beat the 3 whole Large Eggs until frothy, then season lightly with a pinch of the salt. Heat 1 tablespoon of the Vegetable Oil in a wok or large skillet over medium-high heat until shimmering.
Pour in the eggs and let them sit undisturbed for 10 seconds before gently stirring with a spatula. Cook until softly set but still slightly runny—this takes about 30-45 seconds. Remove the eggs and set aside. The residual heat will finish cooking them.
Real talk: if your eggs overcook now, they’ll turn rubbery in the final dish. You want them just barely set, almost custardy. This is the moment that matters.
Step 2: Sear the Chicken and Aromatics
Increase heat to high and add the remaining 1 tablespoon Vegetable Oil and 1 tablespoon Butter. When the butter stops foaming, add the diced 0.75 lb Chicken Breast in a single layer. Don’t stir for 1 minute—let it develop a golden crust.
Add the finely diced 0.5 whole White Onion, small-diced 2 whole Carrots and 1 whole Zucchini, and minced 2 cloves Garlic Cloves. Stir-fry for 3-4 minutes until the chicken is cooked through and the vegetables soften slightly. The chicken should be opaque with no pink.
I press down gently on the chicken during the first minute—this prevents it from curling and ensures even contact with the pan. The vegetables should still have a slight bite.
Step 3: Combine Rice and Build Flavor
Add the cold 4 cups Day-Old Cooked White Rice, breaking up any clumps with your spatula. The rice should be completely cold—this prevents it from turning mushy. Stir-fry for 2 minutes to warm the rice and meld the flavors.
Drizzle the 3 tbsp Soy Sauce and 1.5 tbsp Sesame Oil around the edges of the pan, then toss everything to coat evenly. The rice should start to take on a light golden color from the soy sauce. Add the 0.75 cup Frozen Peas and cook for another 1 minute.
Here’s the thing—the soy sauce should just coat the rice without making it soggy. If it looks too wet, let it cook a bit longer.
Step 4: Finish with Eggs and Green Onions
Return the scrambled eggs to the pan, breaking them into small pieces. Add the thinly sliced 3 whole Green Onions (green parts only) and remaining 0.5 tsp Salt and 0.25 tsp Ground White Pepper. Toss everything together for 1-2 minutes until heated through.
The green onions should stay vibrant and slightly crisp—they add freshness to the dish. Taste and adjust seasoning if needed, though the soy sauce usually provides enough saltiness. The rice should have distinct grains with some crispy bits from the pan.
Don’t skip this (I learned the hard way): let the rice sit undisturbed for 30 seconds at the end to develop a crispy bottom layer—this is the signature Benihana touch.
Pro Tips For Making Japanese Fried Rice Recipe Benihana
- Use Cold Rice: Day-old, refrigerated rice dries out just enough to fry up fluffy and separate—fresh rice turns to mush in the wok.
- High Heat First: Crank the burner to max before adding oil, then keep the rice moving constantly to get that signature Benihana char without burning.
- Scramble Eggs Separately: Cook the beaten eggs in a thin layer first, then chop them into small pieces before mixing back in—this prevents rubbery bits in your final dish.
- Finish with Sesame Oil: Drizzle the sesame oil at the very end, off the heat, to preserve its nutty aroma instead of letting it burn in the hot pan.
Pro Cooking Tips for Great japanese fried rice recipe benihana
Heat Control
Benihana-style cooking is all about high heat. I use a wok on my gas stove turned to maximum for that authentic teppanyaki sizzle. If using an electric stove, preheat your pan for 5 minutes to compensate for slower heat response. 🔥
Rice Preparation
Day-old rice is non-negotiable. Spread freshly cooked rice on a baking sheet and refrigerate uncovered for 1 hour to dry it out faster. This prevents the mushy texture that ruins most home attempts.
Egg Technique
Cook eggs separately first—this prevents overcooking. Use medium-high heat and pull them when still slightly runny. They’ll finish cooking when added back to the hot rice at the end.
Pan Sequence
Always cook proteins and aromatics first, then push to one side before adding rice. This builds flavor layers. I use a carbon steel wok for even heat distribution and that restaurant-quality sear.
Soy Sauce Timing
Add soy sauce around the pan edges, not directly on the rice. This allows it to caramelize slightly before mixing. Kikkoman low-sodium gives perfect balance without overpowering the dish. 💡
Final Crisp
That signature crispy bottom comes from letting the rice sit undisturbed for 30 seconds at the end. Press down lightly with your spatula to encourage contact with the pan.
Nutrition Facts
Frequently Asked Questions
Why does the rice need to be cold?
Cold rice has less moisture, preventing mushiness when stir-fried. Freshly cooked rice can turn gummy. Spread it on a tray to cool quickly if needed.
Can I use a different protein?
Shrimp or tofu work perfectly. Cook them first, then set aside before adding rice. For shrimp, 2-3 minutes per side is ideal.
How do I get that crispy texture?
Use high heat and let the rice sit undisturbed for 30 seconds at the end. Press down lightly with your spatula for even contact.
What if I don’t have sesame oil?
Toasted sesame seeds plus peanut oil make a good substitute. Use 1 tablespoon of each for similar depth of flavor.

- Mujadara Rice and Lentils Recipe: Earthy Spiced Lentils With Caramelized Onions - November 1, 2026
- Naija Fried Rice Recipe: Street-Style Spice With Veggie Crunch - November 1, 2026
- Mushy Rice Recipe: Fluffy Grains Transformed in Minutes - November 1, 2026