
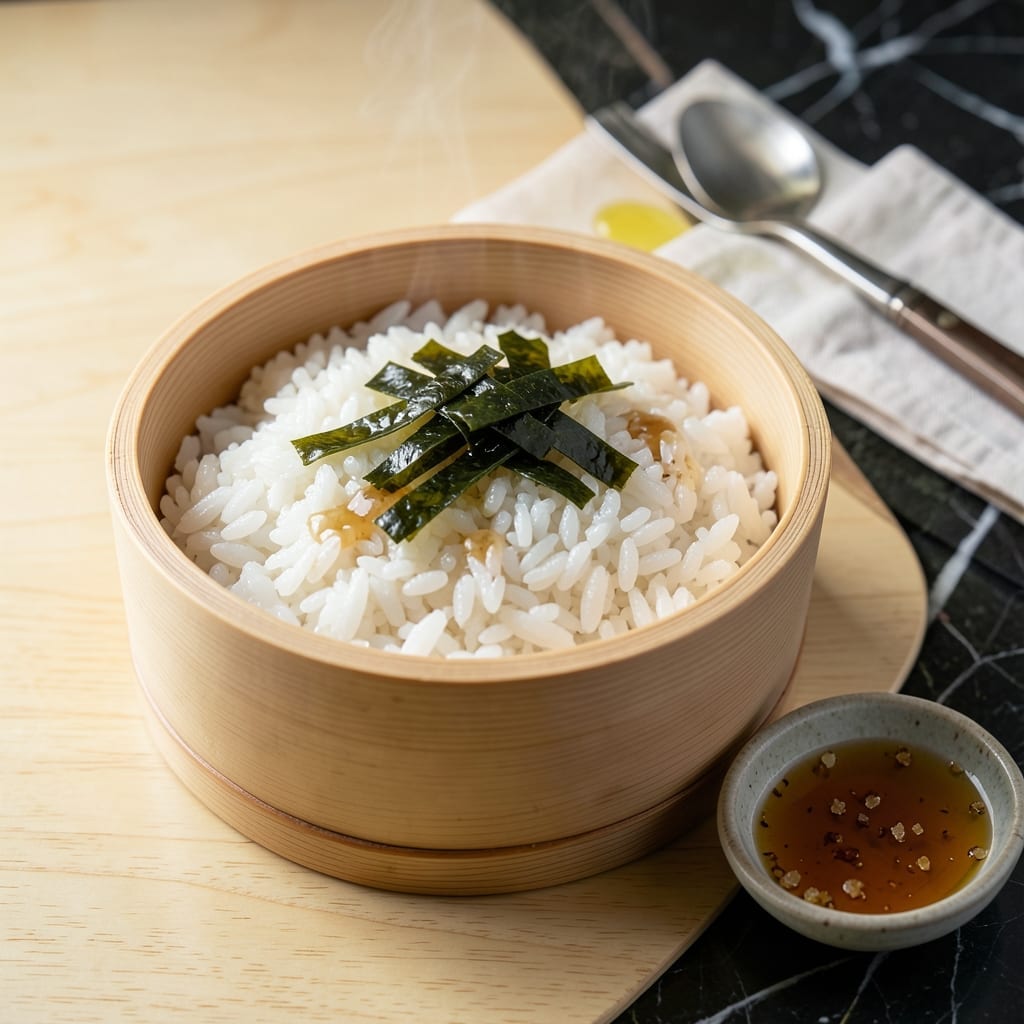
Mastering sushi rice is the foundation of exceptional rolls, and this method delivers authentic Jiro-style results every time. The key lies in precise ratios and proper seasoning techniques.
This recipe focuses on achieving the signature sticky yet firm texture that holds its shape while remaining tender. The vinegar mixture, balanced with sugar and salt, creates that distinctive subtle sweetness and tang.
Perfectly cooked grains cling together without being mushy, making it ideal for nigiri or maki. The process requires attention to detail but rewards with restaurant-quality sushi rice.
Use this as your base for creating professional sushi at home, whether with raw fish or vegetarian fillings.
Ingredients for Jiro Sushi Rice
Precision matters here—just a handful of ingredients create that signature sticky, tender texture every time.
| Ingredient | Amount | Notes |
|---|---|---|
| Japanese Short-Grain Rice 🍚 | 2 cups | Rinsed until water runs clear |
| Water 💧 | 2 ½ cups | Filtered for best results |
| Rice Vinegar 🍶 | ½ cup | Unseasoned Japanese variety |
| Granulated Sugar 🍚 | 2 tbsp | Dissolved in vinegar mixture |
| Sea Salt 🧂 | 1 tsp | Fine grain preferred |
| Kombu 🌿 | 1 piece | 2-inch square, for cooking rice |
| Sake 🍶 | 1 tbsp | Optional, for depth of flavor |
| Mirin 🍶 | 1 tbsp | Optional, for balance |
| White Sesame Seeds 🌰 | 1 tbsp | Toasted, for garnish optional |
| Nori Sheets 🍱 | 4 sheets | For serving or rolling |
For authentic results, Japanese short-grain rice is non-negotiable—Koshihikari or Nishiki brands are ideal. Asian markets or the international aisle at Whole Foods typically carry these. The rice must be rinsed thoroughly (4-5 times) until the water runs completely clear to remove excess starch. Kombu adds umami depth—find it dried at Japanese grocery stores or online.
No rice vinegar? Apple cider vinegar in a pinch, but reduce sugar slightly as it’s sweeter. Skip the kombu if unavailable—dashi powder at one-quarter teaspoon works too. Mirin and sake can be omitted, but they add complexity. For gluten-free, ensure your mirin and sake are labeled as such (some contain wheat). The sugar can be replaced with agave at equal volume.
Cooked rice keeps at room temperature for 4 hours (ideal for sushi prep). Store leftovers in an airtight container in the fridge for up to 3 days. Freeze for longer storage, but texture changes slightly—best used in cooked applications like rice bowls. Reheat gently with a splash of water to restore moisture.
Why You’ll Love This Recipe
- Sticky Perfection: It’s just rice, vinegar, sugar, and salt—but that glossy, slightly sweet tang is what makes sushi sing.
- One Pot Wonder: I dump everything in the rice cooker and walk away. No stirring, no fuss.
- Endless Uses: This rice turns into nigiri, rolls, or even a quick rice bowl when I’m too lazy for takeout.
- Budget Staple: A bag of short-grain rice costs pennies per serving, and it keeps for days. Honestly, it’s my cheapest luxury.
Step-by-Step Instructions for Vinegared Sushi Rice
Master the authentic technique that defines exceptional sushi rice with precision and care.
Step 1: Prepare and Rinse the Japanese Short-Grain Rice
Place the 2 cups Japanese Short-Grain Rice in a fine-mesh strainer and rinse under cold running water. I agitate the grains gently with my hand, watching as the water turns from milky white to increasingly clear. This process removes excess starch, which is critical for achieving the ideal sticky yet separate texture.
Continue rinsing until the water runs completely clear, which typically requires 4-5 changes of water. I never skip this step—residual starch creates gummy rice that lacks the delicate structure essential for proper sushi. Once rinsed, drain the rice thoroughly in the strainer for 10 minutes.
Step 2: Cook the Rice with Kombu for Umami Depth
Combine the drained rice with the 2.5 cups Water and the 1 piece Kombu in a heavy-bottomed pot. Let it soak for 30 minutes before cooking—this allows the rice to absorb water evenly and the kombu to begin infusing subtle oceanic notes.
Bring to a boil over medium-high heat, then immediately reduce to low heat, cover, and simmer for 15 minutes. Remove from heat and let it steam, covered, for another 10 minutes. The rice should be tender with no hard center, and all water should be absorbed. Discard the kombu before proceeding.
Step 3: Create the Sushi Vinegar Mixture
In a small saucepan, gently warm the 0.5 cup Rice Vinegar, 2 tbsp Granulated Sugar, and 1 tsp Sea Salt over low heat. Stir just until the sugar and salt dissolve completely—this should take 2-3 minutes. Avoid boiling, as high heat can alter the vinegar’s delicate acidity.
Remove from heat and stir in the 1 tbsp Sake and 1 tbsp Mirin. This combination adds complexity: the sake contributes a subtle depth while the mirin provides a touch of sweetness that balances the vinegar’s sharpness. Let the mixture cool slightly before using.
Step 4: Season the Rice with Precision
Transfer the warm cooked rice to a large wooden bowl or glass dish. Using a rice paddle or silicone spatula, gently fold in the vinegar mixture with a slicing motion. I add the mixture gradually—about one-third at a time—to ensure even distribution without crushing the grains.
As you fold, use a fan to cool the rice while simultaneously adding shine. This traditional technique, called “hand-fanning,” gives the rice its characteristic glossy appearance and helps it reach room temperature quickly. The rice is ready when it’s no longer steaming and has a subtle sheen, typically after 5-7 minutes of folding and fanning.
Step 5: Rest and Prepare for Use
Cover the seasoned rice with a damp towel to prevent drying. Let it rest for 10 minutes to allow the flavors to meld completely. This resting period ensures the rice absorbs all the vinegar mixture evenly, resulting in consistent flavor in every grain.
For serving, you can sprinkle with the 1 tbsp White Sesame Seeds for added texture and visual appeal. The rice should be sticky enough to hold together when pressed but still separate easily into individual grains. Use with the 4 sheets Nori Sheets for rolling or as a base for nigiri, maintaining its temperature and moisture until ready to serve.
Pro Tips For Making Jiro Sushi Rice
- Rinse the Rice: Wash the Japanese short-grain rice under cold water until it runs clear—I learned this the hard way after ending up with gummy sushi rice more than once.
- Use Rice Vinegar Ratio: Stick to a 1:1:0.5 ratio of rice vinegar to sugar to salt for the seasoning mix, about 50ml vinegar, 25g sugar, and 10g salt per 300g uncooked rice.
- Fan While Mixing: While folding the seasoning into the warm rice, fan it with a piece of cardboard or a fan to cool it quickly and give it that signature glossy finish.
- Skip the Metal Bowl: Use a wooden or plastic bowl for mixing—metal can react with the vinegar and give your sushi rice an off taste.
Common Mistakes When Making Great jiro sushi rice
Over-Rinsing the Rice
Rinsing removes excess starch, but going overboard washes away nutrients too. I stop once the water runs clear—usually after 4-5 changes. Over-rinsed rice loses its ability to absorb the vinegar mixture properly, resulting in dry, bland grains. 💡
Skipping the Soak
Soaking the rice for 30 minutes before cooking ensures even water absorption. Skipping this step leads to unevenly cooked grains with hard centers. I’ve learned that patience here prevents a gummy or crunchy texture in the final product.
Incorrect Water Ratio
The ratio of 2 cups rice to 2.5 cups water is critical for Jiro-style sushi rice. Too much water makes it mushy, while too little leaves it undercooked. I measure precisely every time—guessing here ruins the texture.
Boiling Vinegar Mixture
Gentle warmth is key when dissolving sugar and salt in the vinegar. Boiling it alters the delicate acidity, making the rice taste harsh instead of balanced. I keep the heat on low and stir just until dissolved, about 2-3 minutes.
Overworking the Rice
Folding the vinegar mixture into the rice should be gentle, using a slicing motion. Overworking crushes the grains, turning them into a pasty mess. I add the vinegar in thirds and handle the rice with care to maintain its structure. 🌟
Ignoring Rest Time
Letting the seasoned rice rest for 10 minutes under a damp towel allows the flavors to meld. Skipping this step means the vinegar won’t distribute evenly, leaving some bites too tangy and others bland. Patience pays off here.
Nutrition Facts
Frequently Asked Questions
What rice works best for authentic texture?
Use Japanese short-grain rice like Koshihikari or Nishiki. These varieties have the right starch content to achieve that signature sticky yet firm texture essential for sushi. Avoid jasmine or basmati as they won’t hold together properly.
Why rinse the rice so thoroughly?
Rinsing removes excess starch that would make the rice gummy. Stop when the water runs clear—usually after 4-5 changes. This ensures the grains stay separate while still sticking enough for rolling.
Can I make this without a wooden bowl?
A glass or ceramic dish works fine. The key is using a broad, shallow container to spread the rice thinly for even cooling while you fold in the vinegar mixture.
How long can seasoned rice sit before using?
Keep it at room temperature for up to 4 hours under a damp towel. For longer storage, refrigerate in an airtight container for 3 days, but use quickly for best texture and flavor.

- Mujadara Rice and Lentils Recipe: Earthy Spiced Lentils With Caramelized Onions - November 1, 2026
- Naija Fried Rice Recipe: Street-Style Spice With Veggie Crunch - November 1, 2026
- Mushy Rice Recipe: Fluffy Grains Transformed in Minutes - November 1, 2026