
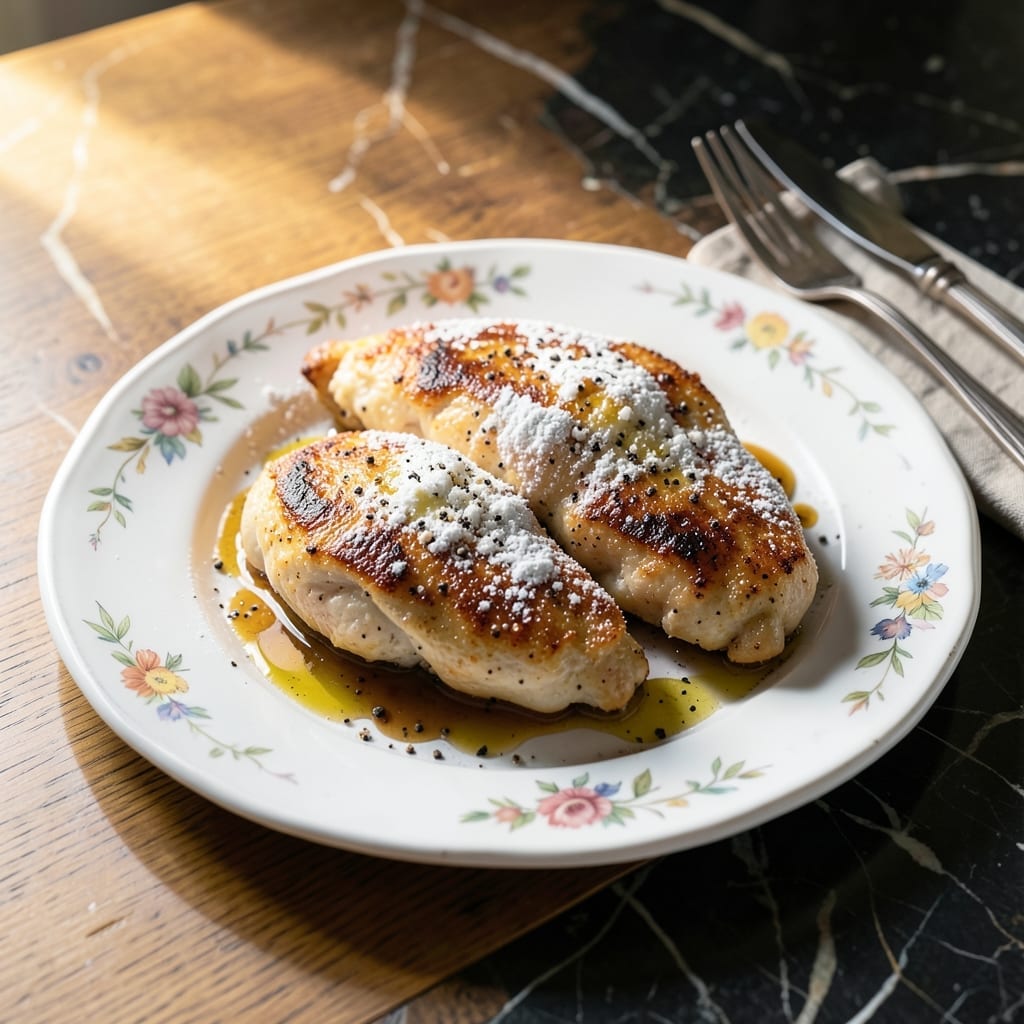
This chicken recipe was designed with picky eaters in mind, delivering mild flavors without sacrificing taste. The simple preparation ensures tender, kid-friendly portions every time.
Using basic ingredients and straightforward techniques, this dish comes together quickly with minimal fuss. The gentle seasoning makes it appealing to young palates while still satisfying for adults.
What results is juicy chicken with a texture that’s easy for children to chew and enjoy. The recipe scales perfectly for family meals or lunchboxes.
Serve with familiar sides like rice or steamed vegetables for a complete, balanced meal.
Ingredients for Kids Chicken
Mildly seasoned chicken with familiar ingredients for family-friendly meals every time.
| Ingredient | Amount | Notes |
|---|---|---|
| Boneless Skinless Chicken Breasts 🍗 | 1 ½ lb | Pounded to even thickness |
| All-Purpose Flour 🌾 | ½ cup | For light dredging |
| Unsalted Butter 🧈 | 3 tbsp | Divided for cooking |
| Olive Oil 🫒 | 1 tbsp | Light or extra-virgin |
| Kosher Salt 🧂 | ¾ tsp | Diamond Crystal preferred |
| Ground Black Pepper 🌶️ | ¼ tsp | Freshly cracked ideal |
| Garlic Powder 🧄 | ½ tsp | Not garlic salt |
| Dried Oregano 🍃 | ½ tsp | Rubbed between palms |
| Low-Sodium Chicken Broth 🥣 | ½ cup | For deglazing pan |
| Whole Milk 🥛 | ¼ cup | Optional for creaminess |
| Fresh Parsley 🌿 | 2 tbsp | Finely chopped for garnish |
| Lemon Juice 🍋 | 1 tsp | Freshly squeezed brightens |
The chicken quality is paramount here. Boneless, skinless breasts from Whole Foods or Costco offer consistent tenderness and mild flavor that picky eaters accept. Pounding to an even 1/2-inch thickness ensures uniform cooking—no dry spots, no undercooked bits. For the broth, Swanson Low-Sodium avoids overwhelming the gentle seasoning profile we’re building.
Need to swap the milk? Half-and-half works too, or skip entirely for dairy-free versions. No fresh parsley? Dried at one-third the amount (but fresh adds that pop of color kids like). The flour dredge can be swapped for panko breadcrumbs if you want extra crunch. Garlic powder not on hand? Fresh minced garlic at half the volume—just don’t let it burn.
Cooked chicken keeps 3-4 days refrigerated in airtight containers. Reheat gently with a splash of broth to maintain moisture. This dish freezes beautifully for up to 3 months—portion before freezing for easy lunchbox packing. Always bring to room temperature before reheating for best texture.
Why You’ll Love This Recipe
- One Pan Meal: I just coat the chicken in flour, sear it in butter and oil, and dinner’s done. No extra pots, no fuss.
- Crispy Outside, Tender Inside: That butter and olive oil combo gives it a golden crust while keeping the chicken juicy. Honestly, my kids beg for seconds.
- Weeknight Hero: Perfect for busy evenings when I need something fast but still satisfying. (Yes, even on a Tuesday night)
- Budget Stretch: Boneless chicken breasts are affordable, and this recipe makes them shine without fancy ingredients. I’ll be real: it’s my go-to for feeding the family without breaking the bank.
Step-by-Step Instructions for Kids Chicken
Follow this method for consistently tender, flavorful results that appeal to young palates.
Step 1: Prepare and Season the Chicken
Begin by pounding the 1.5 lb Boneless Skinless Chicken Breasts to an even ½-inch thickness between sheets of plastic wrap. This ensures uniform cooking and prevents dry spots that children often reject.
Season both sides lightly with 0.75 tsp Kosher Salt, 0.25 tsp Ground Black Pepper, 0.5 tsp Garlic Powder, and 0.5 tsp Dried Oregano. The light seasoning provides subtle flavor without overwhelming sensitive taste buds. Rub the seasonings in gently for even distribution.
Step 2: Dredge and Sear the Chicken
Lightly coat each breast in 0.5 cup All-Purpose Flour, shaking off the excess. This creates a delicate crust that helps retain moisture during cooking. Use only what clings naturally—excess flour can create a paste.
Heat 1 tbsp Olive Oil and 1 tbsp Unsalted Butter in a large skillet over medium heat until the butter melts and begins to foam. Add the chicken and cook undisturbed for 4-5 minutes per side until golden brown and the internal temperature reaches 165°F. The chicken should release easily from the pan when properly seared.
Step 3: Create a Light Pan Sauce
Transfer the cooked chicken to a plate and cover to keep warm. In the same skillet, add the remaining 2 tbsp Unsalted Butter and melt over medium-low heat. Pour in 0.5 cup Low-Sodium Chicken Broth and scrape up any browned bits from the bottom of the pan.
Simmer for 2-3 minutes until the liquid reduces slightly. For a creamier finish, stir in 0.25 cup Whole Milk and let it warm through. This mild sauce complements the chicken without introducing strong flavors that may be rejected by picky eaters.
Step 4: Finish and Serve
Return the chicken to the skillet and spoon the sauce over the top. Cook for an additional 1-2 minutes to allow the flavors to meld. The sauce should lightly coat the chicken without overwhelming it.
Transfer to a serving platter and sprinkle with 2 tbsp Fresh Parsley for a touch of color. Finish with a light drizzle of 1 tsp Lemon Juice to brighten the flavors subtly. Serve immediately while warm for the best texture and appeal.
Pro Tips For Making Kids Chicken
- Pound the Breasts: Use a rolling pin or heavy pan to flatten the chicken breasts to an even ½-inch thickness—this guarantees they cook through in the same time without drying out.
- Heat the Pan First: Get your skillet screaming hot before adding the butter and oil, or the chicken will steam instead of forming that crisp, golden crust kids love.
- Season the Flour: Mix a teaspoon of kosher salt right into the flour before dredging—it sticks better than sprinkling salt afterward and seasons the crust evenly.
- Use a Meat Thermometer: Pull the chicken at 160°F—it’ll rise to 165°F while resting, and you’ll avoid the rubbery texture that happens when you overcook it.
Essential Equipment for kids chicken
Quality Skillet
A heavy-bottomed 12-inch skillet is essential for even heat distribution. I use my stainless steel All-Clad because it browns beautifully and won’t warp. For nonstick lovers, Calphalon Classic provides worry-free cooking.
Meat Pounder
Even thickness means even cooking. A simple meat mallet with flat and textured sides works perfectly. I pound the chicken to ½-inch thickness between plastic wrap for clean, consistent results.
Instant-Read Thermometer
No more guessing—165°F is your target internal temperature. I trust my ThermoWorks ThermoPop for its accuracy and speed. It takes the stress out of ensuring the dish is safe for little ones. 🌡️
Mixing Bowls
A set of nested mixing bowls keeps your prep organized. I use Pyrex glass bowls for dredging the chicken—they’re durable and easy to clean. The 2-quart size works perfectly for this recipe.
Tongs
Long-handled locking tongs are my go-to for flipping chicken safely. Look for 12-inch stainless steel with silicone tips to avoid scratching your skillet. They provide the control needed for precise handling.
Wooden Spoon
For stirring the pan sauce, a wooden spoon won’t scratch your cookware. I keep a 12-inch bamboo spoon dedicated to my skillet. It’s gentle on surfaces while effectively scraping up browned bits. 💡
Nutrition Facts
Frequently Asked Questions
Can I use chicken thighs instead of breasts?
Yes, boneless thighs work well and often stay juicier. Reduce cooking time to 3-4 minutes per side since they’re thinner. Thighs have a slightly stronger flavor, so consider reducing seasonings slightly for picky eaters.
How can I make this crispier for kids who like crunch?
Swap the flour for panko breadcrumbs or crushed cornflakes. Press the coating firmly onto the chicken before cooking. Use medium-high heat and add 1 extra minute per side for maximum crunch.
What’s the best way to serve this to toddlers?
Cut into bite-sized pieces or thin strips for easy handling. Serve slightly warm rather than hot. Pair with familiar dips like ketchup or mild yogurt sauce to encourage trying new textures.
Can I prepare this ahead of time?
Pound and season the chicken the night before. Store covered in the fridge. Cook just before serving for best texture. Reheated chicken tends to dry out, so fresh cooking is ideal for kids.

- Jollof Rice Sauce Recipe: West African Tomato and Spice Infusion - September 25, 2026
- Japanese Rice Soup Recipe: Umami-Rich Comfort in a Bowl - September 25, 2026
- Homemade Cream Of Rice Recipe: Silk-Smooth Breakfast in Minutes - September 25, 2026