
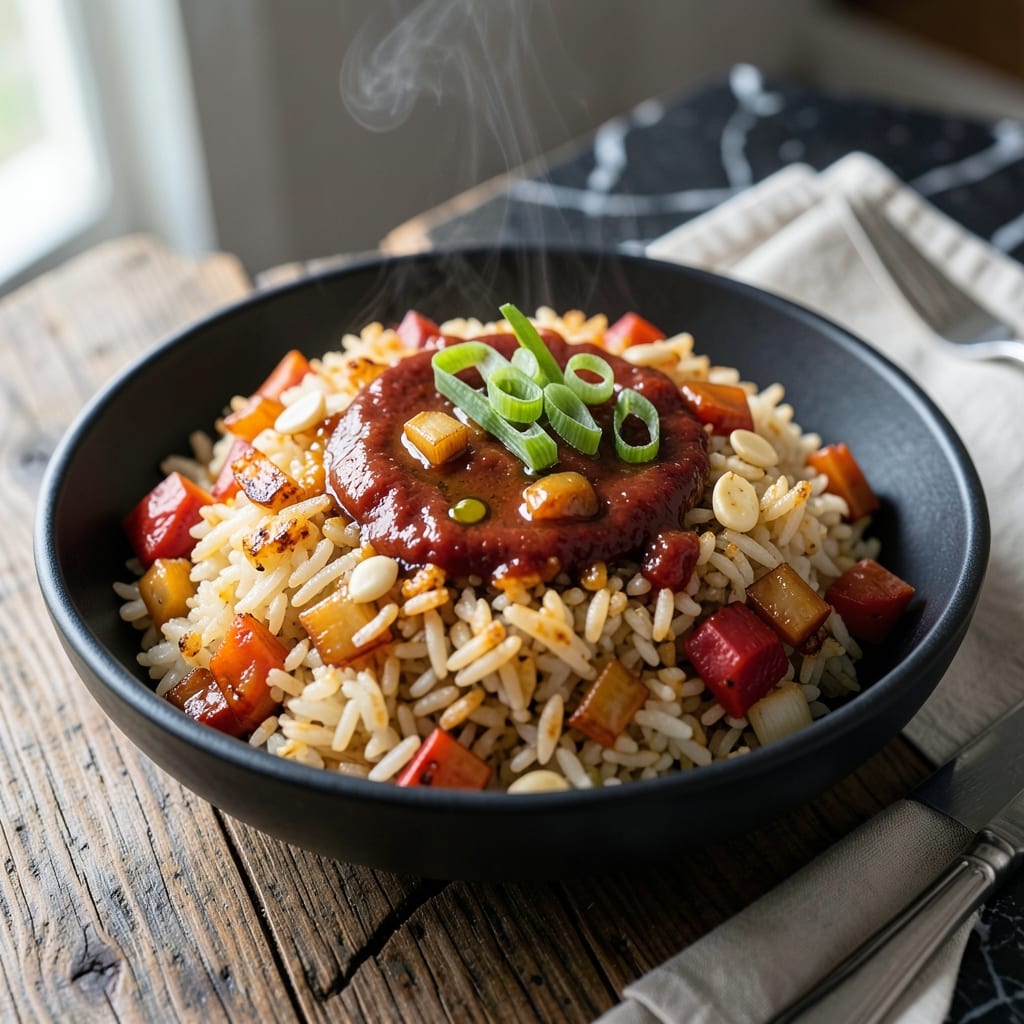
This kimchi fried rice transforms leftover rice into a bold, spicy one-pan meal packed with umami depth.
I developed this method after realizing most versions miss the key to authentic flavor: properly aged kimchi and high-heat searing. The result is a dish with crispy edges, tender rice, and that signature fermented kick.
In under 20 minutes, you’ll have a restaurant-worthy plate with minimal effort. The kimchi’s tang cuts through the richness while adding natural heat.
Serve it as a main or side—either way, it delivers maximum flavor with simple ingredients.
Ingredients for Kimchi Fried Rice Recipe Ingredients
Transform leftover rice with bold flavors and minimal effort for this one-pan wonder.
| Ingredient | Amount | Notes |
|---|---|---|
| Cooked White Rice 🍚 | 4 cups | Day-old, cold, preferred |
| Kimchi 🥬 | 1 ½ cups | Well-fermented, chopped, with juice |
| Vegetable Oil 🫒 | 2 tbsp | High smoke point preferred |
| Garlic Cloves 🧄 | 4 cloves | Minced finely for even flavor |
| Small Onion 🧅 | 1 whole | Yellow or white, diced |
| Gochujang 🌶️ | 2 tbsp | Korean chili paste, essential |
| Soy Sauce 💧 | 2 tbsp | Low-sodium preferred for balance |
| Sesame Oil 🫒 | 1 tsp | Toasted for finishing aroma |
| Large Eggs 🥚 | 4 whole | Optional but traditional topping |
| Green Onions 🌱 | 3 whole | Thinly sliced for garnish |
| Sesame Seeds 🌰 | 1 tsp | Toasted, for garnish texture |
| Sugar 🍚 | 1 tsp | Balances kimchi acidity |
| Black Pepper 🌶️ | ½ tsp | Freshly ground for best flavor |
The kimchi quality is non-negotiable. Seek well-fermented kimchi with a deep red color and tangy aroma—Whole Foods or Asian markets are reliable sources. Cold, day-old rice prevents mushiness during high-heat searing. For the gochujang, Sempio or Chongga brands are professional standards. The sesame oil should be toasted—light sesame oil lacks the nutty depth required.
No gochujang? Sriracha plus a pinch of sugar offers a quick substitute, though the flavor profile differs. Fresh kimchi can be replaced with refrigerated, not shelf-stable versions. For a vegan version, omit the eggs and add crumbled tofu for protein. The soy sauce can be swapped for tamari if gluten-free is needed, but reduce by half—it’s saltier.
Leftover fried rice stores well. Refrigerate in an airtight container for up to 3 days. Reheat in a skillet with a splash of water to restore moisture. Do not freeze—the rice texture degrades. The eggs, if used, should be cooked fresh for each serving.
Why You’ll Love This Recipe
- One-Pan Magic: I toss in the rice, kimchi, and garlic—just one pan, one spatula, and dinner’s ready before the kids start arguing.
- Flavor Bomb: That tangy kimchi with the crispy onion and garlic? Honestly, I make extra because it’s that good.
- Weeknight Hero: Between us, it’s my go-to for busy evenings when I need something fast and filling.
- Budget Stretcher: I use leftover rice and whatever kimchi’s in the fridge, so it’s cheap and waste-nothing smart.
Step-by-Step Instructions for Kimchi Fried Rice
Master this technique for a perfectly balanced dish with bold Korean flavors and ideal texture.
Step 1: Prepare the Aromatics and Protein
Heat the 2 tbsp vegetable oil in a large wok or skillet over medium-high heat until shimmering. Add the diced small onion and cook for 3-4 minutes, stirring frequently, until the edges turn translucent and begin to caramelize.
Add the 4 cloves minced garlic cloves and stir constantly for 30 seconds until fragrant. Be careful not to let the garlic burn, as this will impart a bitter flavor to the entire dish. The onions should be soft but still retain some texture at this stage.
Push the aromatics to one side of the pan and crack the 4 whole large eggs into the other side. Scramble gently until just set but still slightly runny—they’ll finish cooking when incorporated into the rice.
Step 2: Incorporate the Kimchi and Rice
Add the 1.5 cups kimchi (with its juice) to the pan, breaking it up with your spatula. Cook for 2-3 minutes until the kimchi is heated through and the liquid has mostly evaporated. This step intensifies the kimchi’s tangy, spicy depth.
Introduce the 4 cups cooked white rice to the pan, pressing down to break up any clumps. Stir-fry for 3-4 minutes, ensuring the rice absorbs the flavors from the kimchi and aromatics. Day-old rice works best here as it fries up fluffier without turning mushy.
Sprinkle the 1 tsp sugar and 0.5 tsp black pepper evenly over the rice. The sugar balances the kimchi’s acidity, while the black pepper adds subtle warmth.
Step 3: Season and Finish with Signature Flavors
Reduce the heat to medium and add the 2 tbsp gochujang and 2 tbsp soy sauce. Stir vigorously for 2 minutes to ensure the rice is evenly coated. The gochujang will deepen the color and add a rich, spicy-sweet complexity, while the soy sauce provides salty umami.
Taste and adjust seasoning if needed. The rice should have a vibrant red hue and a balance of spicy, tangy, and savory notes. If the mixture seems dry, add a splash of water and cook for another 30 seconds.
Step 4: Garnish and Serve
Drizzle the 1 tsp sesame oil over the fried rice and toss once more to distribute. This adds a nutty aroma that elevates the dish’s depth.
Transfer to a serving dish and garnish with the thinly sliced 3 whole green onions and 1 tsp sesame seeds. The green onions add freshness and a pop of color, while the sesame seeds provide a subtle crunch.
Serve immediately while hot, with extra kimchi or a fried egg on top if desired. The texture should be slightly crispy on the edges with a soft, flavorful interior.
Pro Tips For Making Kimchi Fried Rice Recipe Ingredients
- Use Day-Old Rice: Fresh rice turns mushy—spread leftover rice on a tray and refrigerate overnight for that perfect dry, separate texture.
- Drain the Kimchi: Squeeze excess liquid from the kimchi before chopping to prevent a soggy pan and get maximum flavor concentration.
- High Heat First: Crank the burner to medium-high and let the oil shimmer before adding garlic and onion—this keeps them from steaming instead of sizzling.
- Press and Crisp: After mixing everything, press the rice firmly against the pan with your spatula and let it sit for 30 seconds to develop a golden crust.
Best Sauces and Condiments for These Flavors
Essential Korean Sauces
For extra heat and depth, drizzle 1-2 tbsp gochujang directly on your plate. I also love mixing 1 tbsp soy sauce with 1 tsp sesame oil for a quick dipping sauce that enhances the rice’s umami. 🌶️
Spicy Mayo Twist
Combine ¼ cup mayonnaise with 1 tbsp sriracha and ½ tsp garlic powder. This creamy, spicy condiment adds a rich contrast to the bold kimchi flavors. It’s a game-changer for balancing heat.
Pickled Vegetables
Serve with quick-pickled cucumbers or radishes on the side. The acidity cuts through the richness, and the crunch provides a refreshing contrast. I use rice vinegar and a pinch of sugar for my pickles.
Umami Boosters
Add a sprinkle of toasted sesame seeds or furikake seasoning for extra texture and nuttiness. These small additions elevate the dish without overpowering the kimchi’s fermented tang. 💛
Fresh Garnishes
Always finish with thinly sliced green onions for freshness. A drizzle of toasted sesame oil right before serving intensifies the aroma. These simple touches make it taste restaurant-quality.
Nutrition Facts
Frequently Asked Questions
Can I use fresh rice instead of day-old?
Fresh rice contains more moisture and will turn mushy when stir-fried. For best results, use cold, day-old rice that’s had time to dry out slightly. Spread it on a tray for 30 minutes if in a hurry.
What if I don’t have gochujang?
Substitute with 1 tbsp sriracha plus 1 tsp sugar for sweetness. The flavor won’t be identical but will still add heat and depth. Adjust to taste.
How can I make this vegan?
Skip the eggs and add ½ cup crumbled tofu for protein. Use vegan kimchi (check for fish sauce) and ensure your gochujang is plant-based. The dish remains just as flavorful.
How do I store leftovers?
Keep in an airtight container in the fridge for up to 3 days. Reheat in a skillet with a splash of water to restore moisture. Freezing isn’t recommended.

- Mujadara Rice and Lentils Recipe: Earthy Spiced Lentils With Caramelized Onions - November 1, 2026
- Naija Fried Rice Recipe: Street-Style Spice With Veggie Crunch - November 1, 2026
- Mushy Rice Recipe: Fluffy Grains Transformed in Minutes - November 1, 2026