
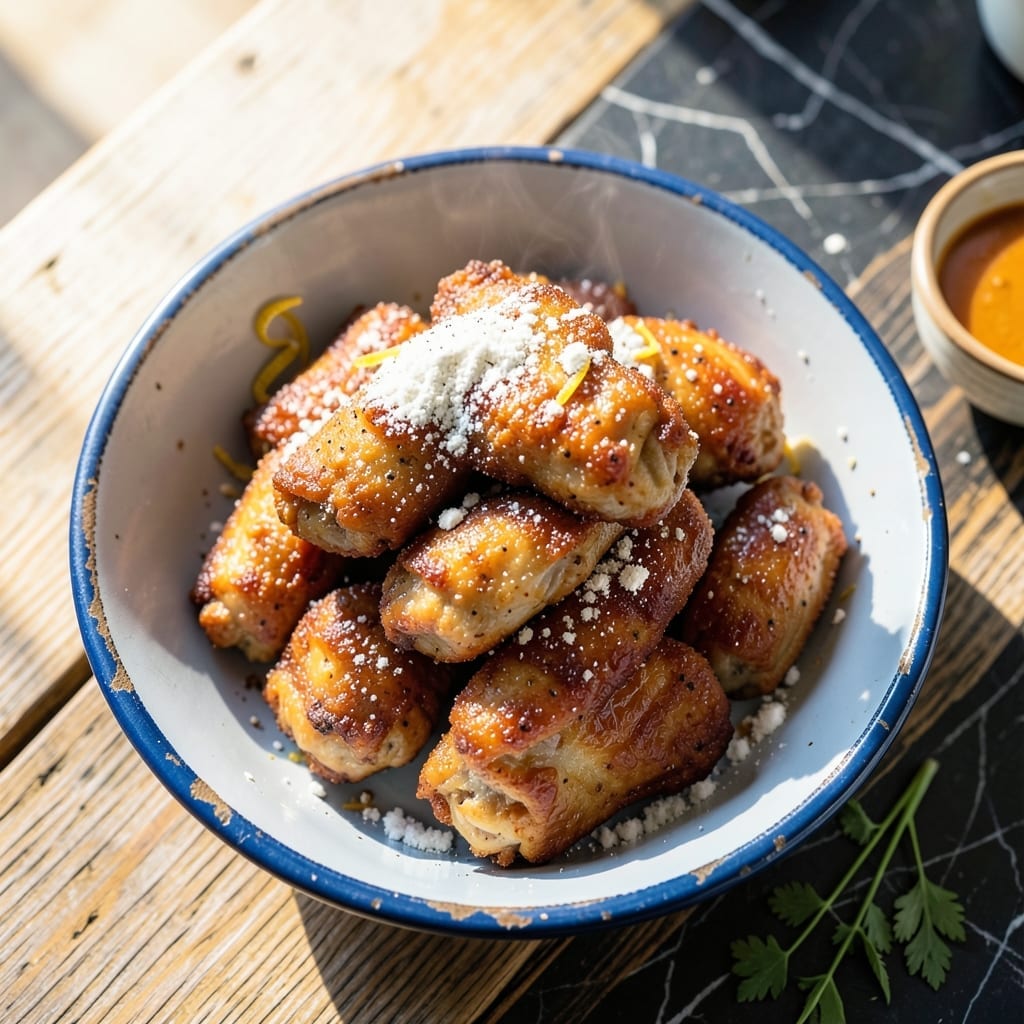
I’ve spent years perfecting this method to recreate Knott’s Berry Farm’s famous crispy, golden fried chicken at home. The key is a buttermilk marinade that tenderizes the meat while creating the perfect base for the coating.
Double-dredging in seasoned flour ensures an extra-thick, shatteringly crispy crust that stays intact from the first bite to the last. The oil temperature must stay between 350°F and 375°F to cook the chicken through without burning the coating.
What you’ll achieve is juicy, flavorful chicken with a crust so crispy it rivals the original. The seasoning blend captures that nostalgic theme park taste, making every piece irresistibly savory.
Serve hot for the best texture, and pair with biscuits or coleslaw for the full experience. Here’s how to bring the magic home.
Ingredients for Knott’s Fried Chicken
Pantry staples plus chicken and oil. That’s all you need for theme park magic.
| Ingredient | Amount | Notes |
|---|---|---|
| Chicken Thighs 🍗 | 3 lb | Boneless, skin-on for crispiness |
| Buttermilk 🥛 | 2 cups | Full-fat for tenderizing |
| All-Purpose Flour 🌾 | 3 cups | Divided for double-dredging |
| Salt 🧂 | 2 tbsp | Diamond Crystal kosher preferred |
| Black Pepper 🌶️ | 1 tbsp | Freshly ground for best flavor |
| Garlic Powder 🧄 | 2 tbsp | Not garlic salt |
| Onion Powder 🧅 | 2 tbsp | Fine grind preferred |
| Paprika 🌶️ | 1 tbsp | Sweet for color and mild flavor |
| Cayenne Pepper 🔥 | 1 tsp | Adjust for heat preference |
| Dried Thyme 🌿 | 1 tsp | Crushed between fingers |
| Dried Oregano 🍃 | 1 tsp | Mediterranean variety preferred |
| Peanut Oil 🫒 | 8 cups | For frying, high smoke point |
| Large Eggs 🥚 | 2 whole | Beaten, for coating adhesion |
The chicken matters most here. Thighs stay juicier than breasts through the frying process—skin-on gives you that shatteringly crispy crust. I grab mine from Costco (they’re pre-portioned, which saves time). The buttermilk should be full-fat; low-fat just doesn’t tenderize as well. For the flour, King Arthur all-purpose is my go-to, but any brand works as long as it’s fresh.
No buttermilk? Whole milk plus 1 tbsp vinegar per cup does the trick. Swap peanut oil for vegetable or canola oil if that’s what you’ve got—just watch the smoke point. Out of garlic powder? Fresh minced garlic at double the amount (but dry works better in the flour mix). The seasoning blend is flexible—add a pinch of celery salt if you’re feeling nostalgic.
Marinate the chicken overnight if you’ve got the time (worth the extra hour). Cooked chicken keeps in the fridge for 3-4 days, but honestly it’s best fresh. Leftovers reheat okay in the oven—400°F for 10-12 minutes to crisp the crust back up.
Why You’ll Love This Recipe
- Unfussy Method: I just soak the thighs in buttermilk overnight, then coat and fry—no complicated steps.
- That Crispy Crunch: The buttermilk makes the flour coating stick perfectly, giving every bite that golden, shatter-crack sound.
- Feeds a Hungry Crowd: I’ve served this at picnics and weeknight dinners alike, and everyone goes back for more.
- Budget Stretch: Chicken thighs are cheap, and this recipe turns them into something that tastes like a fairground treat.
Step-by-Step Instructions for Knott’s Fried Chicken
This is the method that delivers that famous theme park crunch and juicy interior every time.
Step 1: Brine the Chicken Thighs in Buttermilk
Place the 3 lb chicken thighs in a large bowl and pour over the 2 cups buttermilk. I crush the 1 tsp dried thyme and 1 tsp dried oregano between my fingers directly over the bowl to release their aromatic oils.
Stir in the 2 tbsp salt, 1 tbsp black pepper, 2 tbsp garlic powder, 2 tbsp onion powder, 1 tbsp paprika, and 1 tsp cayenne pepper. The buttermilk not only tenderizes but helps the seasoning penetrate deeply. Cover and refrigerate for 8-12 hours—this is non-negotiable for maximum flavor and moisture.
Step 2: Prepare the Double-Dredge Coating
Divide the 3 cups all-purpose flour into two bowls: 2 cups in one and 1 cup in another. To the larger portion, add 1 tbsp of the same salt, 1 tsp of the black pepper, 1 tbsp of the garlic powder, and 1 tbsp of the onion powder from your original measurements.
Beat the 2 whole large eggs in a separate shallow dish. This three-stage setup—flour, egg wash, flour—creates that signature shatteringly crisp crust. The double dredge ensures every bite has that perfect crunch Knott’s is famous for.
Step 3: Fry to Golden Perfection
Heat the 8 cups peanut oil in a deep fryer or heavy pot to 350°F. Use a candy thermometer—oil temperature is everything here. While it heats, remove the chicken from the buttermilk, letting excess drip off, then dredge each piece thoroughly in the seasoned flour.
Dip the floured chicken into the beaten eggs, letting any excess drip off, then coat generously in the remaining 1 cup all-purpose flour. Press the coating onto the meat firmly so it adheres completely. Fry in batches for 12-15 minutes, turning occasionally, until the coating is deep golden brown and the internal temperature reaches 165°F.
Step 4: Drain and Rest for Maximum Crispiness
Transfer the fried chicken to a wire rack set over a baking sheet—not paper towels. Paper towels will steam the coating and make it soggy. The rack allows air to circulate underneath, keeping the bottom as crisp as the top.
Let the chicken rest for 5-10 minutes before serving. This crucial step allows the juices to redistribute throughout the meat while the coating sets to its maximum crunch. Serve immediately while still hot and crispy for that authentic theme park experience.
Pro Tips For Making Knott’S Fried Chicken
- Soak Overnight: Let the chicken thighs bathe in buttermilk for at least 12 hours—I learned this the hard way after my first batch turned out dry and bland.
- Double Dredge: Dip the buttermilk-soaked thighs in flour, then back in buttermilk, then flour again for that extra-crispy Knotts-style crust. Sounds tedious, but it works.
- Oil Temp Matters: Keep your oil at 350°F. After burning three batches, I finally figured out that too-hot oil burns the outside before the inside cooks.
- Rest Before Serving: Give the fried chicken 5-10 minutes on a wire rack after frying—my grandmother swore by this, and she was right.
Make-Ahead Tips for This Recipe
Marinade Prep Ahead
Mix the buttermilk and all seasonings the night before. This gives the flavors time to meld beautifully. I often prep this while cleaning up dinner, then just add the chicken in the morning. 8-12 hours of marinating is ideal for maximum tenderness and flavor penetration.
Double-Dredge Setup
Divide your flour and seasonings into separate containers the day before. Store the seasoned flour in an airtight container at room temperature. The egg wash can be beaten and refrigerated in a sealed jar for up to 24 hours.
Frying Day Efficiency
Take the chicken out of the marinade 30 minutes before frying to bring it to room temperature. This ensures even cooking. I set up my dredging station with flour, egg wash, and final flour coating in a row for smooth assembly-line dredging.
Oil Management
Peanut oil can be reused 2-3 times if strained and stored properly. Let it cool completely, then strain through a fine-mesh sieve into a clean container. Store in a cool, dark place for up to 1 month. 💡
Make-Ahead Frying
You can fry the chicken 2-3 hours ahead and keep it warm. Place pieces on a wire rack in a 200°F oven. This maintains crispiness without overcooking. Just increase resting time to 15 minutes before serving.
Reheating Leftovers
For next-day enjoyment, reheat in a 400°F oven for 10-12 minutes on a wire rack. This revives the crispiness better than a microwave. Avoid covering, as it will create steam and soften the coating. 🔥
Nutrition Facts
Frequently Asked Questions
Can I use chicken breasts instead of thighs?
Thighs are recommended for juiciness, but breasts work if pounded to even thickness. Reduce frying time to 10-12 minutes to prevent dryness. The coating may not adhere as well to leaner meat.
Why does the coating need double dredging?
The first flour layer helps the egg wash stick, while the second creates that extra-thick crust. This method mimics the theme park’s signature crunch. Skip it and you’ll lose that perfect texture.
What if my oil temperature drops too low?
If it falls below 325°F, the chicken will absorb oil and become greasy. Use a thermometer and adjust heat between batches. Small batches help maintain consistent temperature.
How do I know when it’s fully cooked?
The internal temperature should reach 165°F on a meat thermometer. The coating will be deep golden brown and the juices should run clear when pierced. Never rely on color alone.

- Jollof Rice Sauce Recipe: West African Tomato and Spice Infusion - September 25, 2026
- Japanese Rice Soup Recipe: Umami-Rich Comfort in a Bowl - September 25, 2026
- Homemade Cream Of Rice Recipe: Silk-Smooth Breakfast in Minutes - September 25, 2026