
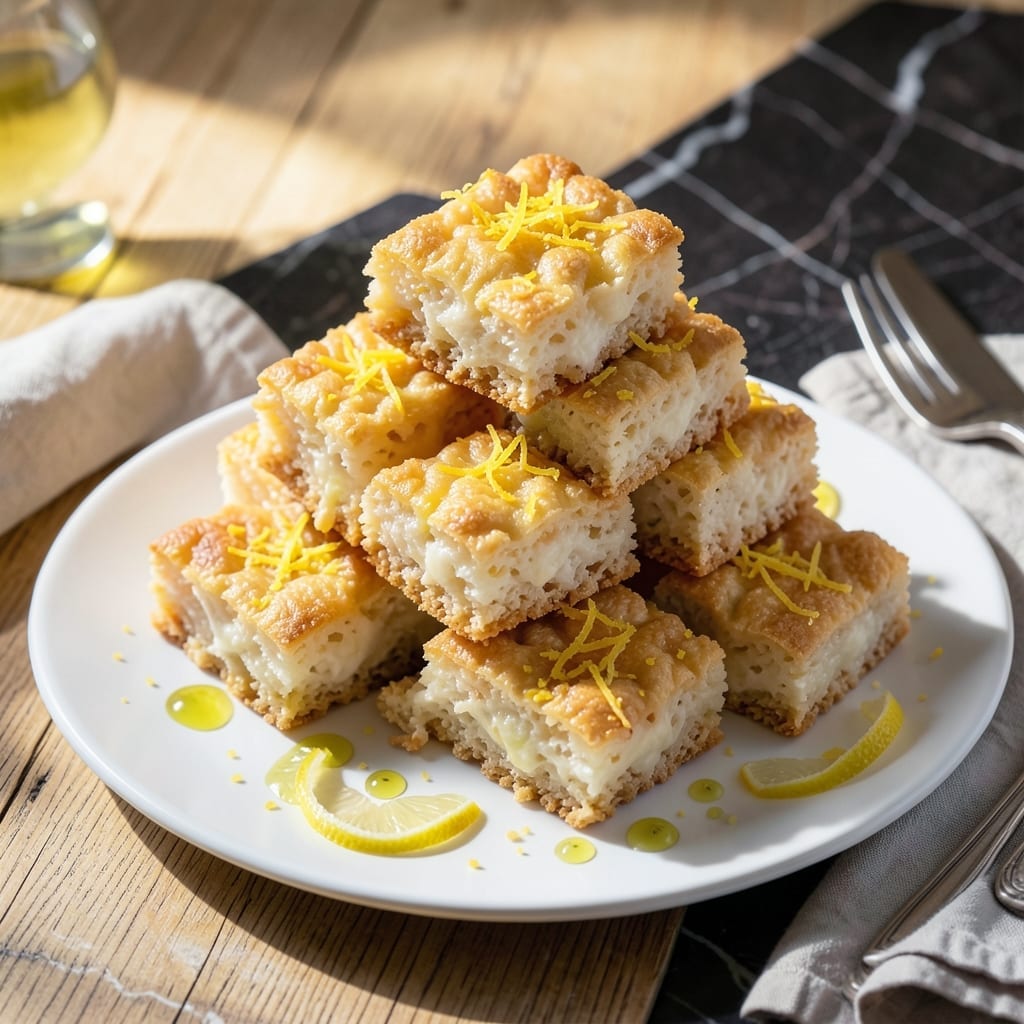
This recipe transforms the classic treat with bright citrus flavor that cuts through the sweetness. The lemon zest and juice add a refreshing twist that makes every bite pop.
With just a few simple additions to the traditional method, you get a dessert that’s familiar yet exciting. The result is perfectly chewy, tart, and impossible to resist.
Ingredients for Lemon Rice Krispie Treats
Bright citrus meets crunchy cereal for a chewy, irresistible dessert twist on tradition.
| Ingredient | Amount | Notes |
|---|---|---|
| Rice Krispies Cereal 🥣 | 6 cups | Classic variety preferred |
| Marshmallows 🍬 | 10 oz | Mini or regular size |
| Unsalted Butter 🧈 | ½ cup | Cut into cubes for even melting |
| Fresh Lemon Zest 🍋 | 2 tbsp | Finely grated from 2-3 lemons |
| Fresh Lemon Juice 🍋 | 3 tbsp | Newly squeezed for best flavor |
| Vanilla Extract 🌿 | 1 tsp | Pure extract recommended |
| Pinch of Salt 🧂 | ¼ tsp | Balances sweetness and citrus |
| Granulated Sugar 🍚 | ¼ cup | Optional, for extra sweetness |
| Yellow Food Coloring 🟡 | 2 drops | Optional, for vibrant color |
The marshmallows are critical here—Jet-Puffed or Kraft brands melt smoothly without graininess. For the butter, unsalted lets the lemon shine (salted can make the mixture too salty). Most grocery stores carry the classic Kellogg’s Rice Krispies, but generic brands work identically. Always zest the lemons first before juicing—the oils in the peel pack the most flavor (and don’t skip washing the fruit).
No fresh lemons? Bottled lemon juice at half the amount works in a pinch, but fresh zest is non-negotiable. Want extra tang? Add 1/2 tsp citric acid with the butter. For a vegan version, swap butter for Earth Balance and marshmallows for Dandies. The sugar is optional—omit if you prefer a more tart profile, or use powdered sugar for a smoother texture.
These keep at room temperature for 2-3 days in an airtight container (separate layers with parchment). For longer storage, freeze for up to 6 weeks—thaw at room temp before serving. The citrus flavor intensifies overnight, so they’re even better the next day.
Why You’ll Love This Recipe
- One Pot Wonder: I melt the butter, toast the marshmallows, and fold in the cereal—all in the same saucepan. Honestly, cleanup is just a quick rinse.
- Bright Zing: That fresh lemon zest and juice cuts through the sweetness, giving each bite a sunny pop of flavor.
- Picnic Ready: These hold their shape perfectly in a lunchbox or stacked on a platter for potlucks.
- Budget Friendly: A box of cereal, a bag of marshmallows, and one lemon make two dozen treats. I’ll be real: it’s cheaper than most desserts.
Step-by-Step Instructions for Lemon Rice Krispie Treats
Here’s the method. Straightforward, tested, works every time.
Step 1: Melt Butter and Toast Marshmallows
In a large saucepan, melt the 0.5 cup Unsalted Butter over low heat. I use cubes for even melting and consistent heat distribution. Once melted, add the 10 oz Marshmallows and stir continuously until completely smooth.
This process takes 5-7 minutes—watch for the mixture to become glossy and free of lumps. The key is patience; high heat will cause the marshmallows to burn. You’ll notice the color deepen slightly as the sugars caramelize, creating a rich base for your treats.
Step 2: Infuse with Citrus and Sweeten
Remove the saucepan from heat and immediately stir in the 2 tbsp Fresh Lemon Zest, 3 tbsp Fresh Lemon Juice, 1 tsp Vanilla Extract, and 0.25 tsp Pinch of Salt. The citrus oils in the zest will bloom in the warm mixture, releasing their bright aroma.
Add the 0.25 cup Granulated Sugar and 2 drops Yellow Food Coloring if using. Stir until fully incorporated and the mixture takes on a vibrant, sunshiny hue. The sugar enhances the lemon’s natural sweetness while the food coloring deepens the visual appeal.
Step 3: Combine with Rice Krispies Cereal
Working quickly, add all 6 cups Rice Krispies Cereal to the saucepan. Use a silicone spatula to fold the cereal into the marshmallow mixture, pressing gently to ensure every piece is evenly coated.
This step requires immediate action—the marshmallow mixture begins to set as it cools. You’ll hear the signature snap, crackle, and pop as the cereal meets the warm mixture. Stop folding once the cereal is fully saturated to maintain its crisp texture.
Step 4: Press and Set in Pan
Transfer the mixture to a greased 9×13-inch baking dish or line it with parchment paper for easy removal. Use a buttered spatula or your fingers (lightly greased) to press the mixture evenly into the pan.
Press firmly but don’t compact too tightly—this preserves the airy texture that makes Rice Krispie treats so beloved. The surface should be smooth and uniform. Allow the treats to set at room temperature for 30-45 minutes until firm to the touch.
Step 5: Cut and Serve
Once fully set, use a sharp knife to cut into 12 equal squares. For clean cuts, dip the knife in hot water between each slice. The treats should hold their shape but still have a slight give when pressed.
Each square will showcase the bright lemon flavor and vibrant color, with a perfect balance of chewy and crisp textures. Serve immediately or store in an airtight container at room temperature for up to 3 days.
Pro Tips For Making Lemon Rice Krispie Treats
- Melt Butter First: Start by melting the butter completely before adding marshmallows—this prevents uneven melting and guarantees a smooth, glossy base for the lemon zest and juice.
- Zest Before Juicing: Always zest your lemons before juicing them; it’s easier to handle the whole fruit, and you’ll get more zest without the bitter pith.
- Work Fast with Cereal: Once the marshmallow mixture is ready, fold in the Rice Krispies immediately—it thickens quickly, and waiting makes it harder to mix evenly.
- Press While Warm: Press the mixture into the pan while it’s still warm and sticky; cooling too much first makes it crumbly and harder to shape.
Regional Styles of This Dish
Southern Picnic Style
In the South, we add 1 tsp poppy seeds to the cereal mixture for a subtle nutty crunch that pairs beautifully with lemon. Press the treats into a 9×13-inch dish and sprinkle with extra zest before setting. 💛
West Coast Fusion
California bakeries often incorporate dried cranberries or white chocolate chips for a sweet-tart contrast. Add ½ cup of either to the cereal before pressing into the pan. The colors make these perfect for spring gatherings.
Midwest Classic
For a traditional Midwestern touch, use butter-flavored shortening instead of butter. It creates a slightly firmer texture that holds up well in lunchboxes. I remember my grandma making these for school picnics.
New England Variation
New Englanders love adding 1 tsp cardamom to the marshmallow mixture for a warm, aromatic depth. It’s an unexpected but delicious complement to the bright citrus. The spice adds complexity without overpowering.
Texas Bold
Everything’s bigger in Texas, so we double the lemon zest to 4 tbsp for an intense citrus punch. Some even add 1 tbsp honey to the marshmallow mixture for extra richness. These disappear fast at any potluck.
Pacific Northwest
Seattle bakeries often use local lavender with the lemon for a floral note. Add ½ tsp culinary lavender to the marshmallow mixture. The combination is surprisingly harmonious and feels luxurious. ✨
Nutrition Facts
Frequently Asked Questions
Can I use bottled lemon juice instead of fresh?
Yes, but fresh is best for bright flavor. Use 1.5 tbsp bottled juice per 3 tbsp fresh, but fresh zest is non-negotiable. Bottled lacks the aromatic oils that make the treats special.
How do I keep them from sticking to the pan?
Line your 9×13-inch pan with parchment paper or lightly grease it with butter. Press the mixture with buttered hands or a spatula to prevent sticking.
Why did my treats turn out hard?
Overmixing or pressing too firmly can make them dense. Work quickly but gently when combining cereal with marshmallow mixture, and press just enough to hold shape.
Can I make these ahead of time?
They keep at room temperature for 2-3 days in an airtight container. For longer storage, freeze for up to 6 weeks.

- Mujadara Rice and Lentils Recipe: Earthy Spiced Lentils With Caramelized Onions - November 1, 2026
- Naija Fried Rice Recipe: Street-Style Spice With Veggie Crunch - November 1, 2026
- Mushy Rice Recipe: Fluffy Grains Transformed in Minutes - November 1, 2026