
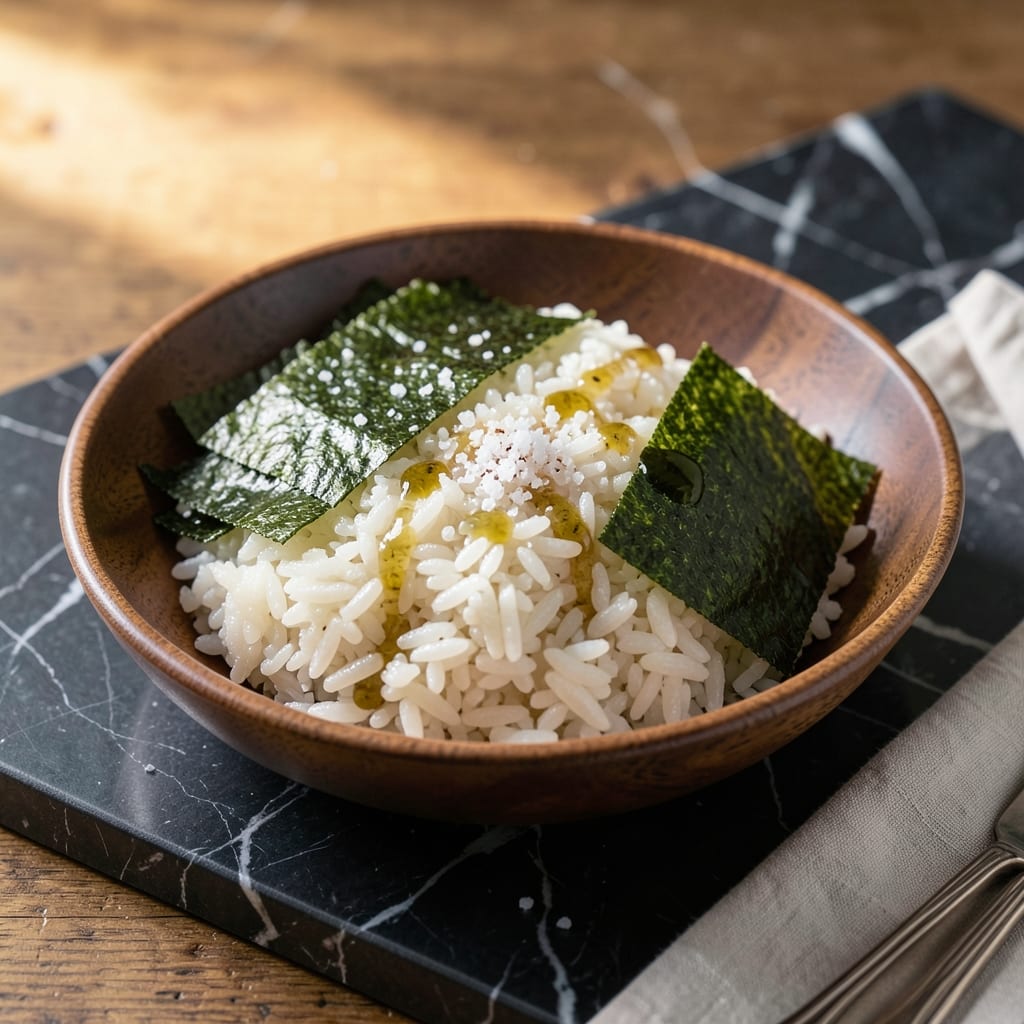
Cooking sushi rice in an Instant Pot transforms this staple into a foolproof process with perfectly sticky results every time. This method eliminates the guesswork of stovetop cooking while delivering consistent texture and flavor.
Lundberg sushi rice benefits from precise water ratios and timed pressure cooking. The Instant Pot’s controlled environment ensures even absorption, creating grains that cling together just right for rolling or serving.
What you’ll achieve is rice with the ideal balance of moisture and firmness, ready for sushi, bowls, or as a side. The process is streamlined yet yields restaurant-quality results without specialized equipment.
This approach saves time while maintaining the integrity of traditional sushi rice preparation. The outcome is reliable, delicious, and exactly what you need for your next meal.
Ingredients for Lundberg Sushi Rice Instant Pot
Lundberg sushi rice plus a few essentials delivers restaurant-quality results with minimal effort.
| Ingredient | Amount | Notes |
|---|---|---|
| Lundberg Sushi Rice 🍚 | 2 cups | Rinsed until water runs clear |
| Water 💧 | 2 ¼ cups | Filtered preferred for best texture |
| Rice Vinegar 🍶 | ⅓ cup | Seasoned or unseasoned both work |
| Granulated Sugar 🍚 | 2 tbsp | Dissolves completely in vinegar |
| Sea Salt 🧂 | 1 tsp | Fine grain for even distribution |
| Nori Sheets 🍣 | 4 sheets | For rolling sushi if desired |
| Sushi-Grade Salmon 🐟 | ½ lb | Fresh, sushi-grade required |
| Persian Cucumbers 🥒 | 1 whole | Thinly sliced for filling |
| Avocado 🥑 | 1 whole | Ripe but firm for slicing |
| Carrots 🥕 | 1 whole | Julienned for filling |
| Pickled Ginger 🌸 | ¼ cup | Optional for serving |
| Soy Sauce 🫙 | ¼ cup | Low-sodium recommended |
| Wasabi Paste 🌿 | 2 tbsp | Adjust to taste preference |
| Sesame Seeds 🌰 | 2 tbsp | Toasted for garnish |
The rice is the star here. Lundberg sushi rice is my go-to—consistent quality, easy to find at Whole Foods or most supermarkets. Rinsing is non-negotiable (removes excess starch for that perfect sticky texture). For the vinegar, Mizkan or Nakano are solid brands. Don’t skip the sugar—it balances the acidity and gives authentic sushi rice flavor.
No sushi-grade salmon? Tuna or cooked shrimp work great. Want vegetarian? Swap in cucumber, avocado, and carrot only. The nori sheets are optional if you’re serving this as a side. For the soy sauce, Kikkoman or San-J are reliable. If you’re out of rice vinegar, apple cider vinegar in a pinch (but the flavor won’t be the same).
Cooked rice keeps 2-3 days in the fridge, but it’s best fresh. Store leftovers in an airtight container. For fillings, prep everything the day of serving—avocado browns fast. The toasted sesame seeds? 3-4 days in a sealed jar at room temp.
Why You’ll Love This Recipe
- Set It & Forget: I toss everything in the Instant Pot, press a button, and walk away—no stirring, no watching.
- Sweet-Tangy Perfection: The rice vinegar and sugar mix gives that classic sushi rice flavor I crave every time.
- Meal Prep Magic: I make a big batch Sunday and use it for bowls, rolls, and sides all week.
- Pocket-Friendly Staple: Lundberg rice is budget-friendly, and one bag makes multiple meals without breaking the bank.
Step-by-Step Instructions for Lundberg Sushi Rice in the Instant Pot
Here’s the method that guarantees perfectly sticky grains every single time.
Step 1: Rinse and Prepare the Sushi Rice
Place the 2 cups Lundberg Sushi Rice in a fine-mesh strainer and rinse under cold running water. I rinse until the water runs completely clear—this removes excess starch that would otherwise make the rice gummy rather than perfectly sticky.
Let the rice drain for 5 minutes while you measure the other ingredients. Proper rinsing is the foundation of great sushi rice, so don’t rush this step. The grains should feel slightly gritty when rubbed between your fingers, not chalky.
Step 2: Cook the Rice in the Instant Pot
Add the rinsed rice and all of the 2.25 cups Water to your Instant Pot. Use filtered water if possible—it makes a noticeable difference in the final texture. Secure the lid, set the valve to sealing, and cook on high pressure for 3 minutes.
After the cooking cycle completes, allow the pressure to release naturally for 10 minutes, then manually release any remaining pressure. I’ve found this timing produces grains that are tender but still hold their shape. The rice should appear slightly wet at this stage—that’s perfect for the next step.
Step 3: Prepare the Seasoning Mixture
While the rice cooks, combine the 0.33 cup Rice Vinegar, 2 tbsp Granulated Sugar, and 1 tsp Sea Salt in a small saucepan. Heat over medium-low just until the sugar and salt dissolve completely—this should take 2-3 minutes.
Don’t let the mixture boil; you just want to create a smooth seasoning liquid. The sugar needs to fully dissolve to avoid grainy rice. Remove from heat and let cool slightly while the rice finishes cooking.
Step 4: Season the Cooked Rice
Transfer the cooked rice to a large, non-reactive bowl (wooden or glass works best). Using a rice paddle or silicone spatula, gently fold in the vinegar mixture with a cutting motion—don’t stir, as this can mash the grains.
Fan the rice with a piece of cardboard or use a handheld fan while you fold. This cooling process gives the rice that characteristic glossy appearance and helps it absorb the seasoning evenly. The rice is ready when it’s at room temperature and has a slight sheen.
Step 5: Serve with Your Favorite Sushi Accompaniments
Divide the seasoned rice among plates or use it as the base for your sushi creations. I like to serve it immediately with Nori Sheets, sliced Sushi-Grade Salmon, Persian Cucumbers, and Avocado for fresh rolls.
For a complete experience, offer Soy Sauce, Wasabi Paste, and Pickled Ginger on the side. The rice should be sticky enough to hold together when pressed but still separate easily when eaten. Sprinkle with Sesame Seeds for added texture and visual appeal.
Pro Tips For Making Lundberg Sushi Rice Instant Pot
- Rinse the Rice: Wash Lundberg sushi rice until the water runs clear—this removes excess starch so your grains stay separate and sticky, not gummy. I learned this the hard way after my first three batches turned into rice pudding.
- Use Equal Water: Stick to a 1:1 rice-to-water ratio for the Instant Pot. After burning a batch with too little water, I now measure precisely—1 cup rice to 1 cup water, no exceptions.
- Let It Steam: Once the pressure releases, let the rice sit covered for 10 minutes. Sounds tedious, but it guarantees even texture and prevents a soggy bottom.
- Warm the Vinegar: Mix the rice vinegar, sugar, and salt in a small bowl and microwave for 20 seconds before folding into the rice. The warmth helps the seasoning absorb better and prevents clumping.
Dietary Considerations for lundberg sushi rice instant pot
Gluten-Free Friendly
This creation is naturally gluten-free, making it perfect for anyone avoiding wheat. Lundberg Sushi Rice is certified gluten-free, and all seasonings—rice vinegar, sugar, and salt—are inherently free of gluten. Always double-check your soy sauce though, as traditional versions contain wheat.
Vegetarian and Vegan
For a plant-based version, simply skip the sushi-grade salmon and load up on Persian cucumbers, avocado, and carrots. The rice itself is vegan, and the vinegar mixture contains no animal products. I love making veggie-only rolls with these fresh ingredients.
Nut-Free Safety
This dish is nut-free by default, but be cautious with cross-contamination if serving to those with severe allergies. Sesame seeds are technically seeds, not nuts, but they’re a common allergen—omit if needed. 💡
Low-Sodium Option
To reduce sodium, use low-sodium soy sauce and cut the sea salt in the seasoning mixture by half. The rice will still have great flavor, especially when paired with fresh, vibrant fillings. I often make this adjustment for health-conscious family members.
Sugar Alternatives
For a lower-glycemic version, replace the granulated sugar with 1 tbsp honey or 2 tbsp coconut sugar. These dissolve just as well and add a subtle depth of flavor. The rice will still have that signature sushi taste.
Allergen Notes
The only potential allergen here is sesame from the seeds. For a completely allergen-free meal, skip the garnish. The nori sheets and other ingredients are typically safe, but always verify labels for hidden allergens. 🌱
Nutrition Facts
Frequently Asked Questions
Can I use a different rice variety?
Stick with short-grain white rice for best results. Lundberg works perfectly, but other brands like Koshihikari also perform well. Avoid long-grain varieties as they won’t achieve the same sticky texture.
What if my rice turns out too wet?
If the grains seem mushy, reduce the water to 2 cups next time. Also, ensure you’re using the exact 1:1.125 rice-to-water ratio and letting the pressure release naturally for 10 minutes.
Can I halve the recipe?
Yes! Use 1 cup rice with 1.125 cups water and maintain the same cooking time. The Instant Pot works well with smaller batches, but avoid going below 1 cup rice for even cooking.

- Peri Peri Rice Recipe: Spicy Portuguese One-Pot Harmony - November 6, 2026
- Mexican Flavoured Rice Recipe: Authentic Spice-Infused One-Pot Meal - November 6, 2026
- Lao Gan Ma Fried Rice Recipe: Spicy Wok-Tossed Perfection - November 6, 2026