
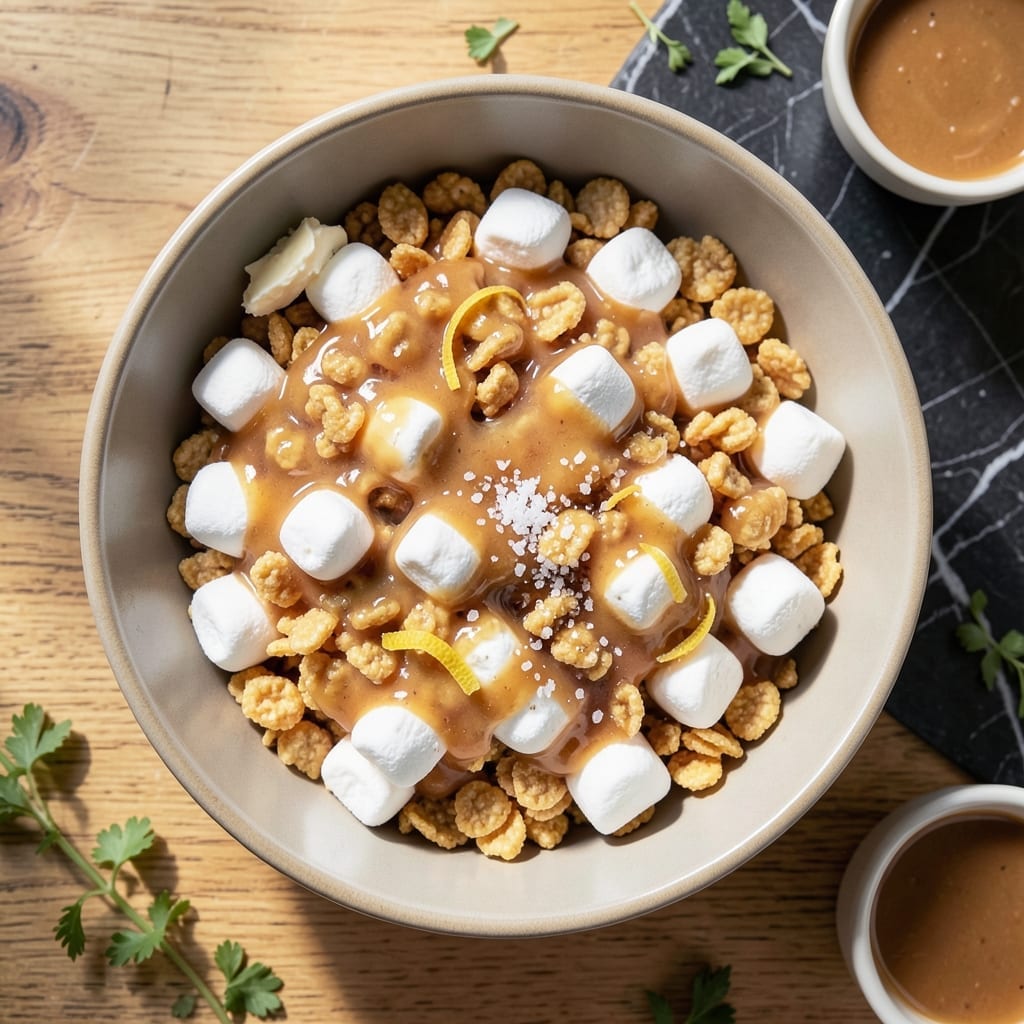
There’s a reason these no-bake squares have remained a classic for generations—they’re impossibly simple yet deliver perfectly crispy and chewy results every time.
This recipe requires just a handful of pantry staples and comes together in under 15 minutes. The melted marshmallow and butter create a sticky base that binds the cereal into uniform, easy-to-cut squares.
What you end up with is a batch of golden treats that are soft on the inside with just the right amount of crunch. They’re ideal for parties, lunchboxes, or satisfying a sudden sweet tooth.
No oven, no fuss—just pure, nostalgic deliciousness.
Ingredients for Marshmallow and Rice Crispy
Six ingredients transform into crispy, chewy no-bake squares everyone loves and remembers.
| Ingredient | Amount | Notes |
|---|---|---|
| Miniature Marshmallows 🍬 | 10 oz | Fresh for best melt |
| Rice Krispies Cereal 🥣 | 6 cups | Name brand preferred |
| Unsalted Butter 🧈 | 3 tbsp | For binding mixture |
| Vanilla Extract 🌿 | 1 tsp | Pure for best flavor |
| Fine Sea Salt 🧂 | ¼ tsp | Balances sweetness |
| Optional Food Coloring 🎨 | 0.125 tsp | Gel type recommended |
The marshmallows are non-negotiable for texture. Jet-Puffed or Kraft brands melt the smoothest—avoid off-brands that can be grainy. Use fresh marshmallows (older ones get hard and won’t incorporate properly). For the cereal, Kellogg’s Rice Krispies have the perfect snap, but store brands work if that’s what you have. The butter should be unsalted so you control the seasoning.
No miniature marshmallows? 10 ounces of large marshmallows works—just cut them into quarters first. Want a twist? Peanut butter at half the butter amount adds richness. For a festive look, food coloring gel (not liquid) won’t thin the mixture. Skip the vanilla if you prefer a purer marshmallow flavor. Salt is optional but enhances all the flavors.
These keep at room temperature for 2-3 days in an airtight container. For longer storage, refrigerate for up to 1 week or freeze for 6 weeks. Cut into squares after fully cooled for clean edges. The cereal stays crispest when stored in a single layer.
Why You’ll Love This Recipe
- One Pot Wonder: I melt the butter, toss in marshmallows, and stir in cereal—no bowls to stack, just a spatula to lick.
- Buttery Vanilla Magic: That hit of vanilla in the melted marshmallow-butter mix turns simple into crave-worthy with every bite.
- Party or Lunchbox: I’ve packed these squares for school treats and served them at potlucks—always the first to disappear.
- Pocketbook Friendly: Between us, a box of cereal and a bag of mini marshmallows feed a crowd for under five bucks.
Step-by-Step Instructions for Marshmallow and Rice Krispy Squares
This no-bake method delivers perfect texture with minimal effort and maximum flavor.
Step 1: Melt Butter and Prepare Marshmallows
In a large microwave-safe bowl, melt the 3 tbsp Unsalted Butter on high power for 45-60 seconds until completely liquid. Watch closely—you want it melted, not browned. The butter should be hot enough to begin melting the marshmallows on contact.
Immediately add all 10 oz Miniature Marshmallows to the melted butter. If using the 0.125 tsp Optional Food Coloring, add it now and stir briefly to combine. The marshmallows will begin to soften within 30 seconds from the residual heat.
Step 2: Microwave Marshmallow Mixture to Smooth Perfection
Return the bowl to the microwave and heat on high power in 30-second intervals, stirring between each, until the mixture is completely smooth. This typically takes 1.5-2 minutes total. Stop when no marshmallow lumps remain and the mixture has a glossy sheen.
Once melted, stir in the 1 tsp Vanilla Extract and 0.25 tsp Fine Sea Salt. The vanilla adds depth to the sweetness, while the salt enhances all flavors. Be thorough here—the mixture should be uniform in color and texture before proceeding.
Step 3: Incorporate Rice Krispies Cereal
Working quickly (the mixture sets fast as it cools), add all 6 cups Rice Krispies Cereal to the marshmallow mixture. Use a silicone spatula to fold gently but firmly, ensuring every piece is evenly coated. The cereal should be fully saturated but not crushed—preserve those crispy textures.
You’ll notice the mixture becomes harder to stir as it cools. This is normal. If it becomes too stiff to work with, microwave for an additional 15-20 seconds to soften slightly, but avoid over-heating which can make the final squares too dense.
Step 4: Press and Set the Mixture
Transfer the mixture to a greased 9×13-inch baking dish or a dish of similar size. Use the spatula or buttered hands to press firmly and evenly into all corners. Apply consistent pressure—the more compact the mixture, the cleaner your squares will cut later.
Let the mixture set at room temperature for 30-45 minutes until completely firm to the touch. Resist the urge to cut too soon; premature slicing results in misshapen edges. The surface should be cool and solid with no sticky residue on your finger when pressed.
Step 5: Cut and Serve
Once fully set, use a sharp knife to cut into 12-16 squares. For clean cuts, dip the knife in hot water and wipe between each slice. This prevents dragging the marshmallow mixture and ensures professional-looking edges.
Serve immediately or store in an airtight container at room temperature for up to 3 days. These squares maintain their texture best when kept in a single layer, as stacking can cause them to stick together. The cereal should retain a slight crispness with a perfectly chewy marshmallow binding.
Pro Tips For Making Marshmallow And Rice Crispy
- Melt Butter First: Start by melting the butter on low heat before adding marshmallows—this prevents hot spots that can scorch the sugar and gives you even melting every time.
- Use Fresh Marshmallows: I learned this the hard way—stale mini marshmallows turn rock-hard in the mix, so check the bag’s seal and squeeze a few to test their softness before using.
- Skip the Over-Stirring: Once the cereal goes in, resist the urge to keep folding—just 20-30 seconds of gentle mixing keeps the Rice Krispies from turning mushy.
- Press While Warm: Get the mixture into the pan and press it down within 2 minutes of removing from heat; after that, it starts setting fast and won’t flatten evenly.
Wine and Beer Pairings for These Flavors
Milk Pairings
Classic cold milk is my go-to pairing—the cool creaminess balances the sweetness perfectly. I recommend whole milk for its richness, but 2% milk works too. The contrast in temperature and texture makes each bite more enjoyable. 💛
Coffee Complements
A cup of hot black coffee cuts through the sweetness with its bitterness. For iced versions, cold brew with a splash of cream creates a smooth harmony. I find the caffeine boost makes these treats even more satisfying as an afternoon pick-me-up.
Fruit Juices
Cold apple cider adds a crisp, autumnal note that pairs beautifully. For a tropical twist, pineapple juice offers a bright, tangy contrast. I usually serve these with 8 oz juice boxes for kids’ parties—they’re always a hit.
Beer Options
Surprisingly, stout beers like Guinness work wonderfully—the dark, roasted flavors complement the marshmallow’s sweetness. For lighter options, a wheat beer with its citrus notes provides a refreshing contrast. I discovered this pairing at a beer festival and was amazed by how well it worked. 🍺
Nutrition Facts
Frequently Asked Questions
Can I use regular marshmallows instead of mini?
Yes! Use 10 oz of large marshmallows cut into quarters for even melting. Mini ones just melt faster and more evenly, but the result is the same.
Why did my squares turn out hard?
Overheating the marshmallow mixture can make them dense. Stick to 30-second microwave intervals and stop when smooth. Press firmly but don’t compact too much.
How do I make them extra crispy?
Add 1 extra cup of cereal to the mixture. For maximum crunch, press lightly when shaping and let them set uncovered for 1 hour.
Can I add chocolate chips?
Fold in 1 cup of chocolate chips after mixing the cereal. The residual heat will soften them slightly without melting completely.

- Mujadara Rice and Lentils Recipe: Earthy Spiced Lentils With Caramelized Onions - November 1, 2026
- Naija Fried Rice Recipe: Street-Style Spice With Veggie Crunch - November 1, 2026
- Mushy Rice Recipe: Fluffy Grains Transformed in Minutes - November 1, 2026