
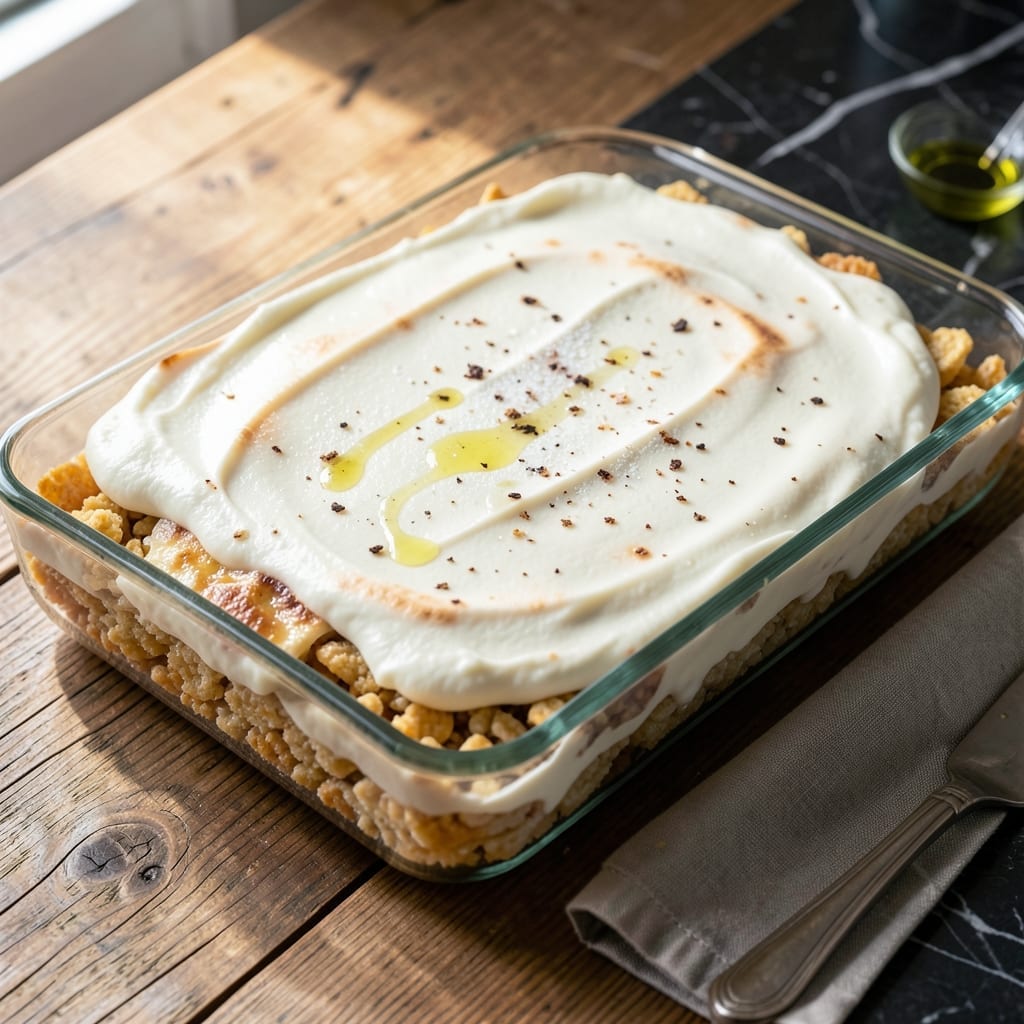
There’s a reason these treats have been a classic for generations—this method delivers perfectly gooey results every time without turning on the oven.
The secret lies in the precise melting of marshmallow creme with butter before folding in crisp rice cereal. This creates a no-bake masterpiece that sets into soft, chewy squares with that signature snap.
You’ll end up with cloud-like treats that hold their shape while maintaining a melt-in-your-mouth texture. The marshmallow creme creates a smoother, creamier base than traditional marshmallows.
Ideal for parties, lunchboxes, or spontaneous cravings. This recipe comes together in under 15 minutes with minimal cleanup.
Ingredients for Marshmallow Creme Rice Krispie
Six ingredients transform into cloud-like no-bake treats everyone will love.
| Ingredient | Amount | Notes |
|---|---|---|
| Rice Krispies Cereal 🥣 | 6 cups | Crisp and fresh for best texture |
| Marshmallow Creme 🍬 | 10 oz | One standard jar (like Jet-Puffed) |
| Unsalted Butter 🧈 | ¼ cup | For smooth melting |
| Vanilla Extract 🌿 | 1 tsp | Pure for best flavor |
| Salt 🧂 | ¼ tsp | Fine grain for even distribution |
| Cooking Spray 🫒 | 1 can | For greasing the pan |
The marshmallow creme is non-negotiable here—Jet-Puffed or Kraft brands melt the smoothest. Use fresh Rice Krispies (the cereal loses its snap over time, and stale pieces won’t give you that signature crunch). Unsalted butter lets you control the salt content precisely. I always keep a jar of each on hand for spontaneous baking.
No marshmallow creme? 10 oz regular marshmallows work in a pinch, but the texture won’t be as velvety. Out of Rice Krispies? Any crisp rice cereal does the trick. For a richer flavor, brown the butter before melting—adds a nutty depth. Vanilla is optional but highly recommended (pure extract, not imitation).
These keep at room temperature for 2-3 days in an airtight container. For longer storage, freeze for up to 6 weeks. Press plastic wrap directly on the surface to prevent drying out. Leftovers? Doubtful.
Why You’ll Love This Recipe
- One Bowl Wonder: I melt the butter and marshmallow creme together, toss in the cereal, and it’s done—no mixer, no fuss.
- Goey Perfection: That extra vanilla and pinch of salt make the marshmallow creme taste like a s’more without the campfire.
- Party or Snack: I’ve served these at birthday parties and packed them in lunchboxes—they’re always the first to disappear.
- Budget Stretch: A box of Rice Krispies and a jar of creme make two dozen squares for pennies, and they keep for days.
Step-by-Step Instructions for Marshmallow Creme Rice Krispie Treats
Here’s the method. Straightforward, tested, works every time.
Step 1: Prepare the Pan and Melt the Butter
Lightly coat a 9×13-inch baking pan with the cooking spray. This prevents the finished treats from sticking and makes cleanup effortless. I prefer using a light hand with the spray—just enough to create a thin, even coating.
In a large saucepan, melt the 0.25 cup unsalted butter over low heat. Watch for the butter to completely liquefy without browning—this should take about 2-3 minutes. The low heat ensures even melting and prevents the butter from separating or burning.
Step 2: Incorporate Marshmallow Creme and Flavorings
Once the butter is fully melted, add the entire 10 oz marshmallow creme to the saucepan. Stir constantly with a silicone spatula or wooden spoon, breaking up the creme as it softens. This process takes about 3-4 minutes on low heat.
When the mixture is nearly smooth, add the 1 tsp vanilla extract and 0.25 tsp salt. The vanilla enhances the sweetness while the salt balances the flavors. Continue stirring for another 30-60 seconds until the mixture is completely smooth and glossy. Remove from heat immediately to prevent overheating.
Step 3: Combine with Rice Krispies Cereal
Working quickly, add all 6 cups Rice Krispies cereal to the saucepan. Use the spatula to fold the cereal into the marshmallow mixture, pressing gently to ensure every piece is evenly coated. The cereal will begin to soften slightly as it absorbs the warm mixture.
This step requires speed—the marshmallow mixture begins to set as it cools. You should achieve a uniform, sticky coating on all the cereal within 1-2 minutes of folding. If the mixture starts to firm up before you’re finished, place the saucepan back on low heat for 10-15 seconds to soften it slightly.
Step 4: Press and Set in the Prepared Pan
Transfer the cereal mixture to the prepared baking pan. Using the spatula or buttered hands (to prevent sticking), press the mixture evenly into the pan. I apply firm, consistent pressure across the entire surface to create uniform thickness.
For best results, press down gently at first to spread the mixture, then apply more pressure to compact it. The top should be smooth with no visible gaps. Allow the treats to set at room temperature for 1-2 hours until firm enough to cut into squares.
Step 5: Cut and Serve
Once fully set, use a sharp knife to cut the treats into 12 equal squares. For cleaner cuts, I dip the knife in hot water and wipe it between each cut. This prevents the marshmallow mixture from sticking to the blade.
The finished treats should hold their shape when lifted, with a slightly glossy surface and a soft, chewy texture throughout. Serve immediately or store in an airtight container at room temperature for up to 3 days. The texture is best when enjoyed fresh but remains delightfully gooey for days.
Pro Tips For Making Marshmallow Creme Rice Krispie
- Melt Low and Slow: Keep the heat on medium-low when melting the butter and marshmallow creme—I learned this the hard way after scorching two batches. Stir constantly until smooth, about 3-4 minutes.
- Use Fresh Cereal: Stale Rice Krispies won’t give you that perfect snap, so double-check the box date. If they don’t crackle in milk, they won’t crackle in your treats.
- Grease Everything Early: Butter your spatula, bowl, and even your hands before pressing the mixture into the pan. Sounds tedious, but it prevents half the mixture from sticking to your tools instead of the tray.
- Add Salt Last: Sprinkle the salt over the cereal after mixing in the marshmallow creme, not before. This keeps the sweetness balanced without overpowering the vanilla.
Flavor Customization for These Flavors
Chocolate Lover’s Twist
Add ½ cup semi-sweet chocolate chips to the melted marshmallow mixture. Stir until melted and fully incorporated before mixing in the cereal. For extra richness, sprinkle 2 tbsp cocoa powder over the cereal before folding. This creates a fudgy variation that satisfies serious chocolate cravings. 💛
Nutty Crunch
Fold in 1 cup chopped peanuts or almonds with the cereal for added texture. Toast the nuts first in a dry pan over medium heat for 3-4 minutes to enhance their flavor. The contrast between the gooey base and crunchy nuts is absolutely perfect.
Fruity Surprise
Mix in ½ cup dried cranberries or chopped dried apricots for a sweet-tart twist. The chewy fruit pieces add bursts of flavor and color. I love this version during the holidays—it feels festive and special.
Cinnamon Sugar Dust
After setting, dust the top with a mixture of 1 tbsp sugar and ½ tsp cinnamon. Use a fine-mesh sieve for even distribution. This adds a warm, spiced note that pairs beautifully with the buttery marshmallow base.
Coconut Dream
Replace 1 cup of Rice Krispies with 1 cup toasted coconut flakes for a tropical twist. Toast the coconut in a 350°F oven for 5-7 minutes until golden. The coconut adds a delightful chew and aromatic flavor.
Peanut Butter Swirl
Swirl in ¼ cup creamy peanut butter after melting the marshmallow creme. Don’t fully incorporate—leave streaks for a marbled effect. This variation tastes like a deconstructed peanut butter cup and is always a hit with kids. 🔥
Nutrition Facts
Frequently Asked Questions
Can I use regular marshmallows instead?
Yes, but the texture will differ. Use 10 oz mini marshmallows for closest results. Marshmallow creme creates a smoother, creamier base that’s harder to replicate with regular marshmallows.
How long do these stay fresh?
Store in an airtight container at room temperature for 2-3 days. For longer storage, freeze for up to 6 weeks. Press plastic wrap directly on the surface to prevent drying out.
Why did my treats turn out hard?
Overheating the marshmallow mixture is the usual culprit. Keep the heat on low and remove from heat as soon as it’s smooth. Pressing too firmly when setting can also make them dense.

- Peri Peri Rice Recipe: Spicy Portuguese One-Pot Harmony - November 6, 2026
- Mexican Flavoured Rice Recipe: Authentic Spice-Infused One-Pot Meal - November 6, 2026
- Lao Gan Ma Fried Rice Recipe: Spicy Wok-Tossed Perfection - November 6, 2026