
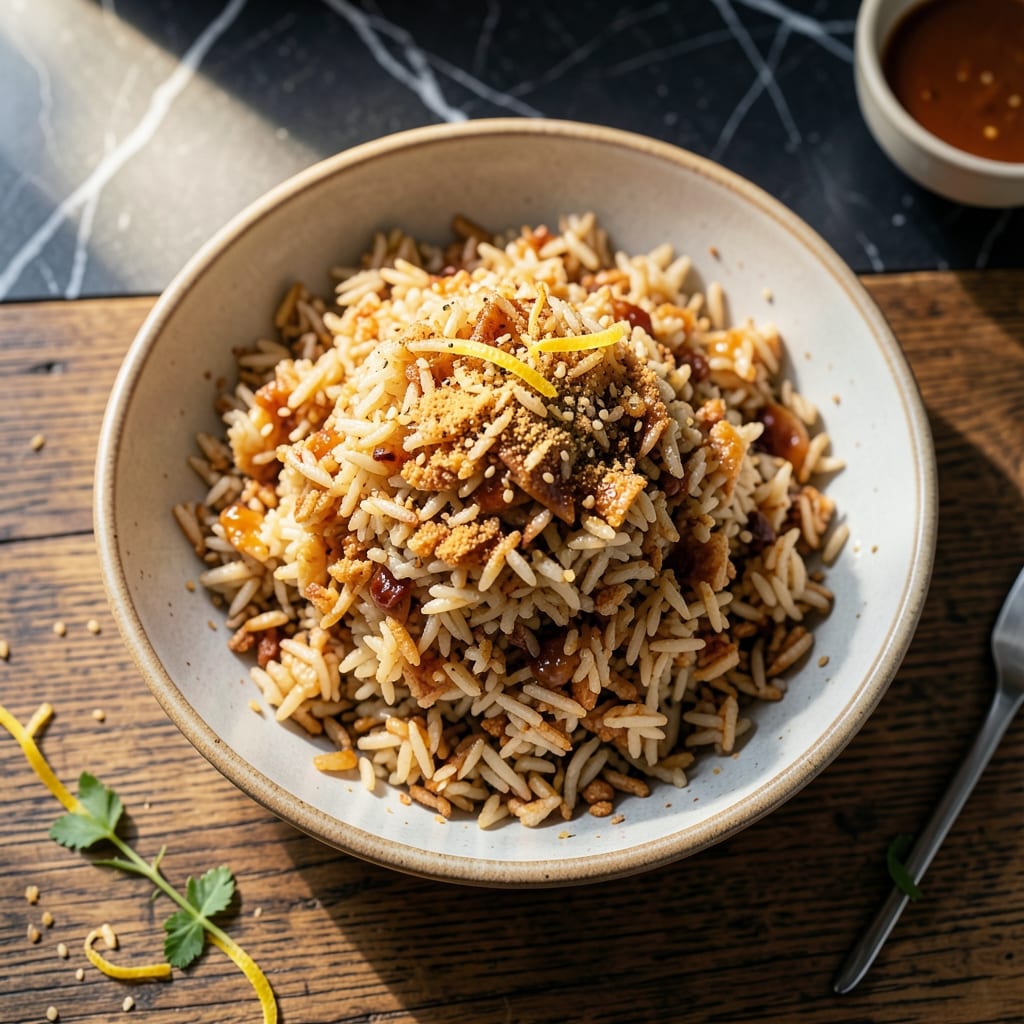
There’s a simple way to achieve crispy, golden rice without turning on the oven. This method delivers consistent results with minimal effort and maximum convenience.
The microwave transforms plain rice into a dish with satisfying texture and crunch. A few key steps ensure even cooking and the perfect bite every time.
No special equipment is needed—just a microwave-safe dish and a little patience. The process is straightforward, with clear timing to follow.
You’ll end up with a dish that’s versatile for meals or snacks. It’s an easy way to elevate a basic ingredient into something special.
Ingredients for Microwave Rice Crispy
Pantry staples and chilled rice transform into a crispy, golden dish with minimal effort.
| Ingredient | Amount | Notes |
|---|---|---|
| Cooked White Rice 🍚 | 3 cups | Day-old, chilled preferred |
| Unsalted Butter 🧈 | 2 tbsp | Melted for even coating |
| Soy Sauce 🫒 | 1 tbsp | Low-sodium recommended |
| Sesame Oil 🫒 | 1 tsp | Toasted for depth |
| Garlic Powder 🧄 | ½ tsp | Not garlic salt |
| Onion Powder 🧅 | ½ tsp | Granulated preferred |
| Large Eggs 🥚 | 2 whole | Lightly beaten for binding |
| Green Onions 🧅 | ¼ cup | Thinly sliced, for garnish |
| Salt 🧂 | ½ tsp | Diamond Crystal kosher preferred |
| Black Pepper 🌶️ | ¼ tsp | Freshly ground for best flavor |
| Neutral Cooking Oil 🫒 | 1 tbsp | For crisping, high smoke point |
| Rice Vinegar 💧 | 1 tsp | Optional, for brightness |
The rice quality is paramount. Day-old, chilled rice (preferably jasmine or short-grain) yields the best crispiness due to reduced moisture content. Freshly cooked rice will steam rather than crisp. For optimal results, spread cooked rice on a tray to cool completely before chilling. Most standard grocery stores carry suitable varieties—look for brands like Lundberg or Nishiki for consistent texture.
No soy sauce? Coconut aminos at a 1:1 ratio work well for a gluten-free alternative. Missing sesame oil? Toasted peanuts or cashews added post-microwave can provide similar aromatic depth. The egg acts as a binder—flax eggs (1 tbsp ground flax + 3 tbsp water per egg) work for a vegan option. For extra crunch, panko breadcrumbs can be mixed in before microwaving.
Store cooked rice in an airtight container for up to 5 days in the refrigerator. The crispy rice is best served immediately but can be reheated in the microwave for 1-2 minutes to restore some texture. Do not freeze, as this will compromise the crispiness. Leftover plain rice can be prepped ahead and chilled for this recipe.
Why You’ll Love This Recipe
- Microwave Magic: I toss leftover rice with butter and soy sauce, microwave it, and boom—crispy edges in minutes.
- Savory Crunch: The sesame oil and garlic powder give it that umami kick I crave every time.
- Leftover Hero: Honestly, this saves my day-old rice from the trash and turns it into a snack.
- Budget Snack: Five ingredients I already have, and it feels like a treat. No guilt, just flavor.
Step-by-Step Instructions for Microwave Rice Crispy
This method delivers perfectly crispy rice using only your microwave, with no oven required.
Step 1: Prepare and Season the Rice Base
Place the 3 cups Cooked White Rice in a large microwave-safe bowl. Break up any clumps with your hands or a fork—you want individual grains for maximum crispiness. Drizzle the 1 tbsp Soy Sauce, 1 tsp Sesame Oil, 0.5 tsp Garlic Powder, and 0.5 tsp Onion Powder over the rice.
Toss everything together until the rice is evenly coated and fragrant. The soy sauce adds umami depth while the sesame oil provides a nutty aroma. I’ve found that using day-old, chilled rice works best as it has less moisture to steam the grains.
Step 2: Create Binding and Crisping Agents
In a small bowl, lightly beat the 2 whole Large Eggs with the 0.5 tsp Salt and 0.25 tsp Black Pepper. Pour this mixture over the seasoned rice and stir well to ensure every grain is coated. The egg acts as a binding agent that will crisp up beautifully in the microwave.
Drizzle the 2 tbsp Unsalted Butter (melted) and 1 tbsp Neutral Cooking Oil over the mixture. These fats are crucial for achieving that golden, crispy texture we’re after. Stir one final time to distribute everything evenly.
Step 3: Microwave in Stages for Even Crisping
Spread the rice mixture in an even layer in a large microwave-safe dish. For best results, use a shallow, wide dish to allow maximum surface area exposure. Microwave on high power for 4 minutes, then pause to stir the mixture.
You’ll notice the rice is starting to dry out and crisp at the edges. Continue microwaving in 2-minute intervals, stirring between each, until the rice is uniformly golden brown and crispy—this typically takes 8-10 minutes total. The stirring ensures even cooking and prevents hot spots.
Step 4: Finish and Garnish for Maximum Flavor
Once the rice reaches your desired crispness, transfer it to a serving dish. Drizzle the 1 tsp Rice Vinegar over the top for a bright, tangy contrast to the rich, savory flavors. This step is optional but highly recommended for balance.
Sprinkle the 0.25 cup Green Onions over the crispy rice just before serving. The fresh, mild onion flavor and vibrant color provide the perfect finishing touch. Serve immediately while hot and crispy—the texture is at its peak right out of the microwave.
Pro Tips For Making Microwave Rice Crispy
- Spread Rice Thin: Spread the cooked rice in a thin, even layer on a microwave-safe plate—about ½ inch thick. I learned this the hard way after ending up with soggy clumps instead of crispy bits.
- Use Cold Rice: Always start with day-old, cold rice from the fridge. Freshly cooked rice holds too much moisture and will steam instead of crisp.
- Microwave in Bursts: Cook in 1-minute bursts on high, stirring between each, until golden and crispy—usually 3-4 minutes total. Microwaves vary, so keep an eye on it after the second minute.
- Add Butter Last: Toss the crisped rice with melted butter and soy sauce after microwaving, not before. Adding it earlier makes the rice soggy instead of crisp.
Serving Suggestions for microwave rice crispy
As a Side Dish
Serve this crispy creation alongside teriyaki chicken or honey-glazed salmon for a satisfying meal. The savory crunch pairs perfectly with the sweet and tangy flavors of Asian-inspired proteins. I love how it soaks up extra sauces. 💛
Breakfast Twist
Top with a fried egg and drizzle with sriracha mayo for a hearty breakfast. The runny yolk mixes beautifully with the crispy rice. Add avocado slices for extra creaminess and a fresh element.
Party Snack
Shape into small patties before microwaving for easy finger food. Serve with sweet chili dipping sauce or spicy mayo. These disappear quickly at gatherings—I always make a double batch.
Salad Topper
Sprinkle over mixed greens with cucumber, carrots, and sesame dressing. The contrast of warm, crispy rice with cool, fresh veggies is incredible. It adds a satisfying texture that elevates any salad. ✨
Bowl Base
Use as the foundation for a grain bowl with edamame, shredded cabbage, and your favorite protein. The crispiness holds up well under toppings. I drizzle with extra soy sauce and sesame oil.
Soup Accompaniment
Serve alongside miso soup or egg drop soup for a comforting meal. The crispy rice adds a delightful textural contrast to the smooth, warm broth. It’s my go-to for chilly evenings.
Nutrition Facts
Frequently Asked Questions
Why does the rice need to be cold?
Cold rice has less moisture, which helps it crisp up better in the microwave. Freshly cooked rice will steam instead of getting crispy.
Can I skip the egg?
You can, but the egg helps bind the rice and adds to the crispy texture. For a vegan option, try flax eggs instead.
How do I prevent uneven cooking?
Spread the rice in a thin, even layer and stir between 2-minute intervals. This ensures all pieces get equal exposure.
What if my microwave is less powerful?
Increase cooking time in 1-minute increments until golden. Lower wattage microwaves may need 2-4 minutes extra.

- Mujadara Rice and Lentils Recipe: Earthy Spiced Lentils With Caramelized Onions - November 1, 2026
- Naija Fried Rice Recipe: Street-Style Spice With Veggie Crunch - November 1, 2026
- Mushy Rice Recipe: Fluffy Grains Transformed in Minutes - November 1, 2026