
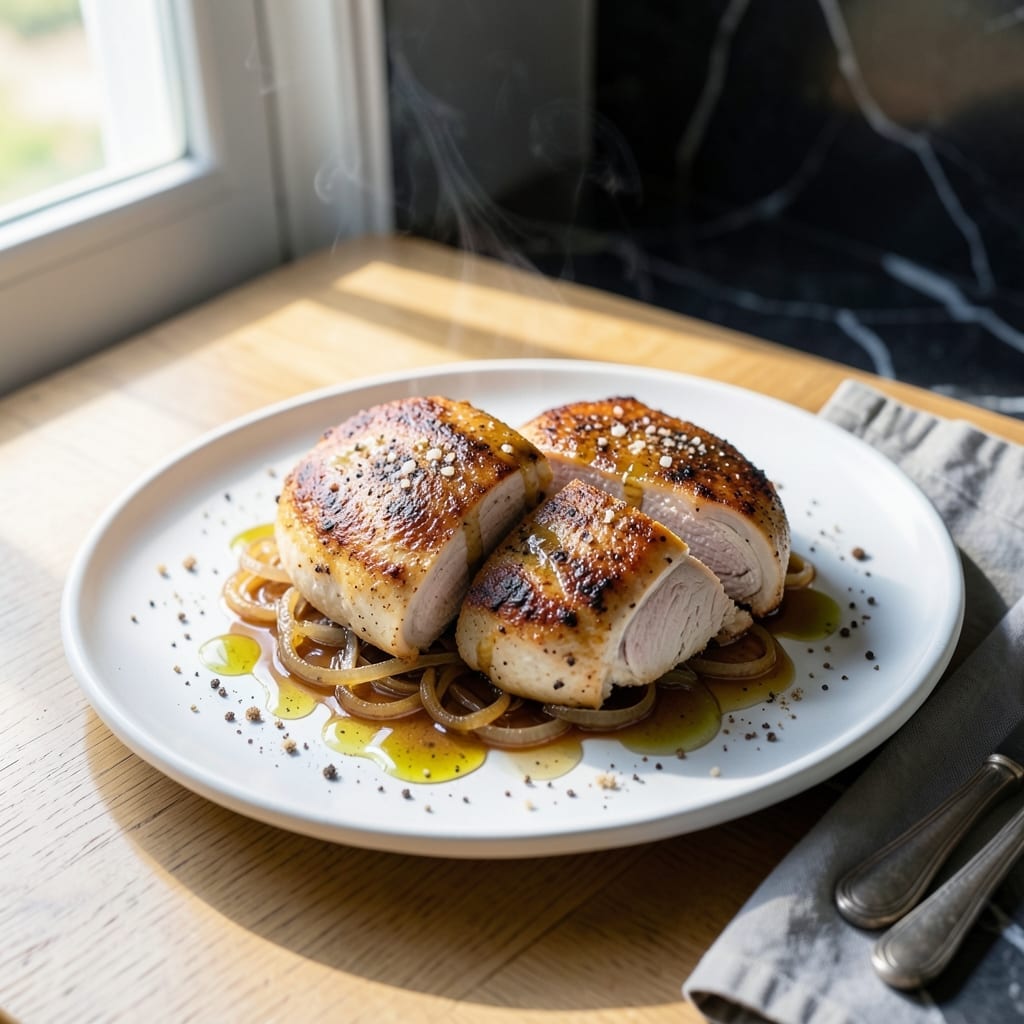
When time is tight but dinner can’t wait, this quick-cooking chicken dish delivers restaurant-quality flavor in record time.
I developed this method for busy evenings when takeout isn’t an option. Simple ingredients and a streamlined process ensure tender, juicy chicken without sacrificing taste or texture.
You’ll have a complete meal ready before the oven fully preheats. The result is flavorful, moist chicken that pairs perfectly with rice, vegetables, or salad.
No complicated techniques—just a foolproof approach to weeknight cooking that never disappoints.
Ingredients for Minute Chicken
Professional results require minimal ingredients. Quality matters more than quantity here.
| Ingredient | Amount | Notes |
|---|---|---|
| Boneless Skinless Chicken Breasts 🍗 | 1 ½ lb | Pounded to even thickness |
| All-Purpose Flour 🌾 | ½ cup | For light dredging |
| Kosher Salt 🧂 | 1 ½ tsp | Diamond Crystal preferred |
| Freshly Ground Black Pepper 🌶️ | ¾ tsp | Coarsely ground |
| Garlic Powder 🧄 | 1 tsp | Not garlic salt |
| Onion Powder 🧅 | 1 tsp | Fresh ground preferred |
| Smoked Paprika 🌶️ | 1 tsp | Sweet or hot variety |
| Extra-Virgin Olive Oil 🫒 | 3 tbsp | Divided for cooking |
| Unsalted Butter 🧈 | 2 tbsp | For finishing pan sauce |
| Fresh Lemon Juice 🍋 | 1 tbsp | For brightness |
| Low-Sodium Chicken Broth 🥣 | ½ cup | For deglazing pan |
| Fresh Parsley 🌿 | 2 tbsp | Finely chopped for garnish |
The chicken is the foundation—opt for air-chilled, hormone-free breasts from Whole Foods or Trader Joe’s for superior texture. Pounding to uniform thickness ensures even cooking, which is critical for this rapid method. Diamond Crystal kosher salt dissolves faster than table salt, allowing better penetration in the short cooking time. Avoid pre-ground black pepper; fresh grinding releases essential oils that elevate the dish.
Need a gluten-free option? Swap all-purpose flour for cornstarch at half the quantity. Chicken thighs (bone-in, skin-on) can replace breasts—adjust cooking time by 3-4 minutes. For deeper flavor, add 1 tsp dried thyme or rosemary. If using table salt, reduce by half due to higher density. The smoked paprika can be regular, but you’ll lose that subtle barbecue note.
Prep all ingredients before starting—this moves fast. Store raw chicken in the coldest part of the fridge for up to 2 days. Cooked leftovers keep 4 days refrigerated or 3 months frozen. Reheat gently with a splash of broth to maintain moisture (don’t skip this part).
Why You’ll Love This Recipe
- Ready in 20: I can get this from fridge to table faster than my kids can argue about who gets the last chicken tender.
- Garlic-Pepper Crisp: That simple combo of garlic powder and fresh black pepper gives the crust a savory kick that’s honestly hard to beat.
- Weeknight MVP: It’s my go-to when I need something unfussy that still feels like a real meal—yes, even on a Tuesday night.
- Budget Friendly: Boneless chicken breasts stretch far, and the pantry staples keep costs low without sacrificing flavor.
Step-by-Step Instructions for Minute Chicken
This efficient method delivers tender chicken with a flavorful pan sauce in record time.
Step 1: Prepare and Season the Chicken
Place the 1.5 lb boneless skinless chicken breasts between plastic wrap and pound to an even ½-inch thickness. This ensures quick, even cooking. Season both sides with the 1.5 tsp kosher salt, 0.75 tsp freshly ground black pepper, 1 tsp garlic powder, 1 tsp onion powder, and 1 tsp smoked paprika.
These spices create a robust dry rub that adheres well to the meat. I press the seasoning into the surface gently to maximize flavor penetration during the brief cooking time.
Step 2: Dredge and Sear the Chicken
Lightly dredge each breast in the 0.5 cup all-purpose flour, shaking off excess. Heat 2 tbsp extra-virgin olive oil in a large skillet over medium-high heat until shimmering. Add the chicken and cook undisturbed for 4-5 minutes per side until golden brown and cooked through.
The flour creates a light crust that browns quickly, while the high heat ensures a rapid sear. You’ll see the edges turn white as the chicken cooks through—this visual cue means it’s nearly done.
Step 3: Create the Pan Sauce
Transfer the chicken to a plate and tent with foil. In the same skillet, add the remaining 1 tbsp extra-virgin olive oil and 2 tbsp unsalted butter. Once the butter melts, pour in the 0.5 cup low-sodium chicken broth and scrape up all browned bits from the bottom.
Let the liquid reduce by half, about 2-3 minutes, then stir in the 1 tbsp fresh lemon juice. The sauce should thicken slightly and become glossy, coating the back of a spoon. This deglazing step captures all the concentrated flavors from the searing process.
Step 4: Finish and Serve
Return the chicken to the skillet and spoon the sauce over each piece. Simmer for 1-2 minutes to reheat the chicken and allow the flavors to meld. The chicken should reach an internal temperature of 165°F if you’re using a thermometer.
Garnish with the 2 tbsp fresh parsley just before serving. The parsley adds a pop of color and freshness that balances the rich, savory sauce. Serve immediately while the sauce is still hot and the chicken is at its juiciest.
Pro Tips For Making Minute Chicken
- Pound the Breasts: Even thickness means even cooking—pound the chicken to about ½ inch so it cooks through in minutes without drying out.
- Season the Flour: Mix the kosher salt, black pepper, and garlic powder right into the flour before dredging; this guarantees every bite is packed with flavor.
- Skip Cold Chicken: Let the breasts sit at room temp for 10 minutes before cooking; cold chicken seizes up and takes longer to cook, defeating the “minute” part.
- Double-Dredge for Crisp: Dip the chicken in flour, shake off the excess, then dredge again for a thicker, crunchier crust that holds up to quick cooking.
Pro Cooking Tips for minute chicken
Prevent Overcooking
Pounding the chicken to an even ½-inch thickness is non-negotiable for speed and doneness. I use a rolling pin for this—I find it gives me more control than a meat mallet. Aim for 165°F internal temperature; the chicken will continue cooking slightly as it rests. 🌡️
Perfect Sear
Don’t move the chicken for the first 4-5 minutes—this ensures a proper crust forms. Use medium-high heat and a heavy skillet like my Lodge cast iron. The flour dredge creates a light, golden crust that locks in juices.
Master the Sauce
Deglaze immediately after removing chicken to capture all those browned bits. I use a wooden spoon to scrape—it won’t scratch your pan. Let the 0.5 cup chicken broth reduce by half before adding 1 tbsp lemon juice for brightness.
Rest Briefly
Even quick-cooking chicken benefits from a 2-3 minute rest. Tent with foil to keep warm while you finish the sauce. This allows juices to redistribute, preventing dryness when you cut in.
I always check the thickest piece with a thermometer—better safe than sorry with chicken.
Skillet Choice
Avoid nonstick for this recipe—it won’t develop the same fond for your sauce. My 12-inch stainless steel skillet is perfect for even heat distribution and can handle the high heat needed for a proper sear. 🔥
Nutrition Facts
Frequently Asked Questions
Can I use chicken thighs instead of breasts?
Yes! Use bone-in, skin-on thighs and add 3-4 minutes per side. They stay juicier but need more time to cook through.
What if my chicken isn’t even thickness?
Uneven pieces cook inconsistently. Always pound to ½-inch thickness for best results. A rolling pin works as well as a mallet.
Can I make this gluten-free?
Swap the flour for cornstarch—use half the amount. The crust will be slightly crispier but just as effective.
How do I know when it’s done?
Use a thermometer: 165°F in the thickest part. Visual cues include clear juices and no pink near the bone.

- Jollof Rice Sauce Recipe: West African Tomato and Spice Infusion - September 25, 2026
- Japanese Rice Soup Recipe: Umami-Rich Comfort in a Bowl - September 25, 2026
- Homemade Cream Of Rice Recipe: Silk-Smooth Breakfast in Minutes - September 25, 2026