
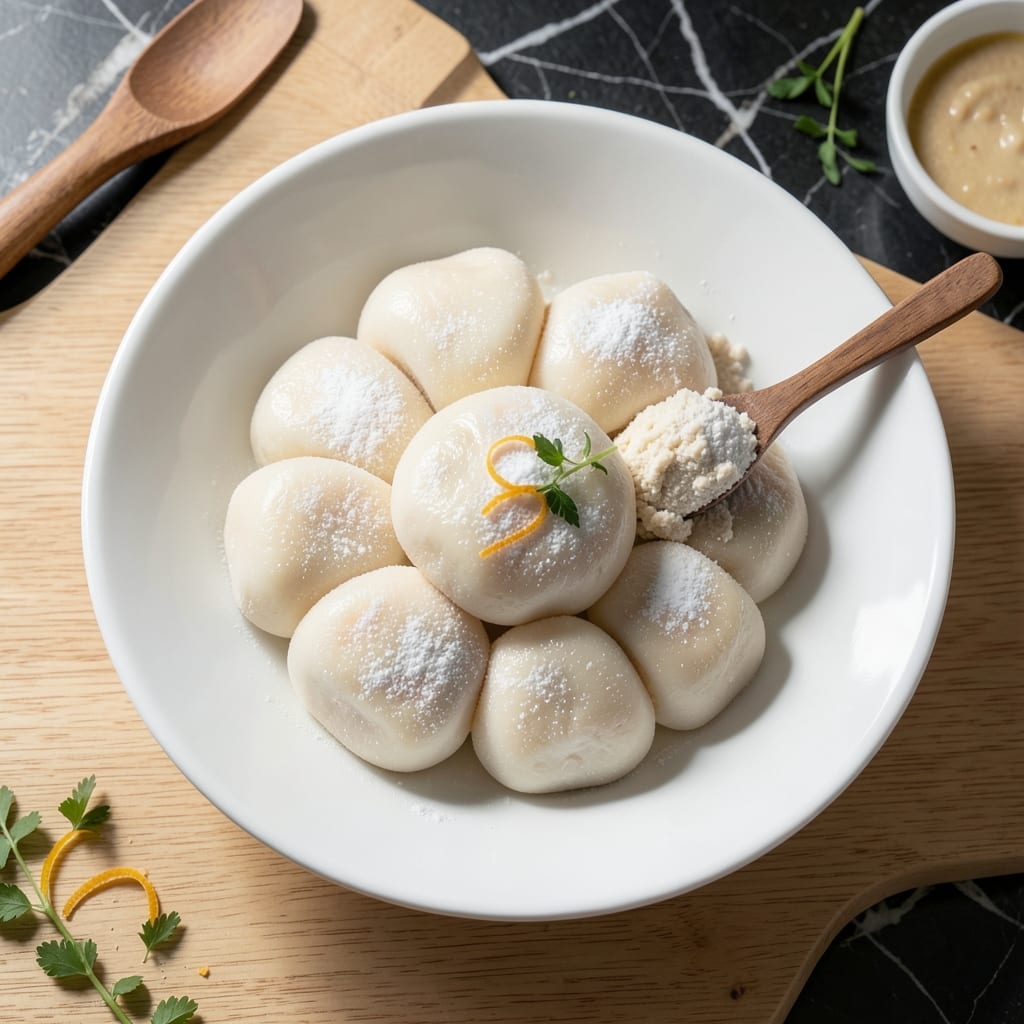
I’ve perfected a method for making chewy mochi at home using just regular rice flour—no specialty ingredients required. The process is simpler than you might expect, with results that rival traditional versions.
This approach relies on steaming the flour mixture to create the right texture before kneading. The key is achieving the perfect balance of moisture and heat to develop that signature elastic quality.
What you’ll get are soft, pillowy mochi that stretch beautifully when pulled. They’re slightly sweet, with a delicate rice flavor that makes them irresistibly addictive.
Fill with red bean paste, dust with cornstarch, or enjoy plain. The versatility makes this recipe worth mastering.
Ingredients for Mochi Recipe with Regular Rice Flour
Regular rice flour and a few pantry staples transform into chewy, pillowy mochi at home.
| Ingredient | Amount | Notes |
|---|---|---|
| Regular Rice Flour 🌾 | 2 cups | Not glutinous rice flour |
| Granulated Sugar 🍚 | ½ cup | Adjust to taste preference |
| Water 💧 | 1 cup | For steaming mixture |
| Cornstarch 🌽 | ¼ cup | For dusting work surface |
| Potato Starch 🥔 | 2 tbsp | Improves stretchiness (optional) |
| Salt 🧂 | ¼ tsp | Enhances sweetness balance |
| Neutral Oil 🫒 | 1 tsp | For greasing bowl |
| Red Bean Paste 🫘 | ½ cup | Optional filling (vegan) |
| Vanilla Extract 🌿 | 1 tsp | For depth of flavor |
| Food Coloring 🎨 | 0 tsp | Optional for colored mochi |
The rice flour is the foundation here. Bob’s Red Mill or King Arthur brands work well—just ensure it’s labeled as regular rice flour, not glutinous. The texture difference between brands is minimal, but fresher flour yields better results. Asian markets often carry it at better prices if you plan to make this often. The cornstarch prevents sticking, so don’t skip it (worth the extra minute).
No red bean paste? Sweetened black sesame paste or peanut butter make great fillings. For a simpler version, omit the potato starch—texture will be slightly less stretchy but still delicious. The vanilla extract can be swapped for almond extract at half the amount. If using food coloring, gel-based works best to avoid altering the dough’s consistency.
Store mochi in an airtight container at room temperature for up to 3 days. For longer storage, freeze for up to 1 month—thaw at room temperature before serving. Dust with extra cornstarch to prevent sticking during storage (don’t skip this part).
Why You’ll Love This Recipe
- No Fuss Mixing: I just stir rice flour, sugar, and water—no special tools, no kneading.
- Sweet Chewy Bite: The sugar caramelizes slightly, giving that classic mochi sweetness with a perfect bounce.
- Party or Snack: I roll these into balls for gatherings or flatten them for quick treats between meals.
- Pantry Staples: Honestly, I always have rice flour and starches on hand, so this costs me almost nothing to make.
Step-by-Step Instructions for Mochi With Regular Rice Flour
This method transforms everyday ingredients into perfectly stretchy, chewy mochi with professional results.
Step 1: Combine Wet and Dry Components
In a microwave-safe bowl, whisk together the 2 cups Regular Rice Flour, 0.5 cup Granulated Sugar, 2 tbsp Potato Starch, and 0.25 tsp Salt until fully combined. The potato starch enhances elasticity, making this version closer to traditional glutinous rice mochi texture.
Create a well in the center and add the 1 cup Water and 1 tsp Vanilla Extract. Stir with a silicone spatula until a smooth, lump-free batter forms. The mixture should resemble thin pancake batter. This liquid-to-flour ratio is critical for achieving the right chewiness.
Step 2: Steam the Mixture to Activation
Cover the bowl with plastic wrap, leaving one corner slightly open for steam to escape. Microwave on high for 2 minutes, then stir thoroughly with a wet spatula. The batter will appear translucent and slightly thickened at this stage.
Return to the microwave and cook for another 1-2 minutes in 30-second increments, stirring between each, until the mixture becomes stretchy and pulls away from the sides of the bowl. You’re looking for a glossy, elastic dough that springs back when poked—a sign the starches have fully gelatinized.
Step 3: Knead and Rest the Dough
Dust a clean work surface generously with 0.25 cup Cornstarch. Turn out the hot dough (use oil-greased hands for protection) and knead vigorously for 3-5 minutes until smooth. The dough will be extremely sticky initially but becomes more manageable as you work it.
Lightly grease a bowl with the 1 tsp Neutral Oil, place the dough inside, and cover with a damp towel. Let it rest for 10 minutes—this relaxation period allows the starches to fully hydrate and the gluten-like structure to develop, creating that signature mochi bounce.
Step 4: Shape and Fill (Optional)
Divide the rested dough into 8 equal portions for standard mochi or 4 portions for larger pieces. Roll each piece into a ball, then flatten into a 3-inch circle with your palms. The dough should be smooth and slightly tacky but not sticking to your hands.
If using filling, place 1 tablespoon of the 0.5 cup Red Bean Paste in the center of each circle. Pinch the edges together to seal completely, rolling gently between your palms to redistribute the filling evenly. The sealed edges should be thin and smooth with no visible seams.
Pro Tips For Making Mochi Recipe With Regular Rice Flour
- Steam Evenly: Cover the steamer with a tight lid and resist the urge to peek—opening it drops the temperature and leaves you with dense, gummy mochi instead of soft and stretchy.
- Use Fine Rice Flour: Sift your regular rice flour before mixing; I learned this the hard way after my first three batches came out gritty because the coarse bits refused to dissolve.
- Dust Generously: Coat your work surface and hands with a 50/50 mix of cornstarch and potato starch—skimp here and the dough will stick like glue, making it impossible to shape.
- Rest Before Shaping: Let the steamed mochi rest for 5 minutes under a damp towel before kneading—this small wait makes the texture smoother and easier to handle, especially with regular rice flour.
Common Mistakes When Making Great mochi recipe with regular rice flour
Overmixing the Batter
Stir just until the flour and liquid come together smoothly. Overmixing develops gluten in regular rice flour, making your mochi tough instead of chewy. I use 20-25 gentle stirs with a silicone spatula. 💡
Skipping the Rest Period
That 10-minute rest after kneading isn’t optional. The starches need time to fully hydrate and relax. Without it, your mochi will spring back when shaping, making smooth circles impossible.
Insufficient Microwaving
Stopping too soon leaves raw starch taste and poor texture. The mixture must turn translucent and pull from bowl sides. I check after 3-4 total minutes in 30-second bursts, stirring between each.
Wrong Flour Type
Regular rice flour is key—glutinous rice flour behaves completely differently. I’ve ruined batches with the wrong bag. Always double-check the label, even if it means a quick store run.
Under-Dusting Surface
Be generous with the cornstarch when kneading and shaping. This isn’t the time to be stingy. Re-dust every 2 minutes during kneading to prevent sticking that can tear your dough.
Hot Dough Handling
Let the microwaved mixture cool slightly before kneading. I wait 2-3 minutes to avoid burns. Use oil on hands and tools—neutral oil works best for this.
Nutrition Facts
Frequently Asked Questions
Can I use all-purpose flour instead?
No, all-purpose flour won’t work for this. The starch structure is completely different, resulting in a dense, bread-like texture instead of chewy mochi. Stick with regular rice flour for authentic results.
Why does my mochi crack when shaping?
Cracking usually means the dough is too dry. Try adding 1-2 teaspoons of water to the batter or kneading for an extra 1-2 minutes to develop more elasticity before shaping.
How do I store leftover mochi?
Keep in an airtight container at room temperature for up to 3 days. For longer storage, freeze for up to 1 month and thaw at room temperature before serving.
Can I make mochi without potato starch?
Yes, but the texture will be slightly less stretchy. The potato starch enhances elasticity, but you can omit it if needed. The mochi will still be delicious, just a bit firmer.

- Mujadara Rice and Lentils Recipe: Earthy Spiced Lentils With Caramelized Onions - November 1, 2026
- Naija Fried Rice Recipe: Street-Style Spice With Veggie Crunch - November 1, 2026
- Mushy Rice Recipe: Fluffy Grains Transformed in Minutes - November 1, 2026