
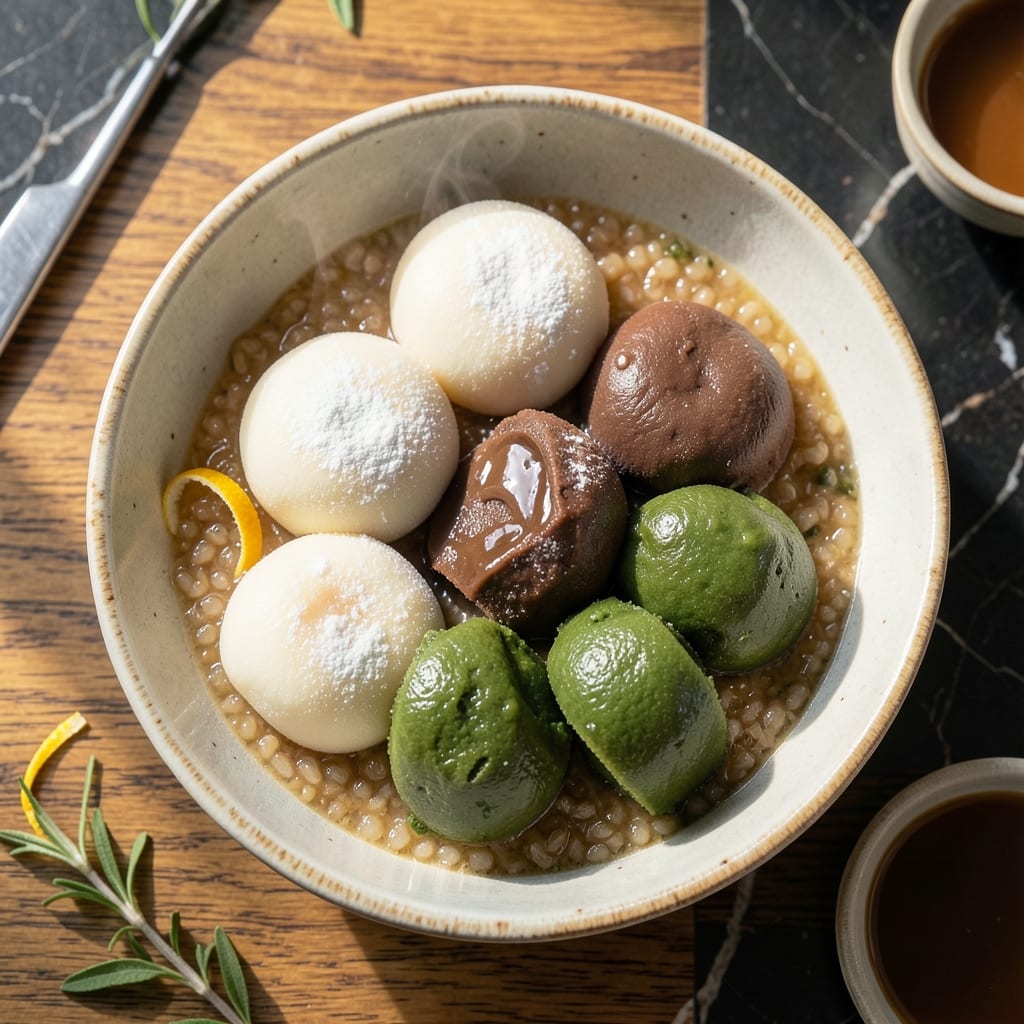
There’s something magical about making mochi from scratch, transforming simple glutinous rice into those signature chewy pillows. This method delivers authentic texture without specialty equipment.
The process involves steaming the rice, then kneading it while hot to develop that elastic consistency. The result is sweet, slightly nutty mochi that’s fresh and customizable with your favorite fillings.
Ingredients for Glutinous Rice Mochi
Simple pantry staples transform into chewy, sweet mochi with nutty depth. Nothing exotic here.
| Ingredient | Amount | Notes |
|---|---|---|
| Glutinous Rice Flour 🌾 | 2 cups | Also called sweet rice flour |
| Granulated Sugar 🍚 | ¾ cup | Adjust to taste preference |
| Water 💧 | 1 cup | For initial mixing |
| Cornstarch 🌽 | ¼ cup | For dusting and rolling |
| Matcha Powder 🍵 | 1 tsp | Optional, for green tea flavor |
| Cocoa Powder 🍫 | 2 tbsp | Optional, for chocolate variation |
| Red Bean Paste 🍡 | ½ cup | Vegan filling option |
| Peanut Butter 🥜 | ½ cup | Vegan filling option |
| Coconut Milk 🥥 | ¼ cup | For creamier texture |
| Vanilla Extract 🌿 | 1 tsp | Pure extract preferred |
| Salt 🧂 | ¼ tsp | Balances sweetness |
The glutinous rice flour is non-negotiable—Mochiko brand is the gold standard and widely available at Asian markets or the international aisle. Don’t confuse it with regular rice flour; the texture won’t work. I always grab mine from H Mart in bulk. The sugar can be swapped for coconut sugar if you’re avoiding refined (just expect a slightly caramelized flavor).
No matcha? Skip it or try spirulina powder for color. Cocoa powder can be Dutch-process for a smoother chocolate flavor. For fillings, anko (sweet red bean paste) is traditional, but any nut butter or jam works—just keep it thick so it doesn’t ooze. The coconut milk adds richness, but water plus a splash of vegan butter does the trick in a pinch.
Store unfilled mochi in an airtight container at room temp for 2 days, or freeze for 1 month. Dust with cornstarch to prevent sticking. Filled mochi? Eat within 24 hours—the filling softens the dough over time.
Why You’ll Love This Recipe
- One Bowl Wonder: I mix everything right in a single bowl—no fancy equipment, just glutinous rice flour, sugar, and water.
- Sweet Matcha Magic: The earthy matcha powder cuts through the sugar for that perfect balance of sweet and bitter.
- Gift-Worthy Treats: I package these in little boxes for birthdays and holidays—everyone loves homemade mochi.
- Keeps for Days: Honestly, they stay fresh in the fridge for up to a week, so I can make a big batch ahead.
Step-by-Step Instructions for Glutinous Rice Mochi
Here’s the method I use to create those pillowy soft mochi with perfect texture every time.
Step 1: Mix the Wet and Dry Bases
In a microwave-safe bowl, whisk together the 2 cups Glutinous Rice Flour, 0.75 cup Granulated Sugar, and 0.25 tsp Salt. For flavored variations, add 1 tsp Matcha Powder or 2 tbsp Cocoa Powder at this stage.
In a separate measuring cup, combine the 1 cup Water and 0.25 cup Coconut Milk with the 1 tsp Vanilla Extract. The coconut milk adds a subtle richness that elevates the texture. Slowly pour the wet mixture into the dry ingredients while whisking continuously to prevent lumps.
Step 2: Microwave and Develop the Elastic Dough
Cover the bowl with plastic wrap and microwave on high for 2 minutes. The mixture will look translucent and slightly rubbery when done. Remove carefully—it will be extremely hot.
Using a heatproof spatula, stir the mixture vigorously. It should pull away from the sides and become stretchy. Return to the microwave for another 1-2 minutes until the dough becomes completely translucent and elastic. The dough should be glossy and smooth, sticking slightly to your fingers when touched.
Step 3: Dust and Shape the Mochi
Generously dust a clean surface with 0.25 cup Cornstarch. Turn the hot dough onto the prepared surface. I find it helpful to keep my hands dusted with cornstarch as well to prevent sticking.
Knead the dough briefly—just 2-3 folds—to ensure even texture. Divide the dough into 4 equal portions (about 120g each for consistent sizing). Roll each portion into a ball, then flatten into a disc approximately ¼-inch thick. The cornstarch prevents sticking and gives the mochi its characteristic matte finish.
Step 4: Add Fillings and Seal
Place 1 tablespoon of Red Bean Paste or Peanut Butter in the center of each flattened disc. For the peanut butter option, I recommend using smooth rather than crunchy for easier sealing.
Pinch the edges together to completely enclose the filling, then roll gently between your palms to smooth the surface. The sealed mochi should look seamless, with no visible filling. If the dough tears, patch it with a bit of extra dough and re-seal.
Step 5: Rest and Serve
Let the filled mochi rest on a cornstarch-dusted surface for 10-15 minutes to allow the texture to set. This resting period helps the mochi develop its characteristic chewy consistency.
Serve at room temperature. The exterior should have a delicate, slightly powdery coating from the cornstarch, while the interior offers a satisfying, stretchy chew. Each bite should reveal the sweet filling at the center, perfectly balanced with the mild sweetness of the mochi itself.
Pro Tips For Making Glutinous Rice Mochi
- Steam, Don’t Boil: Use a steamer basket over simmering water—never let the mochi dough touch the water, or it turns gummy. I learned this the hard way after ruining two batches with a too-wet texture.
- Sift the Flour: Always sift your glutinous rice flour and matcha powder together before mixing. It breaks up clumps and makes a real difference in getting that smooth, even color and texture.
- Dust Generously: Coat your work surface and hands with cornstarch—about 2 tablespoons—before handling the dough. Skip this and you’ll be peeling mochi off your fingers for the next hour.
- Rest Before Shaping: Let the steamed dough rest for 5 minutes under a damp towel before kneading. It firms up just enough to make shaping easier without cracking.
Wine and Beer Pairings for glutinous rice mochi
Japanese Green Tea
I love pairing mochi with matcha-infused green tea like sencha or gyokuro. The grassy, slightly bitter notes cut through the sweetness beautifully. Serve it hot at 160°F to avoid bitterness. 🍵
Light White Wines
A crisp Riesling or Moscato d’Asti complements the delicate flavors. The slight sweetness of Moscato mirrors the mochi’s sugar content while the acidity cleanses your palate. Chill to 45°F before serving.
Fruity Beers
Wheat beers like Hoegaarden or Blue Moon work wonderfully. Their citrusy orange notes and light body don’t overpower the subtle nutty flavor of the mochi. Serve at 40-45°F for best results. 🍺
Sparkling Options
For celebrations, try prosecco or sparkling sake. The bubbles enhance the chewy texture. I prefer La Marca prosecco for its balanced sweetness that matches the mochi’s profile.
Non-Alcoholic Pairings
Lychee juice or ramune soda offer a sweet, floral contrast. The Japanese Calpico brand ramune has just the right amount of fizz. Serve these chilled for a refreshing combination. ✨
Nutrition Facts
Frequently Asked Questions
Can I use regular rice flour instead?
No, regular rice flour won’t work. Glutinous rice flour is essential for the chewy texture. Regular rice flour lacks the sticky, elastic properties needed.
Why is my mochi tough or rubbery?
Overcooking or insufficient kneading can cause this. Microwave in 2-minute bursts and knead just until smooth. Let it rest 10-15 minutes to soften.
How do I store leftover mochi?
Keep unfilled mochi in an airtight container at room temp for 2 days. Filled mochi should be eaten within 24 hours to prevent softening.

- Cream of Wild Rice Soup Recipe: Earthy Grains in Silky Broth - October 9, 2026
- Filipino Garlic Rice Recipe: Crispy Fried Aroma With Every Bite - October 9, 2026
- Gobi Manchurian Rice Recipe: Indo-Chinese Fusion in One Bowl - October 9, 2026