
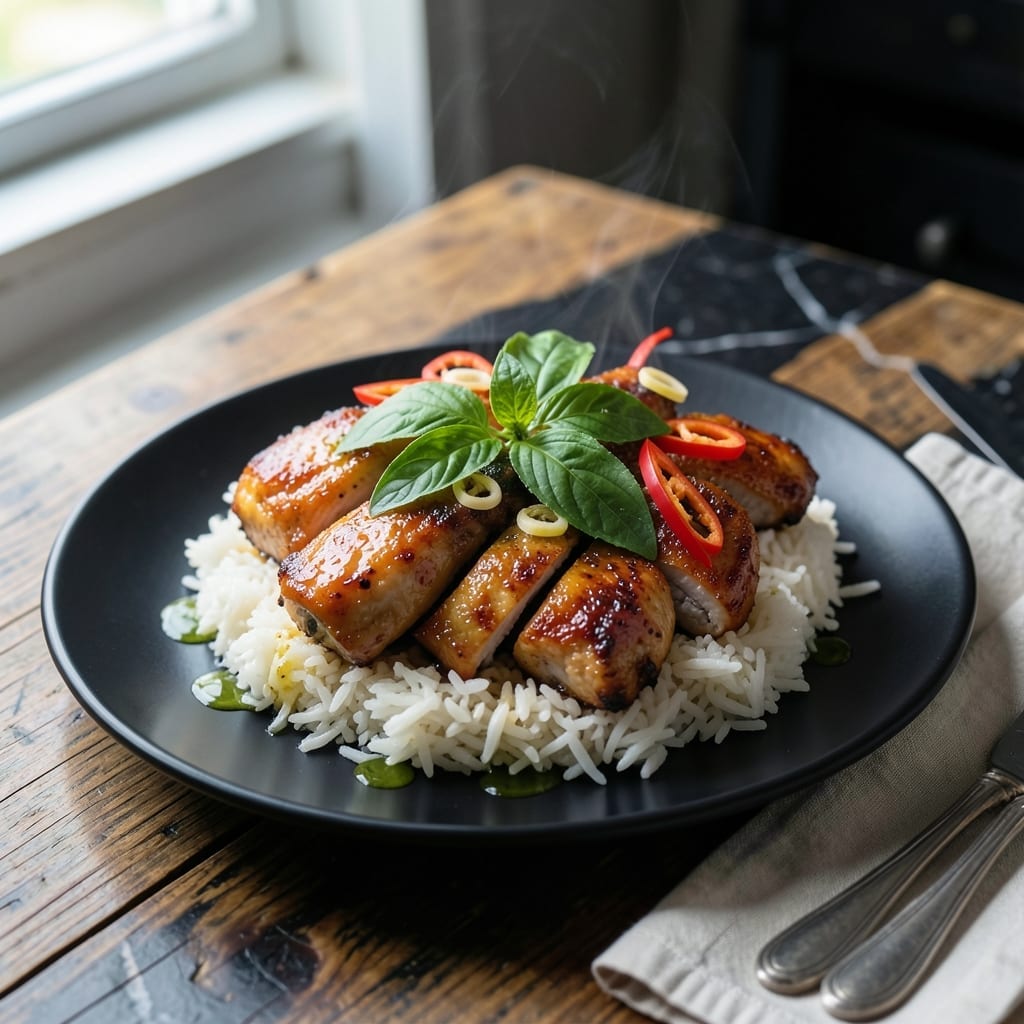
This Thai-inspired stir-fry delivers crispy chicken with aromatic basil and a savory sauce that’s impossible to resist. I’ve refined this method to ensure every piece of chicken stays perfectly browned while soaking up bold flavors.
The secret lies in high heat and quick cooking. Searing the chicken first creates that coveted crispy texture, while garlic, chili, and fish sauce build layers of authentic taste in minutes.
What you get is tender chicken with a golden, shatteringly crispy exterior, coated in a glossy sauce and finished with fresh Thai basil. It’s a dish that brings restaurant-quality results to your kitchen.
Serve it over steamed jasmine rice to catch every drop of the flavorful sauce. Here’s how to make it right.
Ingredients for Mouth Chicken
Pantry staples plus a quick stop at the Asian market. Nothing fancy, just bold flavors.
| Ingredient | Amount | Notes |
|---|---|---|
| Boneless Chicken Thighs 🍗 | 1 ½ lb | Skin-on for extra crispiness |
| Thai Basil Leaves 🌿 | 1 cup | Fresh, loosely packed |
| Jasmine Rice 🍚 | 2 cups | Uncooked, for serving |
| Garlic Cloves 🧄 | 6 cloves | Minced finely |
| Thai Chili Peppers 🌶️ | 3 whole | Sliced, adjust to taste |
| Fish Sauce 🐟 | 3 tbsp | Use quality Thai brand |
| Soy Sauce 🥫 | 3 tbsp | Low-sodium preferred |
| Oyster Sauce 🍽️ | 2 tbsp | Or vegetarian oyster sauce |
| Brown Sugar 🍚 | 1 tbsp | Light or dark works |
| Vegetable Oil 🫒 | ¼ cup | High smoke point for frying |
| Cornstarch 🌾 | 2 tbsp | For coating chicken |
| Fresh Lime 🍈 | 1 whole | Juiced for finishing |
| Green Onions 🧅 | 3 whole | Thinly sliced for garnish |
| Sesame Oil 🫒 | 1 tsp | Toasted, for aroma |
The chicken is the star here. Thighs stay juicier than breasts and crisp up beautifully. I grab mine at H Mart or the local Asian market—they’ve got better quality and often cheaper prices. For the Thai basil, look for fresh bunches with vibrant green leaves. If you can’t find it, regular basil works in a pinch (just not the same).
No fish sauce? Soy sauce plus a pinch of salt gets you close. Vegetarian? Swap oyster sauce for mushroom sauce. The chili peppers can be serrano or jalapeño if Thai chilies aren’t available. For the rice, jasmine is traditional, but long-grain white rice works too. Just don’t skip the cornstarch—it’s what makes the chicken crispy.
This keeps 3-4 days in the fridge, but the chicken is best fresh. Reheat in a pan to keep it crispy. The sauce actually tastes better the next day once the flavors meld. Leftovers make a killer lunch (trust me on this one).
Why You’ll Love This Recipe
- One Pan Wonder: I toss everything in a single skillet—chicken, garlic, chilies—and let the Thai basil do its magic while the rice steams.
- Flavor Bomb: The garlic and chilies hit hard, but the basil leaves this sweet, herby finish that makes the thighs irresistible.
- Weeknight Hero: Between us, this is my Tuesday lifesaver—ready before the kids finish their homework.
- Budget Stretcher: Boneless thighs are cheap, and a little goes a long way with rice to soak up every spicy-garlicky drop.
Step-by-Step Instructions for Crispy Thai Basil Stir-Fry Chicken
Here’s how I get that perfect crispy texture every single time.
Step 1: Coat and Prep the Chicken
Cut the 1.5 lb boneless chicken thighs into 1-inch pieces and pat them completely dry with paper towels. This removes any excess moisture that would prevent crispiness.
Place the chicken in a bowl and toss with the 2 tbsp cornstarch until every piece is evenly coated. I like to press the cornstarch into the meat so it adheres well. The cornstarch creates that signature crispy coating when fried.
Step 2: Fry the Chicken Until Golden
Heat the 0.25 cup vegetable oil in a large skillet or wok over medium-high heat until it shimmers. Add the coated chicken in a single layer, working in batches if needed to avoid overcrowding.
Fry undisturbed for 3-4 minutes until the bottoms turn deep golden brown. Flip and cook another 2-3 minutes until crispy and cooked through. Transfer to a paper towel-lined plate to drain excess oil.
Step 3: Stir-Fry the Aromatics and Sauce
In the same pan, add the 6 cloves minced garlic cloves and 3 whole sliced Thai chili peppers. Stir-fry for 30 seconds until fragrant but not burnt.
Pour in the 3 tbsp fish sauce, 3 tbsp soy sauce, 2 tbsp oyster sauce, and 1 tbsp brown sugar. Stir well and let it bubble for 1 minute until slightly thickened and glossy.
Step 4: Combine and Finish with Fresh Elements
Return the crispy chicken to the pan and toss to coat evenly in the sauce. Cook for another 1-2 minutes until everything is heated through and the chicken maintains its crispiness.
Remove from heat and stir in the 1 cup Thai basil leaves and 1 tsp sesame oil. The basil will wilt slightly from the residual heat. Squeeze over the juice from the 1 whole fresh lime and give it a final toss.
Garnish with the 3 whole thinly sliced green onions and serve immediately over the 2 cups jasmine rice for the best texture contrast.
Pro Tips For Making Mouth Chicken
- Sear Chicken Hard: Get your pan screaming hot before adding the thighs—this builds the deep brown crust that makes the dish. I learned this the hard way after too many pale, soggy batches.
- Smash the Garlic: Lightly crush the garlic cloves with the side of your knife before chopping. It releases way more flavor into the oil, and you’ll taste the difference in every bite.
- Skip the Overcrowding: Cook the chicken in batches if needed—if you cram the pan, the thighs will steam instead of sear, and you’ll lose that sticky, caramelized edge.
- Basil Last: Toss in the Thai basil leaves at the very end, just before serving. Adding it earlier turns them bitter and sad—sounds weird, but it works.
Storing and Reheating This mouth chicken
Refrigerator Storage
Let your stir-fry cool for no more than 2 hours before transferring to airtight containers. I use glass containers with snap-tight lids to preserve freshness. Store at 40°F or below for up to 3-4 days. The flavors deepen overnight as the sauce soaks into the chicken. ❄️
Freezer Storage
For longer storage, freeze in flat, zip-top bags for up to 3 months. Squeeze out excess air to prevent freezer burn. Portion into single-serving sizes for easy reheating. Label each bag with the date to track freshness.
Stovetop Reheating
This is my preferred method to maintain crispiness. Heat a skillet over medium heat, add a splash of vegetable oil, and warm the chicken for 3-4 minutes, stirring occasionally. The high heat revives the crispy texture beautifully. 🔥
Microwave Reheating
For quick meals, place a portion on a microwave-safe plate and cover with a damp paper towel. Heat on 70% power for 1-2 minutes, then stir. The steam from the towel keeps the chicken from drying out.
Revive the Crisp
If your chicken loses its crispiness, spread it on a baking sheet and broil for 2-3 minutes on high. Watch closely to avoid burning. This trick works wonders for leftovers that need a texture boost.
Nutrition Facts
Frequently Asked Questions
Can I use chicken breast instead of thighs?
Yes, but thighs stay juicier. If using breast, cut into smaller pieces and cook for 2-3 minutes less to prevent dryness. Thighs have more fat, which helps achieve that perfect crispy texture.
What if I don’t have Thai basil?
Regular basil works in a pinch, though the flavor differs. For a closer match, add a splash of anise-flavored liqueur or a few crushed star anise to the sauce.
How do I make it less spicy?
Remove the seeds from the chilies or reduce to 1 pepper. You can also add a teaspoon of honey to balance the heat. Serve with cooling sides like cucumber slices.
Can I prepare the sauce ahead?
Mix all sauce ingredients and store in the fridge for up to 3 days. Stir well before using as the sugar may settle at the bottom.

- Jollof Rice Sauce Recipe: West African Tomato and Spice Infusion - September 25, 2026
- Japanese Rice Soup Recipe: Umami-Rich Comfort in a Bowl - September 25, 2026
- Homemade Cream Of Rice Recipe: Silk-Smooth Breakfast in Minutes - September 25, 2026