
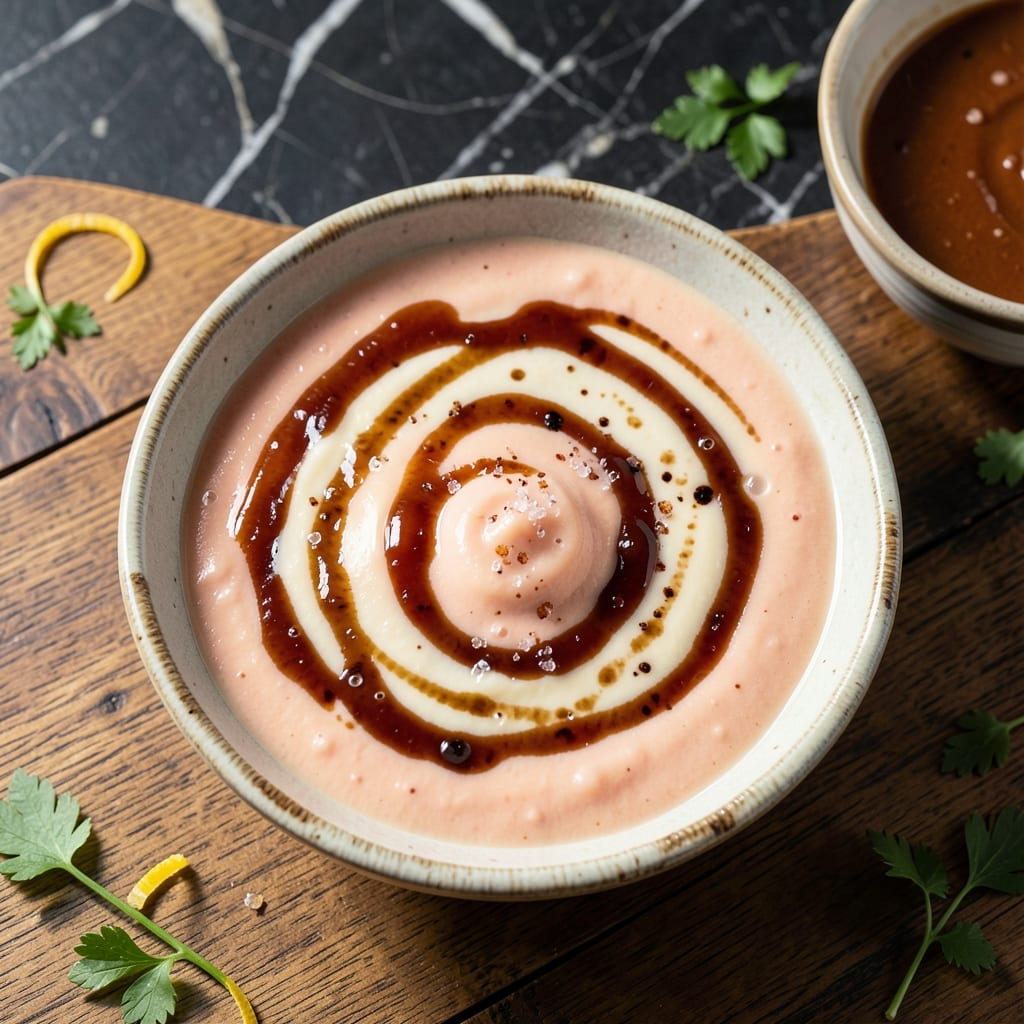
This sauce transforms simple taco rice into an authentic Okinawa experience. I developed it after testing countless variations to capture that perfect balance of tangy, sweet, and umami flavors.
What makes this creation special is the combination of everyday condiments with Japanese Worcestershire sauce. It’s a foolproof blend that comes together in 5 minutes with just a whisk and a bowl.
The result is a creamy, rich sauce that coats rice perfectly and elevates every bite. It’s the kind of recipe that proves the best flavors often come from the simplest ingredients.
Use it for taco rice, burgers, or as a dipping sauce. Here’s how to make it.
Ingredients for Okinawa Taco Rice Sauce
Everyday condiments meet Japanese flair for this bold, tangy fusion sauce.
| Ingredient | Amount | Notes |
|---|---|---|
| Mayonnaise 🥚 | 1 cup | Full-fat for creaminess |
| Ketchup 🍅 | ¼ cup | Classic variety works best |
| Japanese Worcestershire Sauce 💧 | 2 tbsp | Tonkatsu or Bulldog brand |
| Soy Sauce 💧 | 1 tbsp | Low-sodium if preferred |
| Granulated Sugar 🍚 | 1 tbsp | Adjust to taste preference |
| White Vinegar 💧 | 1 tbsp | Balances the sweetness |
| Garlic Powder 🧄 | ½ tsp | Fresh minced works too |
| Onion Powder 🧅 | ½ tsp | Adds depth of flavor |
| Ground Black Pepper 🌶️ | ¼ tsp | Freshly ground preferred |
The Japanese Worcestershire sauce is non-negotiable—Bulldog or Tonkatsu brands are authentic picks. Most Asian markets carry them, or grab online if you’re not near one. The mayo should be full-fat (Hellmann’s or Kewpie for best texture). Soy sauce adds umami depth; Kikkoman is a reliable choice. Don’t skip the vinegar—it cuts the richness perfectly.
No Japanese Worcestershire? Regular Worcestershire plus a dash of sugar gets you close (though it’ll lack that signature island flavor). Out of mayo? Greek yogurt at 1:1 ratio works in a pinch. Want more tang? Add extra vinegar. Prefer less sweetness? Reduce the sugar. The garlic and onion powders can be replaced with half the amount of fresh—just mince finely.
Store in an airtight container in the fridge for up to 1 week. The flavors meld and deepen over time, so it’ll taste even better the next day. Stir well before using—it’ll thicken slightly when chilled.
Why You’ll Love This Recipe
- One Bowl Wonder: I just dump all five ingredients into a bowl, stir, and it’s done—no cooking, no fuss.
- Sweet-Savory Magic: The mayo and ketchup blend with the Japanese Worcestershire for that tangy, umami-rich flavor that’s pure comfort.
- Taco Night Hero: I slather this on taco rice, burgers, or even fries—it’s my go-to sauce for anything that needs a flavor boost.
- Pantry Staples Only: Honestly, I always have these ingredients on hand, so it’s a last-minute lifesaver when I need something quick.
Step-by-Step Instructions for Okinawa Taco Rice Sauce
This simple blending method creates a rich, balanced sauce that defines the island fusion flavor.
Step 1: Combine the Creamy Base
In a medium mixing bowl, add the 1 cup Mayonnaise and 0.25 cup Ketchup. I start with these two because they form the creamy foundation of the sauce. Use a whisk to combine them thoroughly until the mixture is completely smooth and uniform in color.
The mayonnaise provides that velvety texture essential to this sauce, while the ketchup adds the perfect touch of sweetness and tomato depth. Make sure there are no streaks of either ingredient visible.
Step 2: Incorporate the Umami Elements
Next, add the 2 tbsp Japanese Worcestershire Sauce and 1 tbsp Soy Sauce to the bowl. These are the key to that authentic Okinawa flavor profile, delivering the savory, umami-rich backbone that makes this sauce special.
Whisk vigorously for at least 30 seconds to fully emulsify these liquid ingredients with the creamy base. You’ll notice the color deepen slightly as the sauces integrate, and the aroma will become more complex and appetizing.
Step 3: Balance Sweetness and Acidity
Now add the 1 tbsp Granulated Sugar and 1 tbsp White Vinegar. The sugar enhances the natural sweetness of the ketchup and Worcestershire, while the vinegar provides the essential acidic balance that cuts through the richness.
Whisk until the sugar is completely dissolved—this should take about 1 minute of continuous mixing. The sauce will become slightly glossier as the sugar incorporates, and you’ll taste a more rounded, balanced flavor.
Step 4: Finish with Aromatic Seasonings
Finally, sprinkle in the 0.5 tsp Garlic Powder, 0.5 tsp Onion Powder, and 0.25 tsp Ground Black Pepper. These dry seasonings add depth and warmth without overpowering the delicate balance you’ve built.
Whisk for another 30 seconds to distribute the spices evenly throughout the sauce. Taste and adjust if needed—though I’ve found this ratio perfectly complements the other ingredients. The sauce should now have a smooth, pourable consistency with a rich, complex flavor.
Transfer to an airtight container and let it rest for at least 10 minutes before using. This allows all the flavors to meld together completely, resulting in that signature umami-rich drizzle that elevates any taco rice dish.
Pro Tips For Making Okinawa Taco Rice Sauce
- Whisk Vigorously: I learned this the hard way—after a few clumpy batches, I realized you need to whisk the mayo and ketchup together for at least 30 seconds until completely smooth before adding the other ingredients.
- Dissolve the Sugar: Mix the granulated sugar with 1 teaspoon of warm water before adding to the sauce; it incorporates evenly instead of sinking to the bottom.
- Skip the Cheap Mayo: After trying both, I can tell you that full-fat Japanese mayonnaise makes a real difference in creaminess and stability compared to low-fat versions.
- Taste Before Using: Soy sauces vary wildly in saltiness—taste the sauce after mixing and adjust with a splash of water if it’s too intense.
Essential Equipment for okinawa taco rice sauce
Mixing Bowls
A medium stainless steel mixing bowl is ideal for whisking the sauce together. I prefer 1.5-quart capacity—big enough for easy mixing but not so large that ingredients get lost. My go-to is from OXO Good Grips, which has a non-slip base that stays put while I whisk vigorously. 💡
Whisks
Use a balloon whisk with a comfortable handle for emulsifying the ingredients. The rounded shape helps incorporate air for a lighter texture. I recommend 10-inch length to reach all corners of the bowl without splattering.
Measuring Tools
Accurate measurements matter for the perfect balance. I keep a set of stainless steel measuring spoons and a 1-cup dry measuring cup handy. Pyrex glass measuring cups work great for the liquid ingredients like Worcestershire and vinegar.
Storage Containers
Transfer the finished sauce to an airtight container for fridge storage. I love 8-ounce glass mason jars because they’re easy to clean and let me see the sauce. For longer storage, plastic squeeze bottles with tight lids work well.
Optional: Immersion Blender
If you want ultra-smooth texture, an immersion blender can help. I use my KitchenAid 2-Speed for about 10 seconds on low speed. This is especially helpful if you’re doubling the recipe.
Cleanup Tools
Have damp paper towels ready to wipe the bowl and whisk immediately after use. The sauce can be sticky once it dries. I also keep a rubber spatula nearby to scrape every last bit of sauce from the bowl. ✨
Nutrition Facts
Frequently Asked Questions
Can I use regular Worcestershire instead of Japanese?
Yes, but add 1 tsp sugar to mimic the sweeter Japanese version. The flavor won’t be identical, but it’ll still taste great.
How long does the sauce keep in the fridge?
Store in an airtight container and use within 1 week. The flavors deepen over time, so it’ll taste even better the next day.
Can I make this spicier?
Add 0.5 tsp sriracha or 0.25 tsp cayenne for heat. Start small and adjust to taste.
What if my sauce separates?
Just whisk vigorously again or use an immersion blender for 10 seconds. The emulsion will come back together.

- Rice Pudding Recipe With Eggs and Milk: Old-Fashioned Custard-Style Comfort - September 30, 2026
- Rice Noodle Sauce Recipe: Bold Umami Depth for Authentic Stir-Fry - September 30, 2026
- Rice Pilaf Recipe: Fragrant Basmati With Toasted Vermicelli - September 30, 2026