
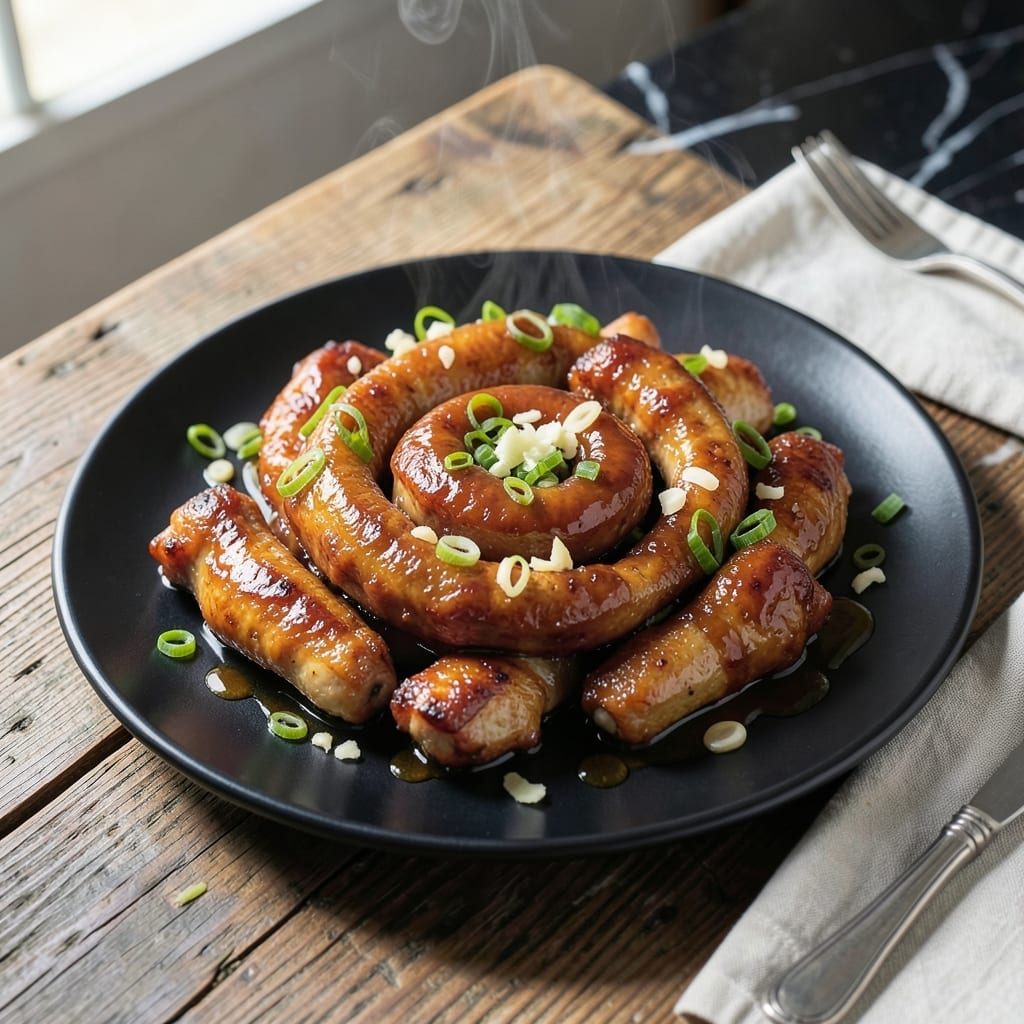
I’ve perfected this takeout-style teriyaki chicken to deliver juicy bites with a glossy, sweet-savory glaze every time.
The secret is a quick sear to lock in moisture, followed by a simmer in a homemade teriyaki sauce that thickens into a sticky coating.
In under 30 minutes, you’ll have tender chicken pieces ready to serve over steamed rice with steamed broccoli or snap peas.
This method ensures the sauce clings perfectly while keeping the meat incredibly tender. Here’s how to make it.
Ingredients for Pei Wei Teriyaki Chicken
Simple ingredients for that sticky, sweet takeout-style chicken you crave at home.
| Ingredient | Amount | Notes |
|---|---|---|
| Boneless Skinless Chicken Thighs 🍗 | 1 ½ lb | Cut into bite-sized pieces |
| Soy Sauce 🫒 | ½ cup | Low-sodium preferred |
| Brown Sugar 🍚 | ⅓ cup | Packed for sweetness |
| Honey 🍯 | 2 tbsp | Balances the sauce |
| Fresh Ginger 🌿 | 1 tbsp | Minced for zing |
| Garlic Cloves 🧄 | 3 cloves | Minced for flavor |
| Rice Vinegar 🍋 | 2 tbsp | Adds tangy brightness |
| Cornstarch 🌾 | 1 tbsp | For thickening sauce |
| Water 💧 | ¼ cup | For cornstarch slurry |
| Vegetable Oil 🫒 | 2 tbsp | For searing chicken |
| Sesame Oil 🫒 | 1 tsp | For finishing aroma |
| Steamed White Rice 🍚 | 2 cups | Cooked, for serving |
| Green Onions 🧅 | 3 whole | Sliced for garnish |
| Sesame Seeds 🌾 | 1 tsp | Toasted for garnish |
The chicken thighs are non-negotiable here—dark meat stays juicy even after simmering. Grab Costco’s or Whole Foods’ organic for the best texture. For soy sauce, Kikkoman low-sodium is my go-to (less salty, more balanced). Fresh ginger and garlic make a huge difference—skip the jarred stuff if you can. The honey adds that signature gloss, so don’t substitute with sugar (it won’t cling the same way).
No honey? Maple syrup or agave work in a pinch, but the flavor shifts slightly. Swap chicken thighs for breasts if you must, but reduce cooking time by half or they’ll dry out. Out of rice vinegar? Apple cider vinegar is fine—just use a touch less. The cornstarch slurry is key for that thick, clingy sauce (don’t skip it).
Sauce keeps 5 days in the fridge—reheat gently with a splash of water. Chicken is best fresh but freezes for 3 months. I always double the sauce recipe (it’s that good).
Why You’ll Love This Recipe
- One Pan Dinner: I just toss the chicken thighs in the sauce and let the oven do the work—no fancy techniques needed.
- Sweet-Savory Magic: The brown sugar and honey caramelize with the soy sauce, while fresh ginger adds that zing Pei Wei is known for.
- Meal Prep MVP: I make a big batch on Sunday and it reheats beautifully for lunches all week.
- Budget Stretcher: Chicken thighs are cheap, and this recipe turns them into something restaurant-worthy without the price tag.
Step-by-Step Instructions for Teriyaki Chicken
Here’s the method I use for juicy bites with that signature glossy glaze.
Step 1: Sear the Chicken Thighs
Heat the 2 tbsp vegetable oil in a large skillet over medium-high heat. When it shimmers, add the 1.5 lb boneless skinless chicken thighs (cut into bite-sized pieces). I spread them in a single layer so they brown instead of steam.
Cook undisturbed for 3-4 minutes until the bottoms develop a deep golden crust. Flip and cook another 3-4 minutes until the chicken is just cooked through but still juicy. Transfer to a plate—it’ll finish cooking in the sauce later.
Step 2: Build the Teriyaki Sauce Base
In the same skillet, add the minced 1 tbsp fresh ginger and 3 cloves garlic cloves. Sauté for 30 seconds until fragrant—don’t let the garlic burn or it’ll turn bitter.
Pour in the 0.5 cup soy sauce, 0.33 cup brown sugar, 2 tbsp honey, and 2 tbsp rice vinegar. Stir until the brown sugar dissolves completely. Bring to a gentle simmer and let it bubble for 2 minutes to meld the flavors.
Step 3: Thicken and Finish the Sauce
In a small bowl, whisk together the 1 tbsp cornstarch and 0.25 cup water until smooth. Slowly pour this slurry into the simmering sauce while stirring constantly. It’ll thicken almost immediately into a glossy glaze.
Return the chicken to the skillet and coat it in the sauce. Simmer for 2-3 minutes until the chicken is fully cooked and the sauce clings beautifully to each piece. Stir in the 1 tsp sesame oil off the heat for that final aromatic touch.
Step 4: Serve with Garnishes
Divide the 2 cups steamed white rice among four plates. Top with the teriyaki chicken and any extra sauce from the pan.
Garnish with the sliced 3 whole green onions and 1 tsp sesame seeds. The green onions add a fresh crunch while the sesame seeds give it that classic restaurant-style finish. Serve immediately while the glaze is still glossy and the chicken is at its juiciest.
Pro Tips For Making Pei Wei Teriyaki Chicken
- Velocity the sauce: Reduce the soy, brown sugar, and honey mix for exactly 3-4 minutes on medium-high—any longer and it turns into candy, any shorter and it won’t cling to the chicken like it should.
- Trim the thighs: Cut off any big chunks of fat from the chicken thighs before cooking; they won’t render out in the quick sear and just make the teriyaki greasy.
- Skip the cold ginger: Fresh ginger releases way more flavor when grated at room temperature, so pull it out of the fridge 10 minutes before you start.
- Rest before slicing: Give the chicken a solid 5 minutes off the heat before slicing, or all those juices you worked for will end up on the cutting board instead of in the meat.
Common Mistakes When Making This Dish
Overcrowding the Pan
Crowding the chicken pieces in the skillet causes them to steam instead of sear. I always cook the 1.5 lb chicken thighs in batches if needed, giving each piece room to develop that deep golden crust. This ensures juicy meat with proper browning.
Skipping the Slurry
Without the cornstarch slurry, your sauce will stay thin and runny. I whisk the 1 tbsp cornstarch and 0.25 cup water until smooth before adding it slowly while stirring. This creates that perfect glossy glaze that clings to every bite. 💡
Burning the Garlic
Garlic burns in seconds over high heat, turning bitter and ruining the sauce. I sauté the 3 cloves garlic and 1 tbsp ginger for only 30 seconds until fragrant, then add the liquids immediately. Watch closely—this step is non-negotiable.
Using Cold Chicken
Adding cold chicken to the sauce can cause it to seize up and cook unevenly. I let the seared chicken rest on a plate for 2-3 minutes before returning it to the sauce. This keeps the meat tender and ensures even cooking.
Overcooking the Sauce
Letting the sauce simmer too long after adding the slurry can make it too thick. I remove it from heat as soon as it reaches a glossy consistency, usually within 1-2 minutes. The sauce will thicken slightly more as it cools.
Skipping the Rest
Serving immediately without letting the chicken rest makes the sauce run off the meat. I let it sit for 2-3 minutes in the skillet after cooking, allowing the glaze to set properly. This makes all the difference in presentation. 🔥
Nutrition Facts
Frequently Asked Questions
What’s the best cut of chicken to use?
Boneless, skinless chicken thighs work best for juicy results. They stay tender during cooking, unlike breasts which can dry out. Always cut them into bite-sized pieces for even cooking.
Can I make the sauce ahead of time?
The sauce keeps for up to 5 days in the fridge. Just reheat gently with a splash of water before adding to the chicken. Avoid boiling to prevent thickening too much.
Why is my sauce too thin?
This usually means the cornstarch slurry wasn’t cooked long enough. Simmer the sauce for 1-2 minutes after adding it. If still thin, mix an extra 1 tsp cornstarch with water and stir in.

- Jollof Rice Sauce Recipe: West African Tomato and Spice Infusion - September 25, 2026
- Japanese Rice Soup Recipe: Umami-Rich Comfort in a Bowl - September 25, 2026
- Homemade Cream Of Rice Recipe: Silk-Smooth Breakfast in Minutes - September 25, 2026