
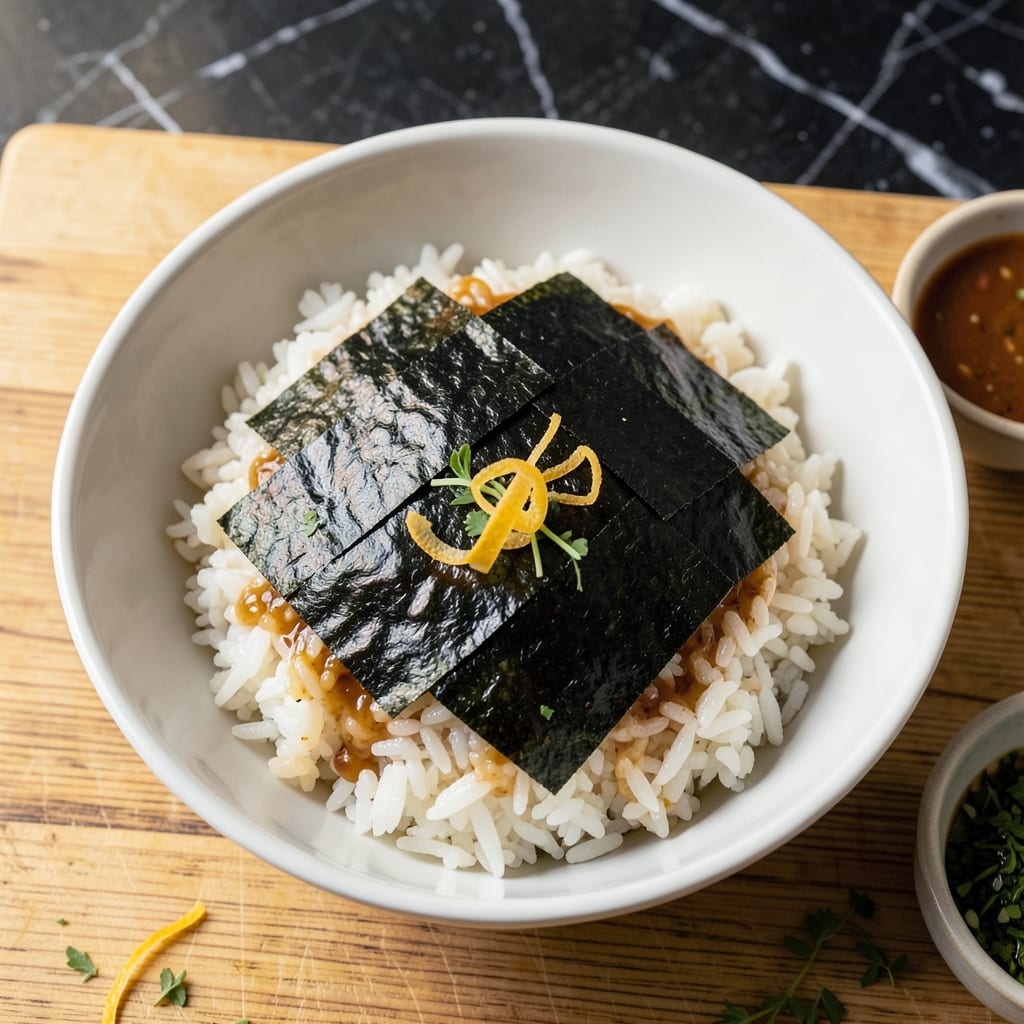
The foundation of any great poke bowl starts with perfectly prepared rice, and this vinegared base delivers the ideal balance of stickiness and tang. I’ve refined this method to ensure each grain stays separate yet flavorful, ready to hold up against bold toppings.
This recipe transforms plain white rice into a bright, slightly sweet canvas that complements raw fish, fresh vegetables, and savory sauces. The key is using the right ratio of rice vinegar, sugar, and salt to enhance without overpowering.
With just a few simple ingredients and minimal effort, you’ll create a rice base that’s restaurant-quality and versatile enough for endless topping combinations. The process is straightforward, but the results are anything but ordinary.
Serve it chilled or at room temperature for the best texture. Here’s how to make it perfectly every time.
Ingredients for Poke Bowl Rice
Short list, restaurant-quality results. Each grain holds its own against bold toppings.
| Ingredient | Amount | Notes |
|---|---|---|
| Sushi Rice 🍚 | 2 cups | Short-grain white rice, rinsed thoroughly |
| Water 💧 | 2 ½ cups | Filtered or spring water preferred |
| Rice Vinegar 🍚 | ½ cup | Unseasoned variety essential |
| Granulated Sugar 🍬 | 2 tbsp | Dissolved completely in vinegar |
| Kosher Salt 🧂 | 1 tsp | Diamond Crystal preferred for texture |
| Nori Sheets 🌿 | 2 sheets | Toasted, cut into thin strips |
| Toasted Sesame Seeds 🌰 | 1 tbsp | Lightly toasted for nutty flavor |
| Green Onions 🧅 | 3 whole | Thinly sliced on diagonal |
| Cucumber 🥒 | ½ whole | Persian or English variety, julienned |
| Carrots 🥕 | 1 whole | Peeled, cut into matchsticks |
| Fresh Ginger 🌿 | 1 piece | 1-inch knob, grated fine |
The rice selection is critical here. Short-grain sushi rice (Koshihikari or Calrose) delivers the perfect sticky-yet-separate texture. Rinsing until the water runs clear removes excess starch that would make it gummy. I source mine from Asian markets or the international aisle at Whole Foods, where turnover is high and the product stays fresh.
No sushi rice? Arborio works in a pinch but requires less water and yields a slightly creamier result. For rice vinegar, unseasoned is non-negotiable—seasoned varieties add unwanted sweetness. If you must substitute, use white wine vinegar at 75% the amount. The sugar can be swapped for honey (not vegan) or agave, but dissolve it completely first.
The seasoned rice keeps well in the fridge for 3-4 days in an airtight container. Bring to room temperature before serving for the best texture. The toppings (nori, sesame, veggies) are best added fresh, but can be prepped 1 day ahead if stored separately.
Why You’ll Love This Recipe
- Set and Forget: I just dump the sushi rice in the rice cooker and walk away—no stirring, no fuss, just perfect fluffy grains every time.
- Sweet-Tangy Balance: That first bite where the rice vinegar hits with just a hint of sugar and salt? It’s why I make this weekly.
- Meal Prep MVP: Honestly, it’s my Sunday ritual—cook a big batch and it’s ready for bowls all week, no soggy leftovers.
- Pocket-Friendly Base: Sushi rice, vinegar, and pantry staples. I spend pennies per serving and still eat like I’m at a high-end poke spot.
Step-by-Step Instructions for Poke Bowl Rice
Master the vinegared rice base with proper technique and timing for authentic results.
Step 1: Rinse and Prepare the Sushi Rice
Place the 2 cups Sushi Rice in a fine-mesh strainer and rinse under cold running water while gently agitating with your hand. Continue until the water runs completely clear—this removes excess starch and prevents a gummy texture.
Transfer the rinsed rice to your rice cooker or heavy-bottomed pot. Add the 2.5 cups Water and let it soak for 30 minutes before cooking. This soaking period allows the grains to absorb water evenly, which is critical for achieving the right consistency.
Step 2: Cook the Rice to Perfection
Cook the rice using your preferred method—rice cooker or stovetop. For stovetop, bring to a boil, then reduce to low heat, cover, and simmer for 15 minutes. Resist the urge to lift the lid during cooking, as this releases steam and can result in unevenly cooked rice.
When the cooking time is complete, let the rice rest covered for an additional 10 minutes. This resting period allows the grains to steam and become tender. The finished rice should be sticky but with individual grains that hold their shape when gently pressed between your fingers.
Step 3: Prepare the Vinegar Seasoning
While the rice cooks, combine the 0.5 cup Rice Vinegar, 2 tbsp Granulated Sugar, and 1 tsp Kosher Salt in a small saucepan. Heat over medium-low heat just until the sugar and salt dissolve completely—this should take 2-3 minutes.
Remove from heat and let the mixture cool to room temperature. It’s crucial that this seasoning is fully dissolved and cooled before mixing with the rice to prevent cooking the grains further or creating hot spots that could make the rice mushy.
Step 4: Season and Finish the Rice
Transfer the cooked rice to a large, shallow wooden or glass bowl. Using a rice paddle or silicone spatula, gently fold in the cooled vinegar mixture with a cutting motion. Be careful not to mash the grains—you want to distribute the seasoning evenly while maintaining the rice’s texture.
Allow the seasoned rice to cool to room temperature, occasionally fanning it with a piece of cardboard or a fan to speed the process and give it a glossy sheen. The rice is ready when it’s cool enough to handle comfortably and has a slightly sticky, glossy appearance.
Step 5: Prepare Toppings and Assemble
Cut the 2 sheets Nori Sheets into thin strips using kitchen shears. Thinly slice the 3 whole Green Onions on a diagonal. Julienne the 0.5 whole Cucumber and peel and cut the 1 whole Carrots into matchsticks. Grate the 1 piece Fresh Ginger finely.
When ready to serve, divide the vinegared rice among bowls and arrange your toppings artfully on top. Sprinkle with 1 tbsp Toasted Sesame Seeds for added texture and visual appeal. The rice should maintain its individual grains while providing the perfect slightly sweet, tangy base for your poke toppings.
Pro Tips For Making Poke Bowl Rice
- Rinse the Rice: Wash the sushi rice in 3-4 changes of cold water until it runs nearly clear—this removes excess starch so your poke bowl rice stays fluffy, not gummy.
- Use Warm Vinegar Mix: Dissolve the sugar and salt in the rice vinegar while it’s still warm from the stove, then let it cool before folding in—I learned this the hard way after ending up with grainy, undissolved sugar.
- Rest Before Seasoning: Let the cooked rice sit covered for 10 minutes off the heat, then spread it on a tray to cool slightly before adding the vinegar mixture—hot rice soaks up seasoning unevenly.
- Fan While Folding: Use a handheld fan or wave a lid while gently folding the vinegar into the rice—it cools the rice faster and gives that glossy, sticky texture sushi rice is known for.
Dietary Considerations for poke bowl rice
Gluten-Free Friendly
This rice base is naturally gluten-free, making it perfect for anyone avoiding wheat. All ingredients—sushi rice, rice vinegar, and kosher salt—are inherently safe. Just double-check your nori sheets and toppings for hidden gluten.
Vegan Adaptation
Easily make this vegan by swapping honey (if used) for agave syrup in the vinegar mixture. The base itself is plant-based, so focus on vegan toppings like avocado, edamame, or marinated tofu. I love adding pickled radishes for extra tang.
Low-Sodium Option
Reduce the kosher salt by half or use a low-sodium alternative. The rice vinegar and sugar still provide plenty of flavor. For extra depth, add a splash of low-sodium soy sauce to the seasoning mixture.
Nut Allergy Note
This recipe is nut-free by default, but be cautious with toppings. Skip toasted sesame seeds if allergic, and ensure all sauces are processed in nut-free facilities. Always verify labels on packaged ingredients.
Diabetic Considerations
To lower the glycemic impact, swap granulated sugar for erythritol or monk fruit sweetener in the vinegar mix. Use brown sushi rice for added fiber, which helps moderate blood sugar response. 💪
Pregnancy Safety
For pregnant individuals, skip raw fish toppings and opt for cooked proteins like shrimp or chicken. The rice base itself is completely safe. Always prioritize fully cooked ingredients during pregnancy.
Nutrition Facts
Frequently Asked Questions
Can I use a different type of rice?
Short-grain is ideal, but Arborio works in a pinch. It yields a creamier texture and needs 20% less water. Avoid long-grain varieties as they won’t hold together properly.
Why do I need to rinse the rice?
Rinsing removes excess starch that would make your rice gummy. Continue until the water runs clear—this ensures those perfect, separate grains that hold up to toppings.
How long can I store seasoned rice?
Keep it in an airtight container in the fridge for 3-4 days. Bring to room temperature before serving for the best texture and flavor.
What if I don’t have rice vinegar?
Use white wine vinegar at 75% the amount. Apple cider vinegar works too, but its flavor is stronger. Always use unseasoned versions.

- Jollof Rice Sauce Recipe: West African Tomato and Spice Infusion - September 25, 2026
- Japanese Rice Soup Recipe: Umami-Rich Comfort in a Bowl - September 25, 2026
- Homemade Cream Of Rice Recipe: Silk-Smooth Breakfast in Minutes - September 25, 2026