
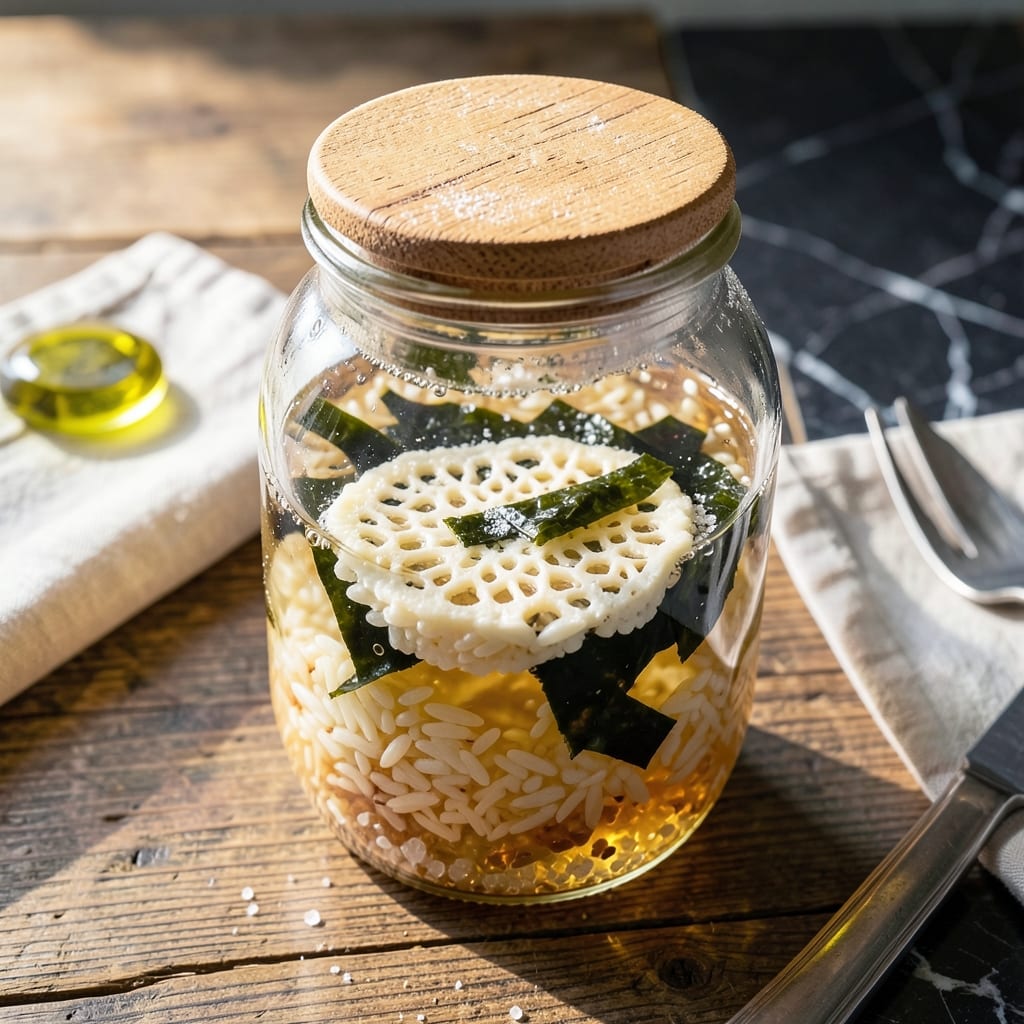
This homemade rice wine vinegar brings authentic tang to any Asian dish. The fermentation process transforms simple rice into a versatile condiment with complex, balanced acidity.
With just rice, water, and time, you’ll create a tangy liquid that elevates dressings, marinades, and stir-fries. No special equipment required—just patience and a clean jar.
Ingredients for Rice Wine Vinegar
Six simple ingredients transform into a bright, tangy condiment for dressings and marinades.
| Ingredient | Amount | Notes |
|---|---|---|
| Short-Grain White Rice 🍚 | 2 cups | Uncooked, rinsed thoroughly |
| Water 💧 | 4 cups | Filtered or distilled preferred |
| Rice Wine Vinegar Mother 🍶 | ¼ cup | Or whey from previous batch |
| Sugar 🍚 | 2 tbsp | Organic cane or white granulated |
| Sea Salt 🧂 | 1 tsp | Non-iodized preferred |
| Kombu Seaweed 🌊 | 1 piece | Optional, 2-inch square, for umami depth |
The rice is everything here. Short-grain white rice (like sushi rice) ferments faster and yields the cleanest flavor—avoid brown or long-grain. Trader Joe’s or any Asian market will have what you need. The vinegar mother can be tricky to find; check Amazon or specialty fermentation suppliers online. If this is your first batch, a friend’s leftover mother or whey from a previous ferment works too.
No vinegar mother? Use unpasteurized apple cider vinegar with the mother as a starter—it’ll work but may alter the flavor slightly. Sugar can be swapped for honey (but skip for strict vegan), though cane sugar gives the most neutral profile. The kombu is optional but adds a subtle depth—dried shiitake mushrooms work as a backup if you’re out of seaweed.
Store the finished vinegar in a glass jar in a cool, dark place. It’ll keep indefinitely (yes, really), but flavor peaks at about 6 months. The mother can be reused for your next batch—just keep it submerged in liquid.
Why You’ll Love This Recipe
- Set and Forget: I mix the rice, water, and mother in a jar, then let time do the work—no babysitting required.
- Bright Tangy Zing: That perfect balance of sweet and sharp from the sugar and short-grain rice makes every bite sing.
- Pantry Superstar: I use this in dressings, marinades, and quick pickles—honestly, it’s my kitchen’s secret weapon.
- Pennywise Ferment: A single batch costs less than store-bought and lasts me months in the cupboard.
Step-by-Step Instructions for Rice Wine Vinegar
This fermentation process is straightforward but requires patience for the best flavor development.
Step 1: Prepare and Sterilize the Fermentation Vessel
Begin by thoroughly sterilizing a large glass jar or ceramic crock with boiling water. I use a 1-gallon container to accommodate the 2 cups Short-Grain White Rice and 4 cups Water mixture with room to spare for expansion. Ensure all utensils and your hands are clean to prevent contamination.
This step is non-negotiable—any bacteria or wild yeast could compete with your Rice Wine Vinegar Mother and ruin the batch. I like to rinse my vessel with hot water right before use, even after initial sterilization, just to be absolutely sure.
Step 2: Create the Rice Mash Base
Combine the 2 cups Short-Grain White Rice and 4 cups Water in a saucepan and bring to a gentle boil. Reduce heat to low and simmer for 10-12 minutes until the rice is completely broken down and the mixture resembles a thin porridge. Stir occasionally to prevent sticking.
Let the rice mash cool to room temperature (about 70-75°F). This is crucial—adding the mother to hot liquid will kill the beneficial bacteria. I spread the mash in a shallow dish to speed up cooling, stirring occasionally to dissipate heat evenly.
Step 3: Inoculate and Season the Mash
Transfer the cooled rice mash to your sterilized vessel. Add the 0.25 cup Rice Wine Vinegar Mother, 2 tbsp Sugar, and 1 tsp Sea Salt. If using, add the 1 piece Kombu Seaweed for umami depth. Stir gently but thoroughly to distribute all ingredients evenly.
The sugar feeds the bacteria, while the salt helps control unwanted microbial growth. I’ve found that using organic cane sugar gives a slightly more complex flavor profile, but white granulated works perfectly fine. The kombu is optional but adds a subtle savory note that enhances the final product.
Step 4: Ferment in a Controlled Environment
Cover the vessel with a breathable cloth (like cheesecloth or a coffee filter) secured with a rubber band. This allows airflow while keeping out dust and insects. Place the vessel in a dark, warm spot (70-80°F)—I use a kitchen cabinet above the refrigerator, which stays consistently warm.
Stir the mixture daily with a clean wooden or plastic spoon. You’ll start seeing bubbles within 24-48 hours, signaling active fermentation. After about 3-4 days, the mixture will develop a tangy aroma. The fermentation process typically takes 7-14 days, depending on temperature and desired acidity.
Step 5: Strain and Bottle the Vinegar
Once the vinegar reaches your preferred taste (I aim for a balanced tang with subtle sweetness), strain it through a fine-mesh sieve lined with cheesecloth. Discard the solids, or compost them if you prefer. Transfer the liquid to clean, sterilized bottles for storage.
Let the vinegar settle for 24 hours before using. This allows any remaining sediment to settle at the bottom. Store in a cool, dark place where it will keep for up to 6 months. The flavor continues to develop over time, becoming more complex with age. Reserve some of the mother from this batch to start your next one.
Pro Tips For Making Rice Wine Vinegar
- Use Filtered Water: Tap water with chlorine can kill the vinegar mother—I learned this the hard way after my first batch failed. Filtered or spring water keeps the fermentation alive and thriving.
- Keep It Warm: Store your jar in a dark spot around 70-75°F, like the back of a pantry. Too cold slows fermentation, too hot kills the mother.
- Skip Metal Utensils: Always use wooden or plastic spoons for stirring—metal can react with the vinegar and leave a metallic taste. Sounds picky, but it actually changes the outcome.
- Add Sugar Sparingly: Start with 1-2 tablespoons per quart—too much sugar early on can overwhelm the mother. You can always add more later if needed.
Serving Suggestions for Leftovers
Dressing Up Salads
Whisk 2 tbsp of this vinegar with 3 tbsp olive oil, 1 tsp honey, and ½ tsp Dijon mustard for a bright vinaigrette. It pairs perfectly with delicate greens like butter lettuce or spinach. I often add 1 tsp toasted sesame seeds for extra crunch. 🥗
Marinade Magic
Use it as a base for marinades—combine ¼ cup vinegar with ¼ cup soy sauce, 2 tbsp brown sugar, and 3 minced garlic cloves. This works wonderfully for chicken, tofu, or pork. Let it sit for at least 30 minutes to tenderize and infuse flavor.
Stir-Fry Finisher
Splash 1-2 tbsp into your stir-fry just before serving to brighten all the flavors. It cuts through the richness of dishes like beef with broccoli or cashew chicken. I always keep a small bottle near the stove for this exact purpose. 🔥
Pickling Liquid
Create quick-pickled vegetables by combining 1 cup vinegar with 1 cup water, 1 tbsp sugar, and 1 tsp salt. Bring to a boil, then pour over thinly sliced cucumbers, carrots, or radishes. They’ll be ready in 24 hours and keep for weeks in the fridge.
Dipping Sauce
Mix 2 tbsp vinegar with 1 tbsp soy sauce, 1 tsp grated ginger, and ½ tsp chili flakes for a tangy dipping sauce. It’s incredible with dumplings, spring rolls, or even grilled meats. I always make extra—it disappears fast!
Cocktail Twist
Use it in place of regular vinegar in shrubs for cocktails. Combine ½ cup vinegar with ½ cup fruit (like strawberries or peaches) and ½ cup sugar. Simmer for 10 minutes, then strain and mix with sparkling water or your favorite spirit. ✨
Nutrition Facts
Frequently Asked Questions
Can I use a different type of rice?
Stick with short-grain white rice for best results. Other varieties may ferment unevenly or produce off-flavors. Jasmine or sushi rice work well.
How do I know when it’s ready?
Taste test after 7 days. It should have a sharp tang. Ferment longer for more acidity, up to 14 days.
What if I don’t have a vinegar mother?
Use unpasteurized apple cider vinegar with the mother as a starter. The flavor may differ slightly but will still work.
How should I store the finished vinegar?
Keep it in a glass jar in a cool, dark place. It’ll last 6 months or more, with flavor improving over time.

- Gambia Jollof Rice Recipe: West African One-Pot Spice Fusion - October 5, 2026
- Cream of Wild Rice Soup Recipe Minnesota: Northwoods Creaminess With Foraged Grains - October 5, 2026
- Frozen Cauliflower Fried Rice Recipe: Quick Low-Carb Wok Magic - October 5, 2026