
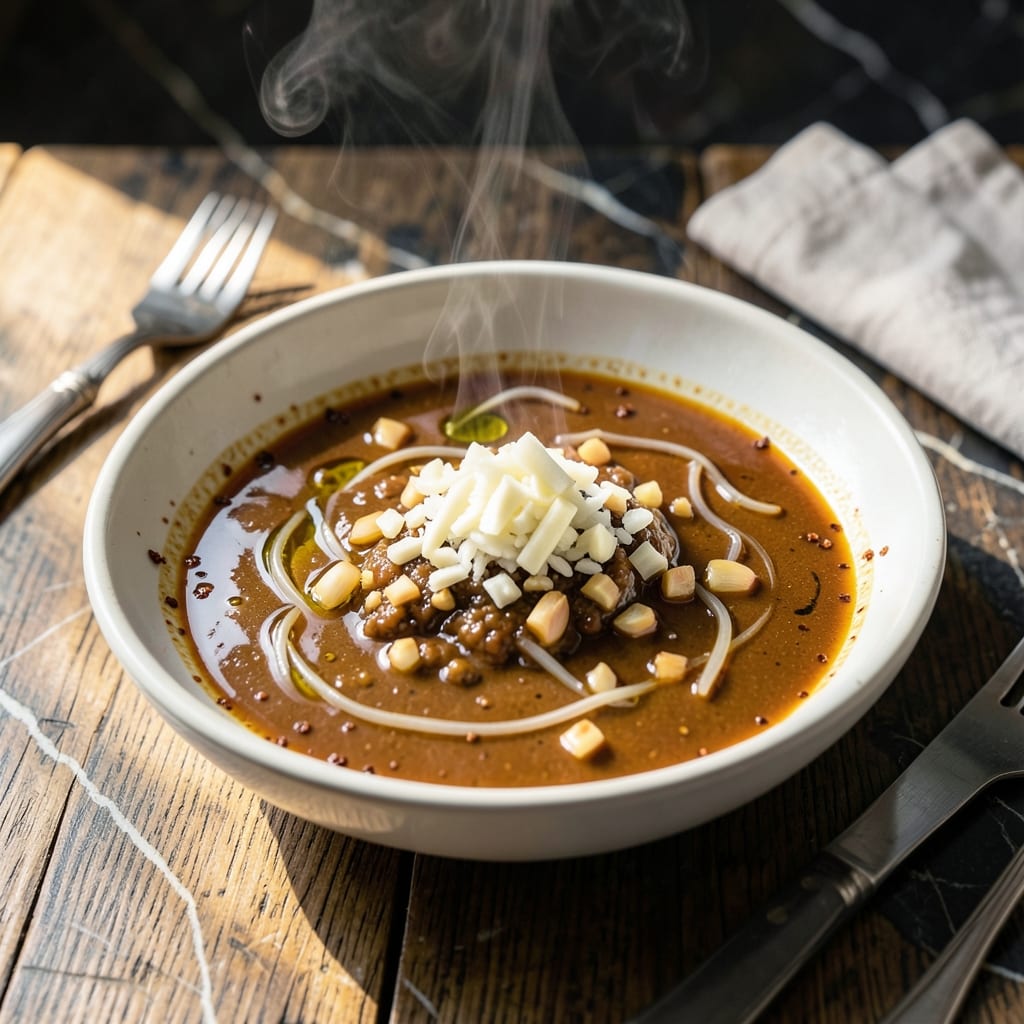
This sauce transforms ordinary fried rice into an authentic Thai street food experience. I developed it after years of testing takeout versions, determined to capture that perfect balance of sweet, salty, and umami.
The foundation is a careful blend of fish sauce, oyster sauce, and soy sauce—each contributing distinct depth that defines authentic Thai flavor. A touch of sugar rounds out the edges without overwhelming the savory notes.
What you get is a versatile sauce that works as both a cooking base and finishing drizzle. It clings to rice grains, infusing every bite with complex, restaurant-quality taste.
Mix it ahead and store in the fridge for up to a week. Here’s how to make it.
Ingredients for Thai Fried Rice Sauce
Bold, balanced, and packed with umami. Nine ingredients for authentic Thai flavor.
| Ingredient | Amount | Notes |
|---|---|---|
| Fish Sauce 🐟 | 3 tbsp | Thai variety preferred |
| Oyster Sauce 🦪 | 2 tbsp | Vegetarian if needed |
| Soy Sauce 🥢 | 2 tbsp | Low-sodium optional |
| Brown Sugar 🍚 | 1 tbsp | Packed, for sweetness |
| Rice Vinegar 🍶 | 1 tbsp | Balances the flavors |
| Garlic Cloves 🧄 | 3 cloves | Minced finely |
| Shallot 🧅 | 1 whole | Finely diced |
| Lime Juice 🍈 | 1 tbsp | Freshly squeezed |
| Chili Flakes 🌶️ | ½ tsp | Adjust to taste |
The fish sauce is non-negotiable here—Red Boat or Thai Kitchen are reliable brands at most supermarkets. Oyster sauce adds depth, but vegetarian oyster sauce (made from mushrooms) works just as well and keeps this sauce plant-friendly. I always grab mine from H Mart or the Asian foods aisle at Whole Foods for the best selection. Look for bottles without added MSG if that’s your preference.
No oyster sauce? Hoisin sauce at half the amount gets you close. Swap brown sugar for coconut sugar (1:1) for a deeper caramel note. Fresh lime is ideal, but bottled in a pinch (just use less). If you’re out of rice vinegar, apple cider vinegar works too—slightly fruitier but still balanced. The chili flakes can be swapped for sriracha if you want heat with a bit of sweetness.
This keeps beautifully in the fridge for 1 week in a sealed jar. The flavors actually deepen after a day. Freeze for up to 3 months (ice cube trays work great for single servings). Always give it a stir before using—everything settles.
Why You’ll Love This Recipe
- 5-Minute Mix: I just dump all five ingredients in a bowl and stir—no chopping, no fuss.
- Sweet-Savory Balance: The brown sugar and fish sauce hit that perfect sweet-salty note every time.
- Pairs With Anything: I use it on rice, noodles, even scrambled eggs for a quick flavor boost.
- Pantry Staples Only: Fish sauce, soy sauce, and the rest are already in my cupboard, so it’s always an option.
Step-by-Step Instructions for Thai Fried Rice Sauce
This authentic method delivers bold umami depth with perfect balance every time.
Step 1: Bloom Aromatics in Oil
Heat a small saucepan over medium heat and add just enough neutral oil to coat the bottom. I use about 1 teaspoon. When the oil shimmers, add the finely diced shallot and minced garlic cloves.
Cook for 1-2 minutes, stirring constantly, until both are soft and fragrant but not browned. You’ll smell the garlic’s sweetness intensify—that’s your signal. Browning the aromatics too much adds bitterness, so keep the heat moderate and stay attentive.
Step 2: Combine Liquid Sauce Base
Pour in the 3 tbsp fish sauce, 2 tbsp oyster sauce, and 2 tbsp soy sauce. Stir well to combine with the aromatics. The mixture will sizzle and reduce slightly as the flavors meld.
Let it simmer for 2-3 minutes over medium-low heat. You want the raw edge of the sauces to cook off, but not so long that the mixture becomes syrupy. The goal is a smooth, aromatic liquid base that’s deeply savory.
Step 3: Balance Sweet, Sour, and Spice
Add the 1 tbsp brown sugar, 1 tbsp rice vinegar, and 0.5 tsp chili flakes. Stir until the sugar dissolves completely. The vinegar and lime will brighten the rich umami, while the sugar rounds out the saltiness.
Simmer for another 1-2 minutes, then add the 1 tbsp lime juice. Taste and adjust if needed—I sometimes add a pinch more sugar if the sauce tastes too sharp, but the original balance is usually perfect. The sauce should taste complex: salty, sweet, tangy, and slightly spicy.
Step 4: Finish and Store for Maximum Flavor
Remove the sauce from heat and let it cool slightly. The flavors will deepen as it sits. Transfer to a jar or airtight container once cooled to room temperature.
This sauce keeps in the refrigerator for up to 1 week. For best results, use it within 3-4 days when the aromatics are at their peak. When ready to use, give it a good stir—the oils may separate slightly during storage.
Pro Tips For Making Thai Fried Rice Sauce
- Heat the Sauce: I learned this the hard way—blooming the fish sauce, oyster sauce, and soy sauce in hot oil for 30 seconds deepens the flavor before adding sugar or vinegar.
- Dissolve the Sugar: Mix the brown sugar with 1-2 tablespoons of warm water first to prevent grainy clumps in your finished sauce.
- Skip the Over-Salting: Fish sauce and oyster sauce are already salty, so taste before adding extra soy sauce—you can always add more but can’t take it out.
- Balance with Vinegar: Add the rice vinegar last and in small increments, stirring between each—this keeps the tang bright instead of harsh.
Common Mistakes When Making Perfect Results
Over-Salting the Sauce
Fish, oyster, and soy sauces are all salty, so taste as you go. I learned this the hard way in my tiny Boston kitchen—1 extra tablespoon can ruin the balance. Start with half the recommended amounts, then adjust gradually. 💡
Burning the Aromatics
Garlic and shallots burn quickly over high heat. Keep your burner at medium and stir constantly for 1-2 minutes. Burnt aromatics add bitterness that no amount of sugar can fix—trust me, I’ve tested this more times than I’d like to admit.
Skipping the Simmer
Raw fish sauce has a harsh edge that needs mellowing. Let the sauce simmer for 3-5 minutes total to blend flavors. Skipping this step leaves the sauce tasting sharp and one-dimensional, not the complex umami bomb you want.
Using Wrong Vinegar
Rice vinegar’s mild acidity is perfect here. Substituting balsamic or white vinegar throws off the balance—too harsh or too sweet. In a pinch, apple cider vinegar works, but reduce it by ½ teaspoon to avoid overpowering the sauce.
Storing Improperly
Always cool the sauce completely before sealing. Trapped heat creates condensation, which dilutes flavors and risks spoilage. I store mine in a glass jar in the fridge for up to 1 week—the flavors actually improve after 24 hours. ❄️
Ignoring the Taste Test
Thai flavors should harmonize: salty, sweet, sour, and spicy. Taste before finalizing and adjust one element at a time. I often add an extra ½ teaspoon lime juice or pinch of sugar to perfect the balance.
Nutrition Facts
Frequently Asked Questions
Can I make this without fish sauce?
Yes, use 3 tbsp soy sauce plus 1 tsp Worcestershire for depth. The flavor won’t be identical but still delicious.
How long does homemade sauce last?
Stored in an airtight container in the fridge, it keeps for 1 week. Flavors deepen after 24 hours.
Why does my sauce taste too salty?
Fish, oyster, and soy sauces are salty. Balance with extra lime juice or brown sugar to taste.
Can I freeze the sauce?
Freeze in ice cube trays for up to 3 months. Thaw in the fridge overnight before using.

- Gambia Jollof Rice Recipe: West African One-Pot Spice Fusion - October 5, 2026
- Cream of Wild Rice Soup Recipe Minnesota: Northwoods Creaminess With Foraged Grains - October 5, 2026
- Frozen Cauliflower Fried Rice Recipe: Quick Low-Carb Wok Magic - October 5, 2026