
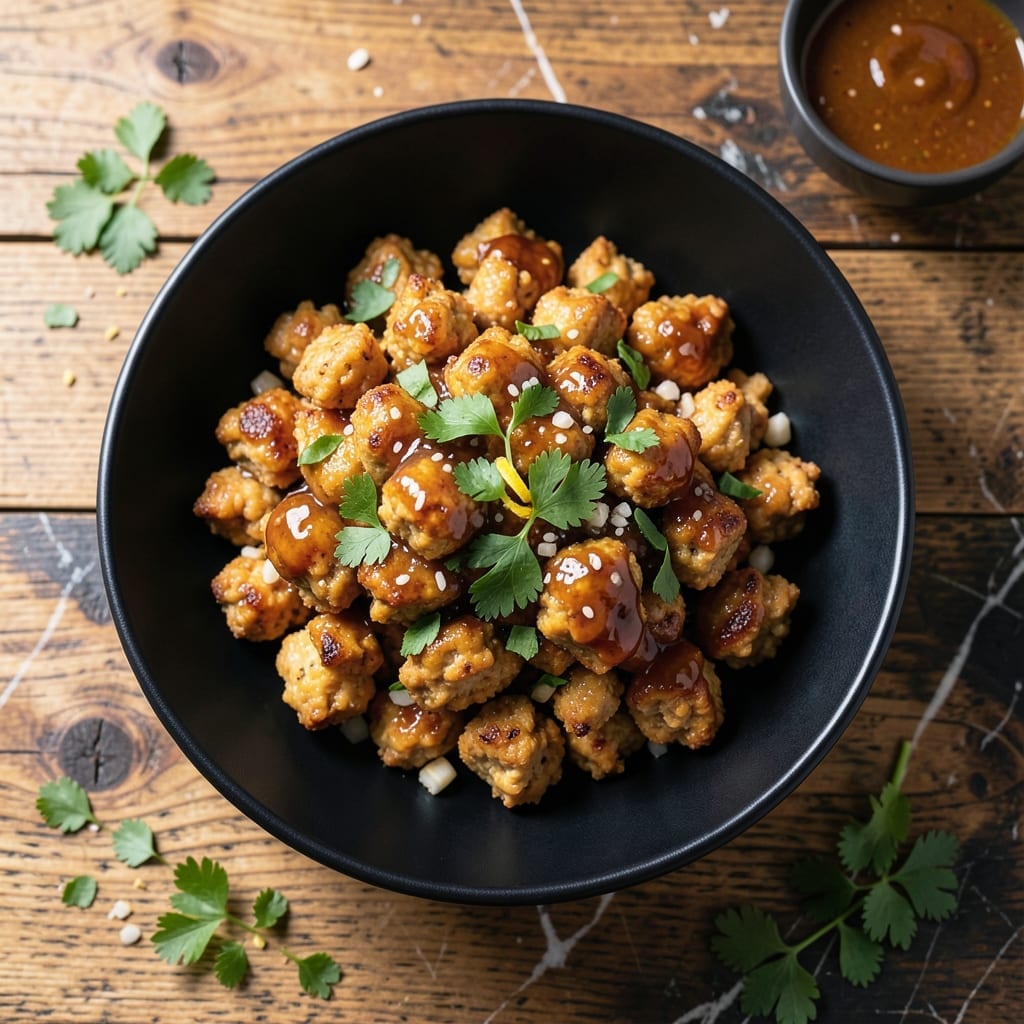
Plant-based cooking doesn’t mean sacrificing texture or flavor, and this dish proves it. I developed this method after years of experimenting with meat alternatives, focusing on achieving the right bite and savory depth.
The secret lies in combining vital wheat gluten with chickpea flour, creating a chewy, fibrous texture that mimics traditional ground chicken. A carefully balanced blend of spices and umami-rich ingredients ensures authentic flavor.
With a foolproof technique and simple ingredients, you’ll create a protein that holds up in any recipe calling for ground chicken. The texture is spot-on, and the taste is anything but bland.
Use it in tacos, stir-fries, or pasta dishes. Here’s how to make it at home.
Ingredients for Vegan Ground Chicken
Plant-based ingredients that deliver authentic texture and savory depth without compromise.
| Ingredient | Amount | Notes |
|---|---|---|
| Vital Wheat Gluten 🌾 | 1 ½ cups | The base for chewy texture |
| Chickpea Flour 🌾 | ½ cup | Adds fibrous structure |
| Nutritional Yeast 🧀 | ¼ cup | For umami depth |
| Vegetable Broth 🥣 | ¾ cup | Low-sodium preferred |
| Olive Oil 🫒 | 2 tbsp | For sautéing and moisture |
| Soy Sauce 🥢 | 2 tbsp | Tamari for gluten-free |
| Garlic Powder 🧄 | 1 tsp | For savory base |
| Onion Powder 🧅 | 1 tsp | Complements the garlic |
| Dried Thyme 🌿 | 1 tsp | Earthy aromatic note |
| Dried Sage 🌿 | ½ tsp | Essential for chicken-like flavor |
| Smoked Paprika 🌶️ | 1 tsp | Adds subtle smokiness |
| Ground Black Pepper 🌶️ | ½ tsp | Freshly ground preferred |
| Dried Parsley 🌿 | 1 tsp | For color and freshness |
| Sea Salt 🧂 | 1 tsp | Adjust to taste |
The vital wheat gluten is non-negotiable—Bob’s Red Mill or Anthony’s Goods are reliable brands. Chickpea flour should be fine and fresh; Bulk bins at Whole Foods or Indian grocery stores often have the best turnover. Nutritional yeast adds the umami backbone, so look for Bragg or KAL brands (the flakes dissolve better than powder).
No chickpea flour? Lentil or fava bean flour work as substitutes. For gluten-free, swap vital wheat gluten for extra-firm tofu (though texture differs). Soy sauce can be replaced with coconut aminos at a 1:1 ratio. Fresh herbs at triple the dried amount if you have them on hand.
Store dry ingredients in airtight containers for up to 6 months. The finished product keeps in the fridge for 5 days or freezes beautifully for 3 months. Portion before freezing for easy use in future meals.
Why You’ll Love This Recipe
- One Bowl Wonder: I just mix the vital wheat gluten, chickpea flour, and spices in a single bowl—no fancy tools, no mess.
- Umami Bomb: The nutritional yeast and vegetable broth give it that deep, savory kick I crave in every bite.
- Meal Prep MVP: I make a big batch and use it in tacos, stir-fries, or salads all week long.
- Budget Stretcher: Chickpea flour and vital wheat gluten are cheap staples that make this way more affordable than store-bought.
Step-by-Step Instructions for Vegan Ground Chicken
Master these techniques to create a plant-based protein that mirrors the texture and flavor of traditional ground chicken.
Step 1: Combine Dry Ingredients for Structural Foundation
In a large mixing bowl, whisk together the 1.5 cups Vital Wheat Gluten, 0.5 cup Chickpea Flour, 0.25 cup Nutritional Yeast, 1 tsp Garlic Powder, 1 tsp Onion Powder, 1 tsp Dried Thyme, 0.5 tsp Dried Sage, 1 tsp Smoked Paprika, 0.5 tsp Ground Black Pepper, 1 tsp Dried Parsley, and 1 tsp Sea Salt. This blend creates the chewy, fibrous texture essential for authentic results.
Ensure all dry components are evenly distributed—this prevents flavor pockets and guarantees consistent texture throughout. The chickpea flour adds body, while nutritional yeast contributes umami depth that mimics the savory notes of traditional poultry.
Step 2: Integrate Wet Ingredients for Moisture and Flavor
In a separate bowl, combine the 0.75 cup Vegetable Broth, 2 tbsp Olive Oil, and 2 tbsp Soy Sauce. Stir until the oil and soy sauce are fully emulsified into the broth. This liquid mixture hydrates the dry ingredients while infusing every bite with rich, savory character.
Pour the wet mixture into the dry ingredients. Use a silicone spatula to fold the components together until a shaggy dough forms. The mixture should be moist but not sticky—if it feels too dry, add 1-2 teaspoons of additional broth, though the original quantities typically suffice.
Step 3: Knead the Mixture to Develop Texture
Turn the dough onto a clean work surface and knead for 3-5 minutes until elastic and slightly springy. Vital wheat gluten activates during this process, creating the chewy, meat-like texture that defines this dish. You’ll notice the dough becomes smoother and more cohesive as you work it.
If the dough feels too sticky, lightly dust your hands with a small amount of chickpea flour. Avoid over-flouring, as this can make the final product dense. The goal is a firm, pliable dough that holds its shape when pressed.
Step 4: Rest and Steam for Optimal Texture
Divide the dough into 4 equal portions and shape each into a rough log or patty, depending on your intended use. Place the portions in a steamer basket lined with parchment paper, ensuring they have space to expand slightly. Bring 1 inch of water to a boil in the pot below, then reduce to a simmer.
Steam the dough for 30 minutes, covering the pot with a tight-fitting lid. This gentle cooking method sets the structure while keeping the interior moist. The portions are done when they feel firm to the touch and have a slightly spongy texture, indicating the gluten has fully developed.
Step 5: Cool and Crumble for Final Use
Remove the steamed portions from the basket and let them cool for 10 minutes. This resting period allows the texture to stabilize. Once cool enough to handle, crumble the pieces with your hands or pulse in a food processor for a finer, ground-chicken-like consistency.
The final product should resemble cooked ground chicken in both appearance and mouthfeel. Use it immediately in recipes calling for ground poultry, or store it in an airtight container in the refrigerator for up to 5 days. For best results, lightly sauté before serving to enhance the flavor and texture.
Pro Tips For Making Vegan Ground Chicken
- Knead the Gluten: Work the vital wheat gluten for at least 3-4 minutes—it develops the chewy texture that makes this taste like real chicken. I learned this the hard way when my first batch turned out rubbery.
- Chill Before Cooking: Let the mixture rest in the fridge for 20 minutes after shaping. Sounds weird, but it works: it helps the flavors meld and prevents crumbling in the pan.
- Use Hot Broth: Mix the vegetable broth while it’s still hot—it activates the chickpea flour better and gives a more uniform texture. Cold broth just doesn’t cut it.
- Don’t Overcrowd: Cook the pieces in a single layer with space between them, or they’ll steam instead of brown. After burning three batches, I finally figured out patience is the thing that matters most here.
Essential Equipment for Great vegan ground chicken
Food Processor Essentials
A high-capacity food processor is non-negotiable for achieving the perfect ground texture. I use my Cuisinart 14-Cup—it handles the dense dough without straining. Pulse in 2-second bursts for even crumbles without overworking the gluten. 💡
Steamer Setup
Invest in a stainless steel steamer basket that fits your largest pot—I recommend OXO’s 3-tier for batch cooking. Line it with parchment paper to prevent sticking. Ensure your pot has a tight lid to trap steam effectively.
Kneading Tools
A silicone mat and bench scraper make kneading this sticky dough manageable. I keep a spray bottle of water nearby to moisten my hands when the gluten gets too clingy. The mat also protects your countertops.
Measuring Accuracy
Precise measurements matter with high-gluten recipes. I use OXO Good Grips measuring cups for dry ingredients and a pyrex liquid measuring cup for broth. A kitchen scale helps verify the 1.5 cups vital wheat gluten if you’re unsure.
Storage Solutions
After cooling, store in glass airtight containers—I prefer Pyrex with snap-on lids. For freezing, use quart-size freezer bags with all air pressed out. Label with dates; this keeps for 3 months without texture loss. ❄️
Cleanup Helpers
Vital wheat gluten dough is notoriously sticky. Keep a bowl of warm soapy water nearby to soak tools immediately after use. A dough whisk also helps clean mixing bowls more easily than a regular spoon.
Nutrition Facts
Frequently Asked Questions
Can I make this without vital wheat gluten?
For a gluten-free version, use 14 oz extra-firm tofu crumbled and pressed. The texture will be softer but still works well in most recipes.
Why does the dough need to steam?
Steaming for 30 minutes sets the gluten structure, creating the chewy texture that mimics meat. Skipping this step results in a gummy, dense product.
How do I get a more chicken-like flavor?
Add 1 tsp poultry seasoning or 1/2 tsp white miso paste to the wet ingredients. These boost the savory depth significantly.
Can I bake instead of steam?
Baking at 350°F for 25 minutes works, but steam yields a moister result. Wrap tightly in foil to prevent drying.

- Jollof Rice Sauce Recipe: West African Tomato and Spice Infusion - September 25, 2026
- Japanese Rice Soup Recipe: Umami-Rich Comfort in a Bowl - September 25, 2026
- Homemade Cream Of Rice Recipe: Silk-Smooth Breakfast in Minutes - September 25, 2026