
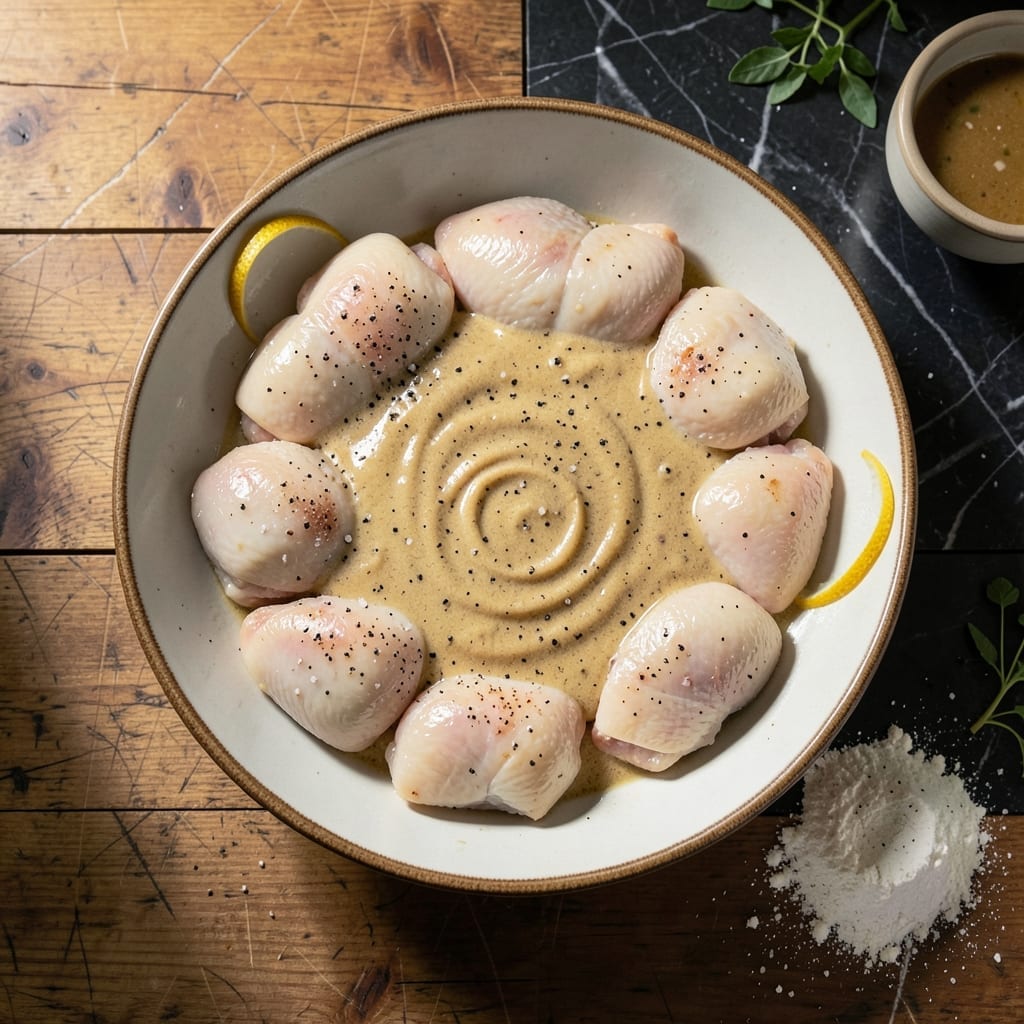
This wet chicken batter delivers a crispy, golden coating that locks in moisture for juicy fried chicken every time. The secret lies in the perfect ratio of flour to liquid, creating a consistency that clings to the meat without sliding off during frying.
I’ve tested this method extensively to ensure it produces a shatteringly crispy exterior while keeping the chicken tender inside. The batter’s thickness is key—too thin and it won’t adhere, too thick and it won’t cook through evenly.
Frying at the right temperature ensures the coating sets quickly, sealing in the juices. You’ll achieve that ideal contrast of a light, airy crust and succulent meat with every bite. No advanced techniques are needed—just precision.
This approach guarantees professional results with minimal effort. The batter works for any cut of chicken, from wings to tenders, and fries up perfectly in 350°F oil.
Ingredients for Wet Chicken Batter
Twelve simple ingredients create that shatteringly crispy, golden coating for perfect fried chicken every time.
| Ingredient | Amount | Notes |
|---|---|---|
| Chicken Pieces 🍗 | 2 lb | Bone-in, skin-on preferred for crispiness |
| All-Purpose Flour 🌾 | 2 cups | Sifted for smooth batter |
| Cornstarch 🌽 | ½ cup | For extra crispiness |
| Baking Powder 🧂 | 2 tsp | Helps batter puff and crisp |
| Salt 🧂 | 1 ½ tsp | Kosher or sea salt |
| Black Pepper 🌶️ | 1 tsp | Freshly ground preferred |
| Paprika 🌶️ | 1 tsp | Sweet or smoked variety |
| Garlic Powder 🧄 | 1 tsp | Not garlic salt |
| Onion Powder 🧅 | 1 tsp | Fresh ground preferred |
| Cold Water 💧 | 1 ½ cups | Ice cold for crispy batter |
| Large Eggs 🥚 | 2 whole | Beaten for binding |
| Buttermilk 🥛 | ½ cup | Full-fat for richness |
| Vegetable Oil 🫒 | 4 cups | For frying, high smoke point |
The chicken matters most here. Bone-in, skin-on thighs and drumsticks give the best texture—Costco has great bulk options. For the flour, King Arthur or Gold Medal all-purpose work perfectly. Cornstarch is key for that extra crunch, and Clabber Girl baking powder ensures the batter puffs up right. Make sure your water is ice cold—this keeps the batter from absorbing too much oil.
No buttermilk? Whole milk with a splash of vinegar works in a pinch. Out of cornstarch? Arrowroot powder at the same amount is a decent swap. Want more flavor? Add a teaspoon of cayenne for heat. The egg helps bind everything, but if you’re in a rush, an extra quarter-cup of buttermilk can work. Just don’t skip the cold liquid—it’s what makes the batter cling.
Fry in batches so the oil stays hot—350°F is ideal. Leftovers keep 2-3 days in the fridge but are best fresh. Reheat in the oven to keep them crispy. Don’t overcrowd the pan, or the temperature drops and the batter gets greasy.
Why You’ll Love This Recipe
- No-Fuss Mix: I just dump flour, cornstarch, baking powder, and salt in a bowl, add water, and dip the chicken—no fancy steps.
- Crispy Outside, Juicy Inside: The cornstarch makes it impossibly crispy while the wet batter locks in the moisture.
- Feeds a Hungry Crowd: I use this for weeknight dinners, game day, or when the kids bring friends over.
- Stretches the Budget: Chicken pieces stay tender and a bag of flour goes a long way—leftovers disappear fast.
Step-by-Step Instructions for Wet Chicken Batter
Here’s the method. Straightforward, tested, works every time.
Step 1: Prepare and Season the Chicken Pieces
Pat the 2 lb chicken pieces completely dry with paper towels. This step is crucial—any moisture will prevent the batter from adhering properly and crisping up. I always use bone-in, skin-on pieces for the juiciest results.
Season the chicken lightly with 1.5 tsp salt, 1 tsp black pepper, 1 tsp paprika, 1 tsp garlic powder, and 1 tsp onion powder. This base seasoning enhances the flavor of the meat before the batter goes on.
Step 2: Make the Wet Batter
In a large mixing bowl, whisk together the 2 cups all-purpose flour, 0.5 cup cornstarch, and 2 tsp baking powder. These dry ingredients create the structure for a light, crispy coating. The cornstarch is key for that extra crunch.
In a separate bowl, beat the 2 whole large eggs, then add the 1.5 cups cold water and 0.5 cup buttermilk. Pour the wet mixture into the dry ingredients and whisk until just combined. The batter should be smooth but slightly lumpy—overmixing will make it tough.
Step 3: Heat the Oil to the Right Temperature
Pour the 4 cups vegetable oil into a deep, heavy-bottomed pot or Dutch oven, filling it no more than halfway. Heat the oil over medium-high heat to 350-375°F. Use a deep-fry thermometer to monitor the temperature accurately.
Here’s the thing—if the oil isn’t hot enough, the batter will absorb too much oil and become greasy. If it’s too hot, the outside will burn before the chicken cooks through. You’ll know it’s ready when a drop of batter sizzles and floats immediately when added to the oil.
Step 4: Fry the Chicken to Golden Perfection
Dip each piece of chicken into the batter, letting any excess drip off. Carefully lower the pieces into the hot oil, working in batches to avoid crowding the pot. Crowding will lower the oil temperature and result in soggy chicken.
Fry for 12-15 minutes, turning occasionally, until the coating is golden brown and crispy. The internal temperature of the chicken should reach 165°F when measured with a meat thermometer. Transfer the fried chicken to a wire rack set over a baking sheet to drain excess oil.
Step 5: Rest and Serve Immediately
Let the chicken rest for 5 minutes before serving. This short rest allows the juices to redistribute, ensuring every bite is moist and flavorful. The coating should stay crispy if you’ve maintained the right oil temperature throughout frying.
Serve the chicken hot, while the batter is at its crispiest. The contrast between the crunchy exterior and the juicy interior is what makes this dish so satisfying. This method delivers on the promise of crispy, juicy fried chicken every time.
Pro Tips For Making Wet Chicken Batter
- Chill the Batter: I learned this the hard way—let the batter rest in the fridge for 20-30 minutes before dipping the chicken. It thickens up and clings better to the pieces.
- Dry Your Chicken: Pat the chicken pieces completely dry with paper towels first. Any moisture prevents the batter from sticking properly, and you’ll end up with bald spots.
- Skip the Overmixing: Mix the batter just until the flour is incorporated—lumps are fine. Overmixing develops the gluten, making the coating tough instead of light and crispy.
- Double Dip for Crisp: Sounds weird, but it works: dip the chicken in the batter, let it drip off for 10 seconds, then dip again. The extra layer creates a thicker, crunchier crust.
Wine and Beer Pairings for These Flavors
Crisp White Wines
A chilled Sauvignon Blanc cuts through the richness beautifully with its bright acidity and citrus notes. I particularly love a New Zealand style—Cloudy Bay or Kim Crawford work wonders. The crispness refreshes your palate between bites of crispy chicken. 🍷
Light Beers
For beer lovers, a pilsner like Pilsner Urquell or Stella Artois offers clean, crisp flavors that complement without competing. The light body and subtle bitterness balance the fried coating perfectly.
Fruity Rosés
A dry Provence rosé brings red fruit notes and a refreshing finish. Whispering Angel is my go-to—its delicate berry flavors and crisp acidity make each bite of chicken taste even better.
Wheat Ales
If you prefer craft beer, a German hefeweizen like Weihenstephaner adds a touch of banana and clove that pairs surprisingly well. The effervescence cleanses your palate between each crispy bite.
Sparkling Options
For a celebratory touch, Prosecco or Cava work beautifully. The bubbles and light fruitiness cut through the oil, while the acidity keeps your mouth fresh. I always keep a bottle on hand for fried chicken nights.
Dark Lager Alternatives
A Mexican lager like Modelo Negra offers a malty sweetness that contrasts nicely with the savory seasoning. The smooth finish won’t overwhelm the dish’s flavors. 🍺
Nutrition Facts
Frequently Asked Questions
What consistency should the batter have?
It should be smooth but slightly lumpy, like thick pancake batter. If it’s too thin, add 1-2 tablespoons flour. Too thick? Stir in 1 tablespoon cold water at a time.
Can I use this for chicken tenders?
For tenders, reduce frying time to 6-8 minutes at 350°F. The smaller size means they cook faster but still get that crispy coating.
Why did my batter slide off during frying?
This usually happens if the chicken wasn’t dry or the oil wasn’t hot enough. Pat pieces thoroughly and ensure oil reaches 350°F before frying.
Can I make this ahead of time?
The batter is best used immediately, but you can prep dry ingredients the night before. Mix wet and dry just before frying for optimal crispiness.

- Jollof Rice Sauce Recipe: West African Tomato and Spice Infusion - September 25, 2026
- Japanese Rice Soup Recipe: Umami-Rich Comfort in a Bowl - September 25, 2026
- Homemade Cream Of Rice Recipe: Silk-Smooth Breakfast in Minutes - September 25, 2026