
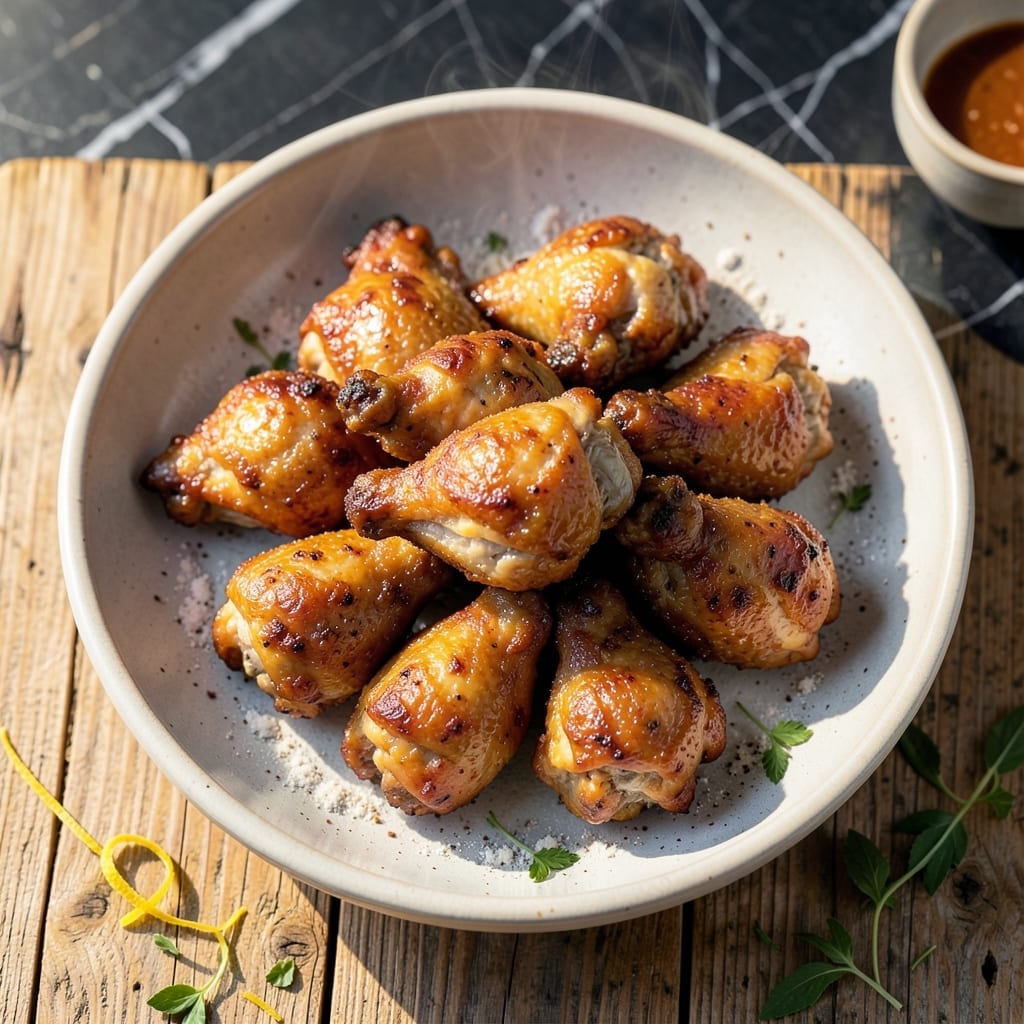
I still remember my first bite of Zippy’s fried chicken in Honolulu—crispy outside, juicy inside, with that signature island flavor. This recipe brings that magic to your kitchen without the plane ticket.
The secret is in the double-dredging technique and a well-seasoned flour blend. I’ve tested this method countless times to get that shatteringly crispy crust that stays crunchy even after sitting awhile.
You’ll end up with golden-brown pieces that crackle with every bite, hiding tender meat underneath. The seasoning is simple but spot-on, just like the original.
Serve it hot with rice or mac salad for the full Hawaii experience. Here’s how to nail it.
Ingredients for Zippys Fried Chicken
A handful of pantry staples plus chicken delivers that iconic island crispiness right at home.
| Ingredient | Amount | Notes |
|---|---|---|
| Chicken Thighs 🍗 | 3 lb | Boneless, skin-on preferred |
| Buttermilk 🥛 | 2 cups | Full-fat for best tenderness |
| All-Purpose Flour 🌾 | 3 cups | Divided for dredging |
| Cornstarch 🌽 | ½ cup | For extra crispiness |
| Garlic Powder 🧄 | 1 ½ tbsp | Freshly ground if possible |
| Onion Powder 🧅 | 1 ½ tbsp | Balances seasoning blend |
| Paprika 🌶️ | 1 tbsp | Sweet or smoked variety |
| Salt 🧂 | 1 tbsp | Diamond Crystal preferred |
| Black Pepper 🌶️ | 1 tsp | Freshly ground for best flavor |
| Cayenne Pepper 🔥 | ½ tsp | Adjust for heat preference |
| Vegetable Oil 🫒 | 4 cups | For deep frying |
| Large Eggs 🥚 | 2 whole | Helps coating adhere |
| Hawaiian Salt 🧂 | ½ tsp | Optional for authentic island flavor |
The chicken is everything here. Thighs stay juicier than breasts—Costco has great bone-in, skin-on packs if you’re feeding a crowd. For the flour, King Arthur all-purpose is my go-to, but any brand works. The cornstarch is non-negotiable though—it’s what gives that shatteringly crispy crust. Buttermilk from the dairy aisle is fine (I grab Organic Valley), but if you’ve got leftover cultured buttermilk from a restaurant supply store, even better.
No buttermilk? Mix 2 cups milk with 2 tbsp lemon juice and let sit 10 minutes. Swapping thighs for breasts? They’ll cook faster, so adjust frying time. Out of cornstarch? Arrowroot powder works at a 1:1 ratio. For heat, reduce or omit the cayenne—this isn’t spicy like Nashville hot, just gently warm. The Hawaiian salt (alaea salt) adds that final island touch, but regular sea salt works if you can’t find it.
Fry in batches and keep warm in a 200°F oven on a wire rack. Leftovers? Rare, but they’ll keep 2-3 days in the fridge—reheat in the air fryer to revive the crunch. The seasoned flour mix can be stored in an airtight container for 1 month.
Why You’ll Love This Recipe
- One Bowl Magic: I just toss everything in a single bowl—no fancy prep, and the cornstarch makes the coating cling like a dream.
- That Garlic Crunch: The garlic powder in the flour mix gives it this deep, savory bite that’s way better than plain fried chicken.
- Feeds the Freezer: Leftovers reheat surprisingly well, so I double the batch and stash some for lazy nights.
- Thighs Win Again: Chicken thighs stay juicy even if I overcook them slightly, and they’re half the price of breasts.
Step-by-Step Instructions for Zippy’s Fried Chicken
This method delivers that signature island crunch with juicy meat inside every time.
Step 1: Marinate the Chicken in Buttermilk
Place all 3 lb Chicken Thighs in a large bowl and pour in the 2 cups Buttermilk. I use full-fat for maximum tenderness. Make sure each piece is fully submerged—this buttermilk bath breaks down proteins for extra juiciness and helps the coating adhere.
Cover and refrigerate for at least 4 hours, or overnight for the most flavorful results. The longer it marinates, the more the buttermilk works its magic. You’ll notice the meat plumps up slightly as it absorbs the liquid.
Step 2: Prepare the Seasoned Flour Dredge
In a large shallow dish, whisk together 3 cups All-Purpose Flour, 0.5 cup Cornstarch, 1.5 tbsp Garlic Powder, 1.5 tbsp Onion Powder, 1 tbsp Paprika, 1 tbsp Salt, 1 tsp Black Pepper, and 0.5 tsp Cayenne Pepper. The cornstarch is the secret to that extra-crispy coating.
In a separate bowl, beat the 2 whole Large Eggs until combined. This two-step dredging process creates layers that result in a thicker, crunchier crust that stays put during frying.
Step 3: Dredge and Coat the Chicken Thoroughly
Remove the chicken from the buttermilk, letting excess drip off. Dip each piece first in the egg mixture, then into the seasoned flour. Press firmly to ensure the coating adheres completely, especially around edges and skin.
For maximum crispiness, I repeat the process—dip in egg, dredge in flour again, and press once more. Place coated pieces on a wire rack set over a baking sheet. This double-dredge technique creates that signature shatter when you bite into it.
Step 4: Fry to Golden Perfection
Heat the 4 cups Vegetable Oil in a deep, heavy pot or Dutch oven to 350°F. Use a thermometer for accuracy—this temperature ensures even cooking without burning the coating. Add the chicken in batches, being careful not to overcrowd the pot.
Fry for 12-15 minutes, turning occasionally, until the coating is deep golden brown and the internal temperature reaches 165°F. The oil should bubble steadily but not violently around each piece. Drain on a wire rack rather than paper towels to maintain crispiness.
Step 5: Season and Rest Before Serving
While still hot, sprinkle the chicken with 0.5 tsp Hawaiian Salt for that authentic island touch. This final seasoning enhances the crispy exterior without overpowering the flavor.
Let the chicken rest for 5 minutes before serving. This brief rest allows the juices to redistribute throughout the meat, ensuring each bite is moist and flavorful. Serve immediately while still hot and crispy for the true Zippy’s experience.
Pro Tips For Making Zippys Fried Chicken
- Double Dredge: Dip the buttermilk-soaked thighs in the flour-cornstarch mix, press hard to adhere, then repeat—this builds a shatteringly crisp crust that actually stays put.
- Rest Before Frying: Let the dredged thighs sit on a rack for 10 minutes before hitting the oil; the coating sets and fries up crisper with less greasy splatter.
- Skip the Skin: I learned this the hard way—leaving the skin on makes the coating slide right off; peel it first for maximum crunch and even cooking.
- Hot Oil Test: Drop a pinch of flour into the oil—if it sizzles and rises instantly, it’s ready; anything less and your chicken will absorb oil like a sponge.
Troubleshooting This Dish
Oil Temperature Issues
If your oil isn’t hot enough, the coating will absorb too much grease and turn soggy. Always use a thermometer to maintain 350°F. I recommend the ThermoWorks Candy for precision. If oil smokes excessively, it’s too hot—reduce heat immediately. 🌡️
Coating Falling Off
This usually happens if the chicken is too wet when dredging. Pat pieces dry with paper towels after the buttermilk soak before the egg dip. Also, let the first flour coating set for 5-10 minutes before the second dredge. This creates a better bond.
Uneven Cooking
Overcrowding the pot lowers oil temperature, causing uneven cooking. Fry in batches with 2 inches of space between pieces. Thicker pieces may need an extra 2-3 minutes. Use a timer to track each batch accurately.
Soggy Crust After Frying
Draining on paper towels can trap steam against the crust. Always use a wire rack to allow air circulation on all sides. If serving later, keep warm in a 200°F oven on a rack to maintain crispiness.
Bland Seasoning
Taste your flour mixture before dredging—it should be pleasantly seasoned on its own. If needed, add ½ tsp more salt or a pinch of cayenne. Remember, the Hawaiian salt at the end is just a finishing touch, not the main seasoning.
Greasy Texture
This often results from oil temperature being too low. Also, ensure your oil is fresh—old, reused oil breaks down and makes food greasier. I change my oil after 3-4 uses for best results. 💡
Nutrition Facts
Frequently Asked Questions
Can I use chicken breasts instead of thighs?
Yes, but expect slightly drier results. Breasts cook faster, so reduce frying time to 10-12 minutes. For best texture, brining them first helps retain moisture.
How do I store and reheat leftovers?
Store in an airtight container in the fridge for 2-3 days. Reheat in an air fryer at 375°F for 5-6 minutes to restore crispiness. Avoid microwaving as it makes the crust soggy.
What can I use instead of buttermilk?
Mix 2 cups milk with 2 tbsp lemon juice and let sit for 10 minutes. This creates a similar acidity that tenderizes the chicken effectively.
Why is my coating not crispy enough?
The most common causes are oil temperature below 350°F or skipping the double-dredge step. Use a thermometer and ensure each piece has two full coats of flour mixture.

- Jollof Rice Sauce Recipe: West African Tomato and Spice Infusion - September 25, 2026
- Japanese Rice Soup Recipe: Umami-Rich Comfort in a Bowl - September 25, 2026
- Homemade Cream Of Rice Recipe: Silk-Smooth Breakfast in Minutes - September 25, 2026