
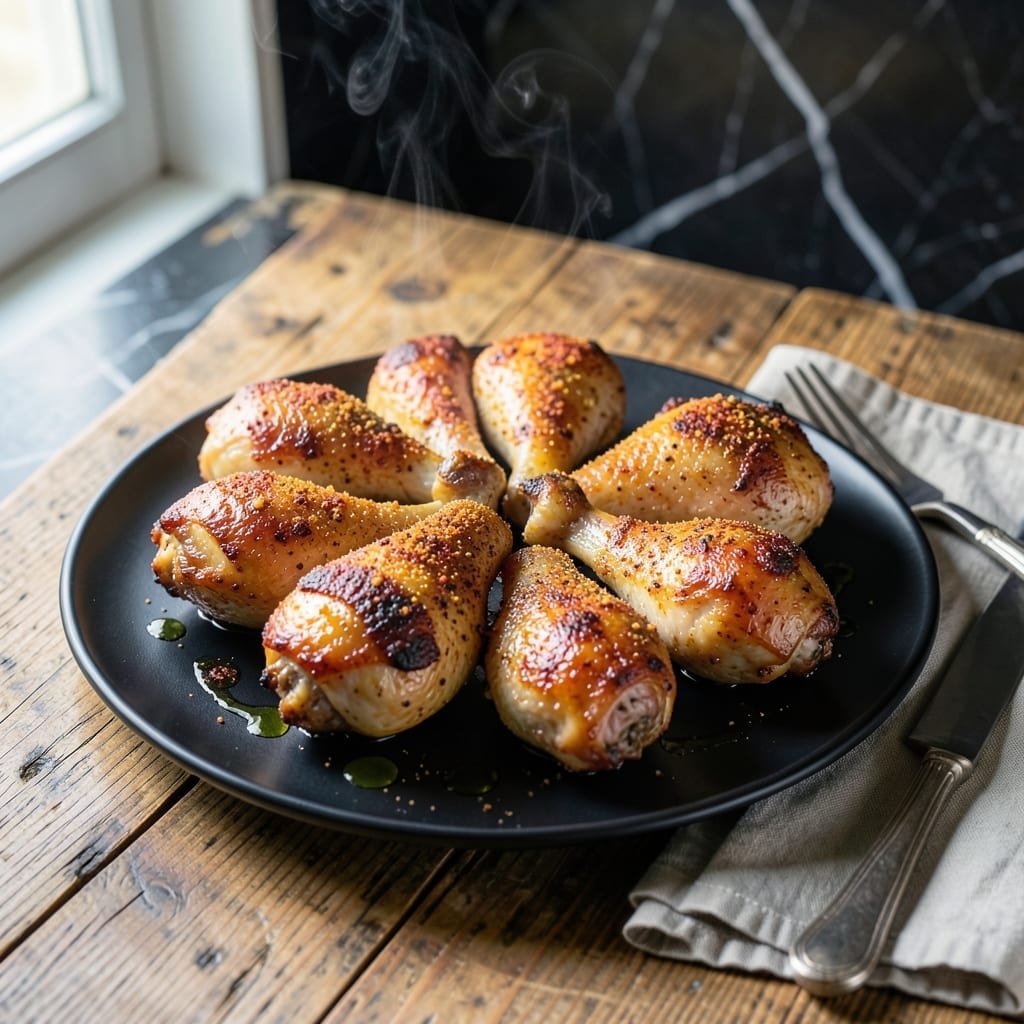
Chicken thighs offer the perfect balance of flavor and texture, with rich darkness meat that stays juicy through cooking. This method delivers crispy skin without drying out the interior.
The one-pan technique ensures even browning while keeping prep minimal. High heat sears the skin to golden perfection before finishing in the oven for consistent results.
You’ll get tender meat with a shatteringly crispy exterior, ideal for weeknight dinners or casual entertaining. The simplicity makes it a reliable go-to.
Pair with roasted vegetables or a fresh salad for a complete meal that never disappoints.
Ingredients for Chicken Thigh Recipe Ideas
These bold ingredients transform chicken thighs into crispy, juicy perfection with minimal effort.
| Ingredient | Amount | Notes |
|---|---|---|
| Bone-In Chicken Thighs 🍗 | 8 whole | Skin-on for crispiness |
| Kosher Salt 🧂 | 1 ½ tsp | Diamond Crystal preferred |
| Freshly Ground Black Pepper 🌶️ | 1 tsp | Coarse grind recommended |
| Garlic Powder 🧄 | 1 tsp | Not garlic salt |
| Onion Powder 🧅 | 1 tsp | Fresh ground if available |
| Smoked Paprika 🌶️ | 1 tsp | For depth of flavor |
| Dried Thyme 🍃 | ½ tsp | Crushed between fingers |
| Olive Oil 🫒 | 2 tbsp | High smoke point variety |
| Unsalted Butter 🧈 | 2 tbsp | For basting skin |
| Fresh Rosemary Sprigs 🌿 | 2 whole | Optional for aromatics |
| Lemon 🍋 | 1 whole | Zested and juiced |
The chicken thighs are the foundation here—bone-in, skin-on for maximum flavor and that shatteringly crisp texture. Costco and Whole Foods carry high-quality options, but any supermarket brand works if fresh. Look for thighs with smooth, unbroken skin and minimal bruising. The seasoning blend of smoked paprika and dried thyme adds complexity without overpowering the natural richness of the meat.
Short on time? Skip the fresh rosemary—dried works at one-third the amount. No smoked paprika? Regular paprika plus a pinch of cayenne mimics the smokiness. The butter can be swapped for ghee or avocado oil if dairy is a concern. For extra crunch, dust the skin with a bit of baking powder (yes, baking powder) before searing—it’s a pro move.
Cooked thighs keep in the fridge for 3-4 days and reheat beautifully in a toaster oven to preserve crispiness. The seasoning blend can be made in bulk and stored in an airtight container for 6 months. Always bring chicken to room temperature before cooking for even results.
Why You’ll Love This Recipe
- One Pan Wonder: I toss the thighs with salt, pepper, and those powders, then let the oven do the work—no babysitting required.
- Crispy & Juicy: The bone-in thighs come out with that perfect crunch outside while staying succulent inside, thanks to the garlic and onion.
- Weeknight Hero: Between us, this is my Tuesday night lifesaver when I need something hearty but can’t be bothered with fuss.
- Budget Stretcher: A pack of thighs costs pennies per serving, and leftovers (if there are any) taste even better the next day.
Step-by-Step Instructions for One-Pan Crispy and Juicy Chicken Thighs
This method guarantees crispy skin and juicy meat with minimal effort.
Step 1: Season the Bone-In Chicken Thighs Thoroughly
Pat the 8 whole bone-in chicken thighs dry with paper towels—this is essential for achieving crispy skin. The skin-on variety works best here as it renders fat for flavor and texture.
Combine the 1.5 tsp kosher salt, 1 tsp freshly ground black pepper, 1 tsp garlic powder, 1 tsp onion powder, 1 tsp smoked paprika, and 0.5 tsp dried thyme in a small bowl. Rub this mixture evenly over all surfaces of the chicken thighs, pressing gently to adhere. The Diamond Crystal kosher salt ensures even distribution without over-salting.
Step 2: Sear the Chicken Thighs to Golden Perfection
Heat the 2 tbsp olive oil in a large, heavy skillet over medium-high heat until it shimmers but doesn’t smoke. Add the chicken thighs skin-side down, being careful not to overcrowd the pan—work in batches if necessary.
Sear undisturbed for 6-8 minutes until the skin turns deep golden brown and crispy. This high-heat sear creates the Maillard reaction that delivers both color and flavor. The coarse grind of the black pepper will add subtle texture to the crust.
Step 3: Finish Cooking with Aromatics and Baste
Flip the chicken thighs and reduce heat to medium. Add the 2 tbsp unsalted butter, 2 whole fresh rosemary sprigs, and the zested and juiced lemon to the pan. Tilt the skillet slightly to pool the butter and lemon juice, then baste the chicken thighs continuously for 2-3 minutes.
The unsalted butter prevents the seasoning from becoming too salty while adding richness. The rosemary infuses aromatic depth, and the lemon brightens the dish. Continue cooking until the chicken reaches an internal temperature of 165°F and the juices run clear.
Step 4: Rest and Serve for Maximum Juiciness
Transfer the chicken thighs to a plate and let them rest for 5-10 minutes before serving. This resting period allows the juices to redistribute throughout the meat, ensuring each bite is moist and tender.
Pour the pan drippings over the chicken just before serving to maximize flavor. The combination of rendered fat, butter, and lemon creates a luxurious, self-basting sauce that enhances the crispy skin and juicy interior. Serve immediately while hot.
Pro Tips For Making Chicken Thigh Recipe Ideas
- Pat Them Dry: I learned this the hard way—wet thighs steam instead of sear. Blot them with paper towels before seasoning for that golden crust.
- Season Overnight: Salt the thighs at least 12 hours ahead (yes, even with just kosher salt and pepper). The difference in flavor and texture is non-negotiable.
- Skip the Crowding: Resist the urge to cram the pan. Give each thigh space, or they’ll boil in their own juices instead of browning.
- Use Bone-In, Skin-On: Sounds obvious, but bone-in, skin-on thighs stay juicier and crisp up better. I was skeptical until I tried it—now I never buy boneless.
Common Mistakes When Making chicken thigh recipe ideas
Overcrowding the Pan
Resist the urge to cook all 8 chicken thighs at once. Overcrowding lowers pan temperature, leading to steamed, soggy skin instead of that shatteringly crispy texture. I cook in batches of 4 thighs to maintain medium-high heat. 🔥
Skipping the Dry Pat
Moisture is the enemy of crispy skin. Even a little water on the surface creates steam, preventing proper browning. I blot each thigh with paper towels until completely dry—this takes 30 seconds but makes all the difference.
Moving Chicken Too Soon
Let the thighs sear undisturbed for the full 6-8 minutes. Moving them prematurely prevents the Maillard reaction from developing that deep golden crust. I set a timer to resist the urge to peek. The skin should release naturally when ready.
Under-Seasoning
Chicken thighs can handle bold flavors. Be generous with the 1.5 tsp kosher salt and don’t skip the smoked paprika. I rub the seasoning under the skin too for maximum flavor penetration. The Diamond Crystal salt ensures even coverage.
Skipping the Rest
Cutting into chicken immediately causes all those precious juices to spill onto your cutting board. I always rest mine for 5-10 minutes—just enough time to toss a salad. The meat reabsorbs the juices, guaranteeing that promised juicy bite. 💡
Ignoring Internal Temp
Dark meat needs to reach 165°F for safety. I use an instant-read thermometer to check the thickest part, avoiding bone. The thighs will continue cooking slightly as they rest, so pull them just as they hit temperature.
Nutrition Facts
Frequently Asked Questions
Can I use boneless thighs instead?
Yes, but reduce cooking time by 3-4 minutes per side. Boneless thighs cook faster and won’t develop the same crispy skin, but they still absorb flavors beautifully.
What’s the best way to store leftovers?
Let cool completely, then refrigerate in an airtight container for up to 4 days. Reheat in a skillet over medium heat to restore crispiness.
Can I bake these instead of pan-searing?
Bake at 425°F for 35-40 minutes, flipping halfway. Use a wire rack on a baking sheet for maximum crispiness.
Why did my skin turn out soggy?
This usually happens from overcrowding or not patting the thighs dry. Make sure your pan is hot and don’t cover while cooking.

- Rice Mix Recipe: Fluffy Grains With Customizable Flavor Boost - September 25, 2026
- Soupy Rice Recipe: Broth-Soaked Grains With Rustic Depth - September 25, 2026
- Rice Paper Pancakes Recipe: Crispy Vietnamese Breakfast Delight - September 25, 2026