
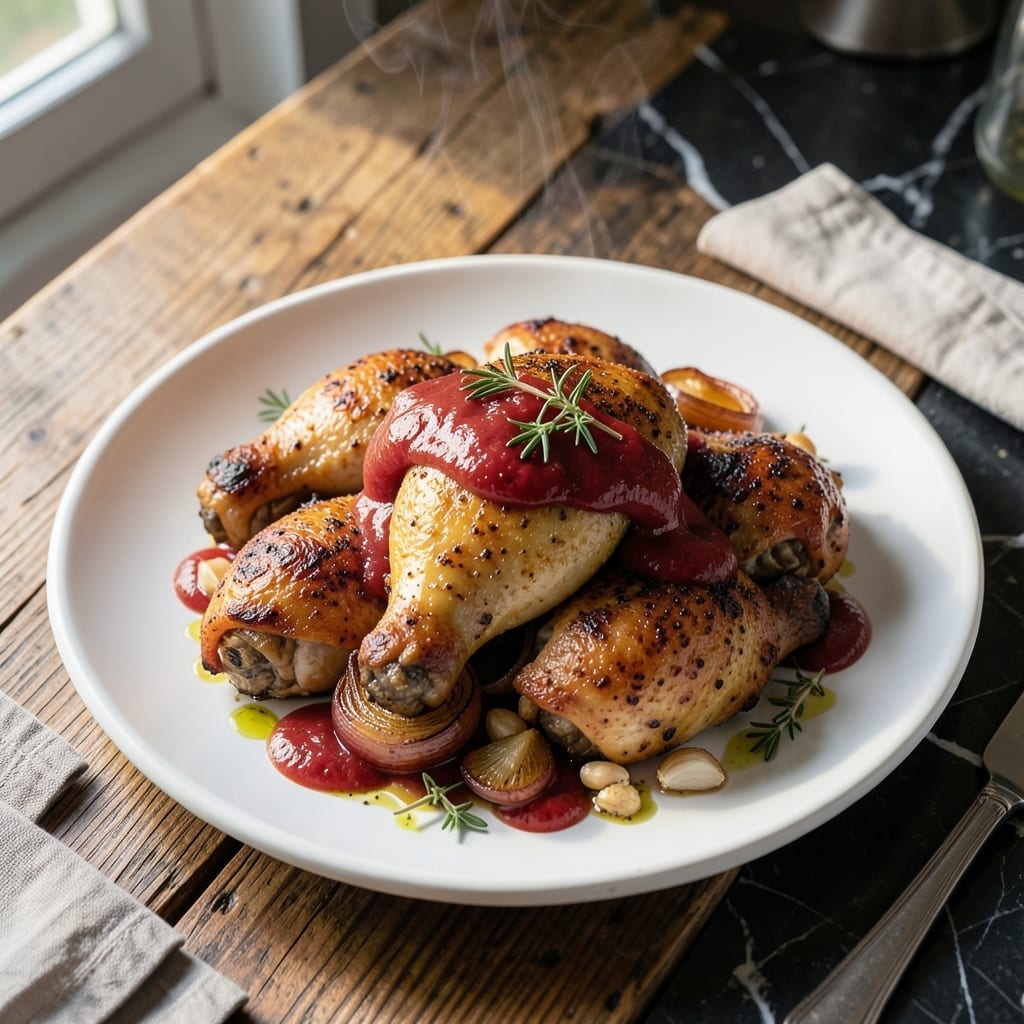
There’s something special about a dish that brings people together, and this chicken recipe does exactly that. I developed it for community gatherings where hearty, comforting food is essential.
The secret lies in its simplicity—tender chicken, rich flavors, and a cooking method that ensures juicy results every time. It’s the kind of meal that feels like a warm embrace, perfect for feeding a crowd without the stress.
What you’ll get is golden-brown chicken with a comforting depth of flavor that satisfies everyone at the table. The aroma alone will have your guests gathering before the first bite.
Ideal for potlucks, family dinners, or any occasion that calls for sharing good food with good company.
Ingredients for Cook N Share Chicken
Hearty chicken and warm spices make this crowd-pleaser come together beautifully for sharing.
| Ingredient | Amount | Notes |
|---|---|---|
| Chicken Thighs 🍗 | 4 lb | Boneless, skinless preferred |
| Olive Oil 🫒 | ¼ cup | Extra-virgin for richness |
| Garlic Cloves 🧄 | 6 cloves | Minced for maximum flavor |
| Onion 🧅 | 2 whole | Yellow or sweet variety |
| Chicken Broth 🥣 | 2 cups | Low-sodium preferred |
| Tomato Paste 🍅 | 3 tbsp | For depth of flavor |
| Dried Thyme 🌿 | 1 tsp | Crushed between fingers |
| Dried Rosemary 🌿 | 1 tsp | Crushed for better release |
| Paprika 🌶️ | 1 tbsp | Sweet or smoked variety |
| Salt 🧂 | 1 ½ tsp | Kosher or sea salt preferred |
| Black Pepper 🌶️ | 1 tsp | Freshly ground preferred |
| All-Purpose Flour 🌾 | ½ cup | For thickening sauce |
| Butter 🧈 | 2 tbsp | Unsalted for control |
| Fresh Parsley 🌿 | ¼ cup | Chopped, for garnish |
The chicken is the star here—thighs stay juicier than breasts for big batches. I grab mine from Costco (great bulk pricing) or Whole Foods if I want organic. Look for pieces that are similar in size so they cook evenly. Don’t skip the skinless part (the good stuff, not the pre-cut kind) or you’ll get chewy bits in your sauce.
No chicken broth? Vegetable broth plus a splash of soy sauce gets you close. Out of fresh garlic? Garlic powder at half the amount works in a pinch. The tomato paste can be swapped with crushed tomatoes (just cook it down first). Paprika can be regular or smoked—smoked adds a nice depth for that comforting vibe.
This reheats like a dream—honestly tastes better the next day. Keeps 4-5 days in the fridge, freezes for 3 months. I always make extra (worth the extra minute) so there’s enough for seconds.
Why You’ll Love This Recipe
- One Pan Wonder: I just toss the thighs, garlic, and onions in with oil and broth—no juggling multiple pots.
- Rich Garlic Bath: The chicken soaks up all that golden garlic and onion goodness while it cooks.
- Feeds a Crowd: I made this for a Sunday dinner and everyone went back for seconds.
- Budget Friendly: Chicken thighs are cheap, and this recipe stretches them into a hearty meal.
Step-by-Step Instructions for Cook N Share Chicken
This method creates tender, flavorful chicken that’s perfect for sharing with friends and family.
Step 1: Season and Sear the Chicken Thighs
Pat the 4 lb chicken thighs dry with paper towels, then season both sides evenly with the 1.5 tsp salt, 1 tsp black pepper, 1 tsp dried thyme, 1 tsp dried rosemary, and 1 tbsp paprika. I crush the dried herbs between my fingers first to release their aroma.
Heat the 0.25 cup olive oil in a large Dutch oven or heavy pot over medium-high heat. Working in batches, sear the chicken thighs for 4-5 minutes per side until deep golden brown. Don’t crowd the pan—this ensures each piece gets a proper sear. Transfer the browned chicken to a plate and set aside.
Step 2: Build the Flavor Base
In the same pot, reduce heat to medium and add the 2 whole onion, diced, and the 6 cloves garlic cloves, minced. Cook for 3-4 minutes, stirring often, until the onion softens and the garlic becomes fragrant. Be careful not to let the garlic burn.
Stir in the 3 tbsp tomato paste and cook for another 1-2 minutes. This step deepens the flavor and removes the raw taste from the tomato paste. You’ll notice the mixture darken slightly as it caramelizes.
Step 3: Simmer Until Tender
Sprinkle the 0.5 cup all-purpose flour over the onion and garlic mixture, stirring well to coat. This creates a light roux that will thicken the sauce beautifully. Slowly pour in the 2 cups chicken broth, stirring constantly to avoid lumps.
Return the chicken thighs to the pot along with any accumulated juices. Bring to a gentle simmer, then reduce heat to low. Cover and let it cook for 30-35 minutes, until the chicken is fork-tender and nearly falling off the bone.
Step 4: Finish with Butter and Fresh Herbs
Once the chicken is cooked, stir in the 2 tbsp butter to add a rich, velvety finish to the sauce. Let it melt completely and incorporate into the liquid.
Taste and adjust seasoning if needed, though the flavors should be well-balanced at this point. Remove from heat and let it sit for 5 minutes to allow the sauce to thicken slightly.
Step 5: Garnish and Serve
Sprinkle the 0.25 cup fresh parsley over the top just before serving. The bright green color and fresh flavor of the parsley add the perfect finishing touch.
Serve this dish family-style in a large bowl or directly from the pot. The chicken should be fall-apart tender, and the sauce should be thick enough to cling to each piece. Pair it with crusty bread or over mashed potatoes to soak up every last bit.
Pro Tips For Making Cook N Share Chicken
- Sear Skin First: Start with the chicken thighs skin-side down in hot olive oil for 5-6 minutes—this renders the fat and guarantees crispy skin before adding the onions and garlic.
- Smash the Garlic: Lightly smash the garlic cloves with the side of your knife before adding them; it releases more flavor without the risk of burning the minced bits.
- Skip the Crowding: I learned this the hard way—don’t overcrowd the pan or the chicken will steam instead of brown, and you’ll end up with rubbery skin and pale meat.
- Use Room-Temp Broth: Adding cold chicken broth straight from the fridge can shock the pan and stall the cooking; let it sit out for 10 minutes or microwave it for 20 seconds to keep the heat steady.
Storing and Reheating This Recipe
Refrigerator Storage
Let your dish cool to room temperature within 2 hours of cooking, then transfer to airtight containers. I use glass containers with locking lids for best results. This will keep beautifully in your fridge at 40°F or below for up to 4-5 days. ❄️
Freezer Storage
For longer storage, portion into freezer-safe containers or heavy-duty ziplock bags. Leave 1 inch of headspace for expansion and squeeze out excess air. It freezes well for up to 3 months without losing quality. I always label with the date.
Stovetop Reheating
My preferred method: transfer to a heavy pot, add 2-3 tbsp chicken broth to prevent drying, and warm over medium-low heat for 10-12 minutes. Stir occasionally and add more broth if needed. The sauce will thicken as it reheats. 🔥
Microwave Reheating
For quick meals, place individual portions in a microwave-safe dish, cover with a damp paper towel, and heat on 70% power for 2-3 minutes. Stir, then continue in 30-second intervals until reaching 165°F. Add a splash of water if it looks dry.
Oven Reheating
Preheat oven to 350°F, cover your dish with foil, and warm for 15-20 minutes. This method works great for larger portions and helps maintain the dish’s original texture. I often use this when reheating for a crowd.
Nutrition Facts
Frequently Asked Questions
Can I use chicken breasts instead of thighs?
You can, but thighs stay juicier during the 30-35 minutes simmer. If using breasts, reduce cooking time to 20-25 minutes to prevent dryness. The flavor will be milder too.
What if I don’t have a Dutch oven?
A heavy stockpot works just as well. Avoid thin pots as they may scorch the sauce. Make sure your pot has a tight-fitting lid for the simmering step.
How do I know when it’s done?
Chicken is ready when it reaches 165°F internally and easily pulls apart with a fork. The sauce should coat the back of a spoon.
Can I make this ahead?
The flavors deepen overnight. Prepare up to 2 days ahead, cool, then refrigerate. Reheat gently with a splash of broth.

- Jollof Rice Sauce Recipe: West African Tomato and Spice Infusion - September 25, 2026
- Japanese Rice Soup Recipe: Umami-Rich Comfort in a Bowl - September 25, 2026
- Homemade Cream Of Rice Recipe: Silk-Smooth Breakfast in Minutes - September 25, 2026