
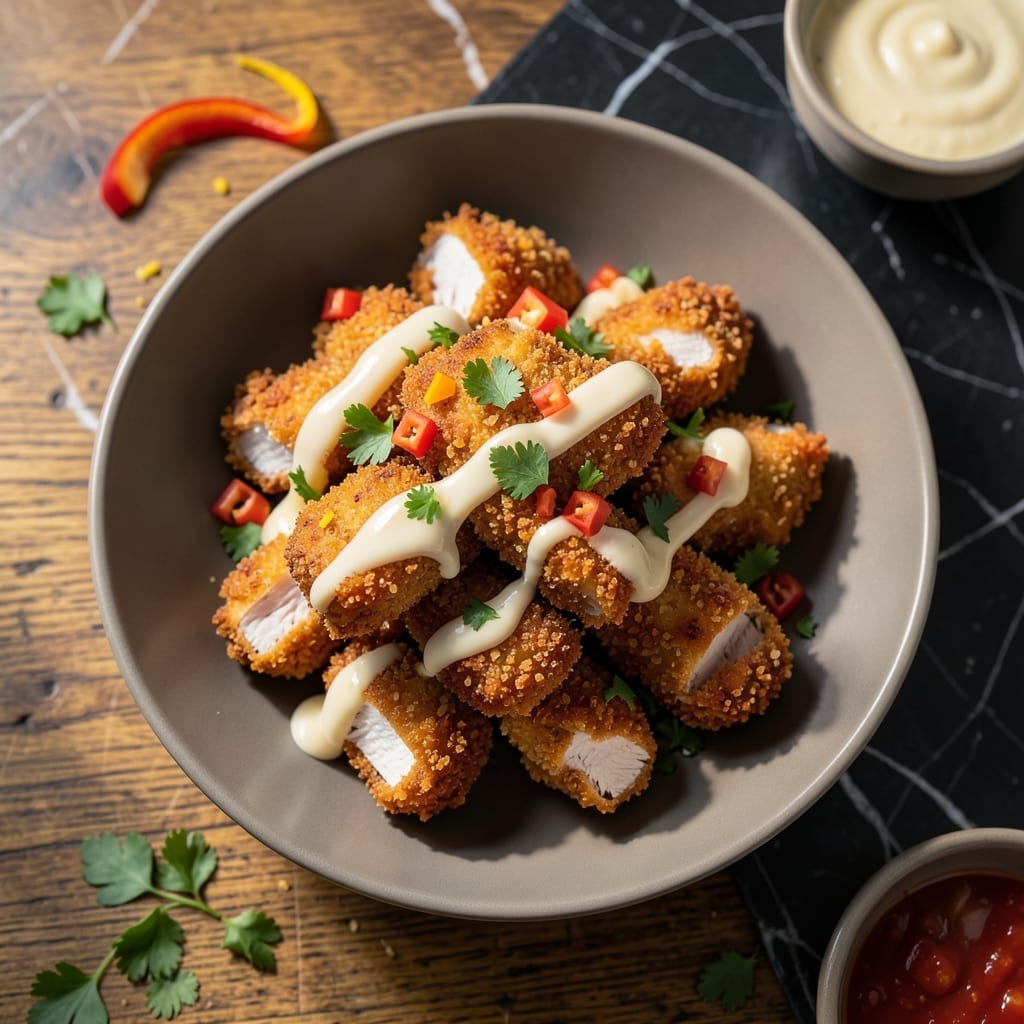
There’s an art to achieving that crispy, golden exterior while keeping the inside tender and juicy. This recipe delivers exactly that—every bite offers a satisfying crunch followed by moist, flavorful chicken.
The key lies in a simple but precise frying technique. Using the right oil temperature and breading method ensures a uniform crispy texture without greasiness. No advanced skills required—just follow the steps closely.
You’ll end up with perfectly crispy fritters that stay crunchy even after cooling. Serve them hot with your favorite dipping sauce for a dish that’s sure to impress at any meal.
Ideal for appetizers, snacks, or a quick main course. Here’s how to make them right every time.
Ingredients for Crispy Chicken Fritters
Transform simple ingredients into golden, crispy perfection with every bite.
| Ingredient | Amount | Notes |
|---|---|---|
| Boneless, Skinless Chicken Breast 🍗 | 1 ½ lb | Cut into 1-inch pieces |
| All-Purpose Flour 🌾 | 1 ½ cups | Divided for dredging and batter |
| Large Eggs 🥚 | 2 whole | Beaten for binding |
| Buttermilk 🥛 | ½ cup | Full-fat for richness |
| Panko Breadcrumbs 🍞 | 2 cups | For extra crispy texture |
| Cornstarch 🌽 | ¼ cup | Ensures extra crunch |
| Garlic Powder 🧄 | 1 tsp | For savory depth |
| Onion Powder 🧅 | 1 tsp | Balances the seasoning |
| Paprika 🌶️ | 1 tsp | Sweet or smoked variety |
| Salt 🧂 | 1 ½ tsp | Diamond Crystal preferred |
| Black Pepper 🌶️ | ½ tsp | Freshly ground for best flavor |
| Vegetable Oil 🫒 | 4 cups | For deep frying |
| Fresh Parsley 🌿 | ¼ cup | Chopped, for garnish |
The chicken quality directly impacts texture. Boneless, skinless chicken breast is ideal for even cooking and a tender interior. For best results, source from a trusted butcher or Whole Foods for consistent sizing. Ensure the meat is fresh—look for a pink, slightly translucent appearance without any graying. Cut pieces uniformly to promote even frying and a uniform crispy exterior.
No buttermilk? Whole milk mixed with 1 tbsp vinegar or lemon juice works as a substitute. Panko breadcrumbs are non-negotiable for that signature crunch, but crushed cornflakes can work in a pinch. For a gluten-free version, substitute rice flour and gluten-free breadcrumbs. The cornstarch can be replaced with arrowroot powder at a 1:1 ratio.
Fritters are best served immediately but can be kept warm in a 200°F oven for up to 30 minutes. Store leftovers in an airtight container in the fridge for 2-3 days. Reheat in an oven or air fryer to revive the crispy texture—microwaving will make them soggy.
Why You’ll Love This Recipe
- One Bowl Wonder: I just toss the chicken, buttermilk, and flour together—no fancy prep or extra dishes to wash.
- Crunch in Every Bite: That panko coating fries up so golden and crispy, it’s like the perfect crunch wrapper around juicy chicken.
- Lunchbox Superstar: Cold leftovers taste just as good the next day, and my kids actually eat them without complaining.
- Budget Stretch: A pound of chicken breast makes a dozen fritters, and panko costs pennies compared to takeout.
Step-by-Step Instructions for Crispy Chicken Fritters
Achieve perfect crunch with this professional method for golden, crispy fritters every time.
Step 1: Prepare and Season the Chicken
Cut the 1.5 lb Boneless, Skinless Chicken Breast into 1-inch pieces. Pat them dry with paper towels to remove excess moisture—this ensures the coating adheres properly and prevents splattering during frying.
Season the chicken pieces generously with 1.5 tsp Salt, 0.5 tsp Black Pepper, 1 tsp Garlic Powder, 1 tsp Onion Powder, and 1 tsp Paprika. I use Diamond Crystal salt for even distribution. This step builds the foundation of flavor, so don’t skimp on the seasoning.
Step 2: Create the Dredging and Breading Stations
Set up three shallow bowls. In the first, combine 1.5 cups All-Purpose Flour and 0.25 cup Cornstarch. The cornstarch is the secret to extra crispiness. In the second bowl, whisk together 2 whole Large Eggs and 0.5 cup Buttermilk until smooth and homogenous.
Place 2 cups Panko Breadcrumbs in the third bowl. Panko’s larger flakes create that desirable crunchy texture. I recommend using a fork to press the breadcrumbs into the chicken during coating to ensure maximum adhesion.
Step 3: Coat the Chicken for Maximum Crunch
Working with one piece at a time, dredge the seasoned chicken in the flour-cornstarch mixture, shaking off any excess. Next, dip it into the egg-buttermilk mixture, allowing any excess to drip off. Finally, press it firmly into the panko breadcrumbs, coating all sides completely.
Place the coated pieces on a wire rack set over a baking sheet. This setup allows air circulation, preventing the coating from becoming soggy while you finish breading the remaining chicken. Let them rest for 10 minutes to help the coating set.
Step 4: Fry to Golden Perfection
Heat 4 cups Vegetable Oil in a deep, heavy-bottomed pot or Dutch oven over medium-high heat to 350°F. Use a deep-fry or candy thermometer to monitor the temperature accurately. Maintaining the correct temperature is crucial for even cooking and optimal crispiness.
Carefully lower 4-5 coated chicken pieces into the hot oil using a slotted spoon or tongs. Avoid overcrowding the pot, which would cause the oil temperature to drop and result in greasy fritters. Fry for 4-5 minutes, turning occasionally, until the coating is deep golden brown and the internal temperature reaches 165°F.
Step 5: Drain and Serve Immediately
Transfer the fried fritters to a paper towel-lined plate or wire rack to drain excess oil. The paper towels absorb any residual oil while maintaining crispiness. Sprinkle with additional salt if desired, but taste first—the coating is already well-seasoned.
Garnish with 0.25 cup Fresh Parsley, chopped finely, for a pop of color and freshness. Serve the fritters immediately while they’re hot and at their crispiest. These are best enjoyed fresh, so gather your serving plates before you start frying to ensure prompt delivery to the table.
Pro Tips For Making Crispy Chicken Fritters
- Dry the Chicken: Pat the chicken breast completely dry with paper towels before dredging—I learned this the hard way after my first batch turned out soggy instead of crispy.
- Chill the Coating: After breading, let the fritters rest in the fridge for 15 minutes; this helps the coating adhere and prevents it from sliding off during frying.
- Skip the Overcrowding: Fry in small batches with about an inch of space between each fritter—steam from crowded pans turns that panko crust into a sad, chewy mess.
- Use Cold Buttermilk: Sounds weird, but it works: ice-cold buttermilk makes the batter cling better to the chicken, and it actually changes the outcome by keeping the coating extra crispy.
Pro Cooking Tips for Great crispy chicken fritters
Oil Temperature Control
Maintain 350°F oil temperature precisely using a deep-fry thermometer. I recommend ThermoWorks Candy for accuracy. If the oil smokes, it’s too hot; if fritters absorb oil, it’s too cool. Adjust heat gradually.
Double-Frying Secret
For extra crispiness, fry at 325°F for 2 minutes, rest 5 minutes, then finish at 375°F for 2-3 minutes. This restaurant technique creates a shatteringly crisp exterior while keeping the inside juicy. 🔥
Breading Adhesion
Press panko firmly into each piece with a fork—this creates ridged surfaces that crisp up beautifully. Let breaded pieces rest 10 minutes before frying to prevent coating from sliding off during cooking.
Preventing Greasiness
Use a Dutch oven or heavy pot to maintain steady heat. Fry in small batches (4-5 pieces) to avoid oil temperature drops. Drain on a wire rack, not paper towels, to maintain airflow and crispiness.
Seasoning Boost
Add ½ tsp cayenne to your flour mix for subtle heat, or 1 tbsp grated Parmesan to panko for umami depth. I always season the flour mixture itself, not just the chicken. This ensures flavor in every bite. ✨
Equipment Matters
A slotted metal spoon is ideal for lowering/removing fritters. Avoid plastic, which can melt. I use OXO’s stainless steel version. Also, keep a splatter screen handy to contain any errant oil droplets.
Nutrition Facts
Frequently Asked Questions
Can I bake these instead of frying?
Yes, for a lighter version, bake at 400°F for 15-20 minutes, flipping halfway. Use a wire rack on a baking sheet for even air circulation. The texture will be slightly different but still delicious.
Why did my fritters turn out soggy?
This usually happens if the oil isn’t hot enough or you overcrowd the pot. Maintain 350°F and fry in small batches. Draining on a wire rack instead of paper towels also helps maintain crispiness.
Can I make these ahead of time?
Bread the chicken up to 2 hours ahead and refrigerate. Fry just before serving for best results. If you must reheat, use an oven at 375°F for 5-10 minutes to revive the crunch.

- Curd Rice Recipe: South Indian Comfort With Cooling Yogurt - September 25, 2026
- Rice Mix Recipe: Fluffy Grains With Customizable Flavor Boost - September 25, 2026
- Soupy Rice Recipe: Broth-Soaked Grains With Rustic Depth - September 25, 2026