
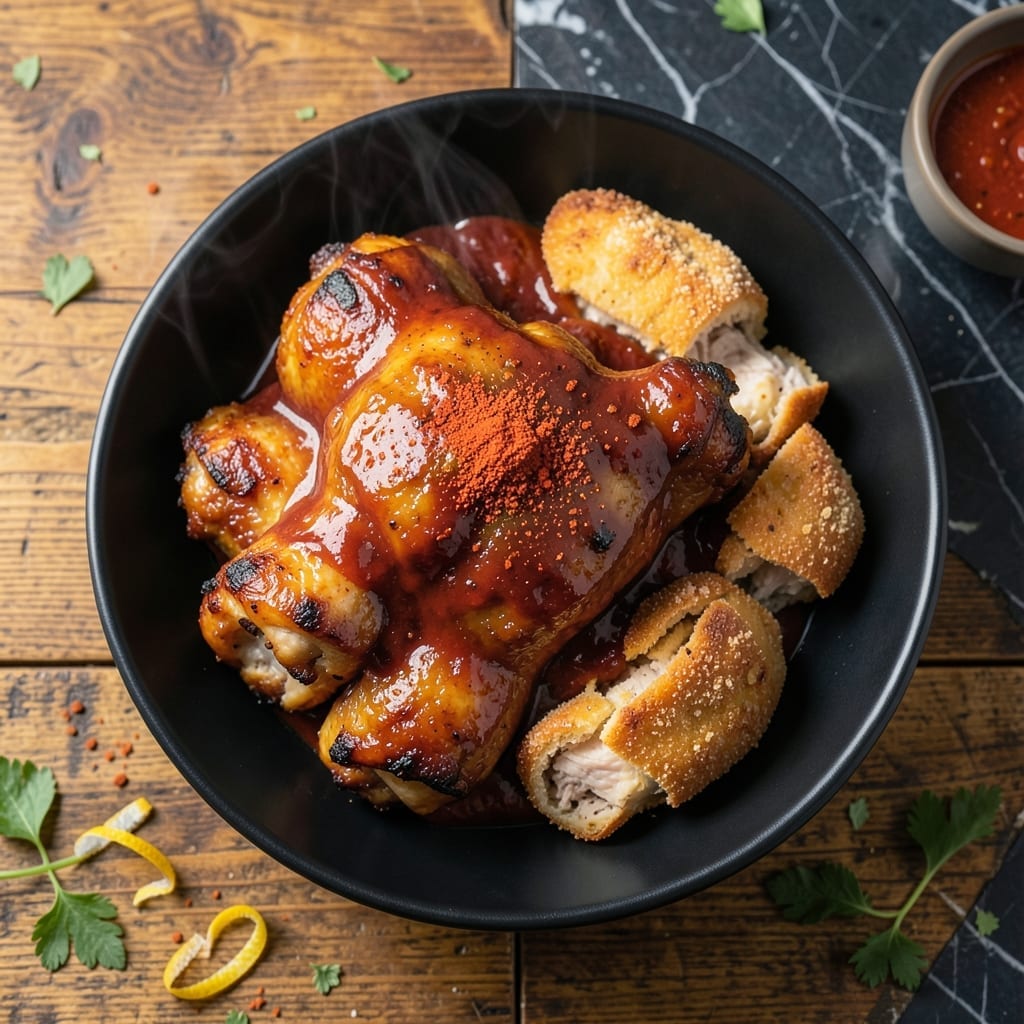
This devilled chicken delivers a crispy exterior with a spicy, tangy kick that keeps everyone coming back for seconds. The secret lies in a well-balanced marinade and precise frying technique.
I developed this method after testing countless variations to achieve that perfect crunch without overpowering heat. The chicken stays juicy inside while the coating turns golden and crispy.
Each bite offers layers of flavor—spicy from the chili, tangy from the vinegar, and a hint of sweetness that ties it all together. The texture contrast between the coating and tender meat is what makes this dish special.
Serve these as an appetizer or main course with cooling dips. The results are consistently impressive.
Ingredients for Devilled Chicken
These bold ingredients create perfectly crispy, spicy, and tangy chicken every time.
| Ingredient | Amount | Notes |
|---|---|---|
| Chicken Thighs 🍗 | 2 lb | Boneless, skinless, cut into strips |
| All-Purpose Flour 🌾 | 1 ½ cups | For dredging chicken |
| Cornstarch 🌾 | ½ cup | For extra crispiness |
| Chili Powder 🌶️ | 2 tbsp | Adjust for heat preference |
| Cayenne Pepper 🌶️ | 1 tsp | Optional for extra heat |
| Garlic Powder 🧄 | 1 tbsp | For savory depth |
| Onion Powder 🧅 | 1 tbsp | Balances spice blend |
| Paprika 🌶️ | 1 tbsp | Smoked or sweet variety |
| White Vinegar 💧 | ¼ cup | For tangy marinade |
| Hot Sauce 🌶️ | 2 tbsp | Like Tabasco or Frank's |
| Honey 🍯 | 2 tbsp | Balances spice and tang |
| Large Eggs 🥚 | 2 whole | For coating chicken |
| Vegetable Oil 🫒 | 3 cups | For deep frying |
| Salt 🧂 | 1 tsp | Kosher or sea salt |
| Black Pepper 🌶️ | 1 tsp | Freshly ground preferred |
The chicken is key here. Thighs stay juicier than breasts—boneless, skinless for even cooking. Look for plump pieces with good color at Whole Foods or your local butcher. The cornstarch is non-negotiable for that signature crunch (regular flour alone won’t cut it). For the chili powder, Penzeys or bulk bins at natural food stores offer the freshest options.
No cayenne? Crushed red pepper flakes at half the amount work in a pinch. Out of honey? Brown sugar dissolved in warm water mimics the sweetness. The hot sauce can be any vinegar-based variety—Crystal or Cholula if you want to switch it up. Fresh garlic and onion can replace the powders (use 3 cloves minced, 1 small onion grated), but the powders ensure even coating.
Marinate the chicken for at least 30 minutes (overnight for maximum flavor). Fry in batches to avoid crowding—keeps the oil temp steady for that golden, crispy coating. Leftovers stay good for 2 days in the fridge, though they’re best fresh.
Why You’ll Love This Recipe
- One Pan Simple: I toss the thighs in flour and spices, then sear—no fuss, no extra dishes.
- Spicy Kick: That cayenne and chili powder combo gives it a heat that lingers just right.
- Weeknight Hero: Honestly, it’s my go-to when I need dinner fast but still flavorful.
- Budget Stretcher: Chicken thighs stay cheap, and a little goes a long way with this recipe.
Step-by-Step Instructions for Devilled Chicken
Here’s the method. Straightforward, tested, works every time.
Step 1: Marinate the Chicken Thighs
In a large bowl, whisk together the 0.25 cup White Vinegar, 2 tbsp Hot Sauce, 2 tbsp Honey, 2 tbsp Chili Powder, 1 tsp Cayenne Pepper, 1 tbsp Garlic Powder, 1 tbsp Onion Powder, 1 tbsp Paprika, 1 tsp Salt, and 1 tsp Black Pepper until smooth.
Add the 2 lb Chicken Thighs (cut into strips) to the marinade, ensuring each piece is fully coated. Cover and refrigerate for at least 30 minutes, or up to 4 hours for maximum flavor penetration. The chicken should look glossy and smell tangy when ready.
Step 2: Prepare the Dredging Station
In a shallow dish, combine the 1.5 cups All-Purpose Flour and 0.5 cup Cornstarch. Stir until evenly mixed—this blend ensures a crispy, golden crust.
In a separate bowl, beat the 2 whole Large Eggs until well combined. This egg wash will help the flour mixture adhere to the chicken. Set both bowls near your frying area for easy access.
Step 3: Coat the Chicken
Remove the marinated chicken from the refrigerator and let it sit at room temperature for 10 minutes. Dip each strip into the beaten eggs, allowing any excess to drip off.
Immediately transfer the chicken to the flour mixture, pressing gently to ensure full coverage. Shake off any excess flour—the coating should look even but not thick. Place the coated strips on a wire rack or plate while you heat the oil.
Step 4: Fry to Crispy Perfection
In a deep, heavy-bottomed pot, heat the 3 cups Vegetable Oil to 350°F. Use a thermometer for accuracy—this temperature is critical for crispy, evenly cooked chicken.
Fry the chicken in batches to avoid overcrowding, which can lower the oil temperature. Cook for 6-8 minutes until the coating is golden brown and the internal temperature reaches 165°F. The chicken should sizzle steadily when added to the oil.
Step 5: Drain and Serve
Transfer the fried chicken to a wire rack or paper towels to drain any excess oil. Let it rest for 2-3 minutes to maintain crispiness. The coating should stay crunchy even as the chicken cools slightly.
Serve immediately while hot and crispy. Each bite should deliver a spicy, tangy kick with a satisfying crunch. If needed, keep the chicken warm in a 200°F oven while frying the remaining batches.
Pro Tips For Making Devilled Chicken
- Dry the Thighs: Pat the chicken thighs completely dry with paper towels before dredging in the flour-cornstarch mix. I learned this the hard way—moisture makes the coating slide right off.
- Double Dredge: Dip the thighs in flour, then back into beaten egg, then back into the flour-cornstarch-spice mix. It sounds like overkill, but it creates that thick, craggy crust that holds up to the heat.
- Skip the Overcrowding: Fry in batches with at least an inch between pieces—steam from crowded pans turns the coating gummy instead of crisp. After burning two batches, I finally figured this out.
- Rest Before Serving: Give the chicken 5 minutes on a wire rack after frying. My grandmother swore by this, and she was right: it keeps the crust crisp while the juices settle.
Storing and Reheating This devilled chicken
Refrigerator Storage
Let the chicken cool completely before storing, about 30 minutes. Place in an airtight container with paper towels to absorb moisture. It stays fresh for up to 3 days in the fridge at 40°F or below. ❄️
Freezer Storage
For longer storage, freeze in a single layer first, then transfer to a freezer-safe bag. Squeeze out all air to prevent freezer burn. It keeps for up to 2 months without losing too much crispiness.
When ready to eat, thaw overnight in the fridge before reheating.
Oven Reheating
Preheat your oven to 375°F. Place the chicken on a wire rack over a baking sheet. Heat for 10-12 minutes until the internal temperature reaches 165°F. This method revives the crispiness best. 🔥
Air Fryer Method
For quick reheating, use an air fryer at 375°F for 4-5 minutes. Shake the basket halfway through. The air circulation helps restore that signature crunch.
Microwave Option
Place the chicken on a microwave-safe plate with a damp paper towel. Heat on 50% power for 1-2 minutes, checking frequently. The texture won’t be as crispy, but it’s the fastest method.
Nutrition Facts
Frequently Asked Questions
Can I use chicken breasts instead of thighs?
You can, but thighs stay juicier. Breasts dry out faster during frying. If using breasts, reduce cooking time to 5-6 minutes and brine them first for moisture.
How do I make it less spicy?
Cut the chili powder to 1 tbsp and omit cayenne. Add 1 tbsp more honey to balance the heat. Taste the marinade before coating.
Why did my coating fall off?
Common causes: skipping the egg wash or not pressing flour into the chicken. Let coated pieces rest 5 minutes before frying to set the crust.
Can I bake instead of fry?
Yes! Bake at 400°F for 20-25 minutes, flipping halfway. Use a wire rack for crispiness. The texture differs but it works.

- Jollof Rice Sauce Recipe: West African Tomato and Spice Infusion - September 25, 2026
- Japanese Rice Soup Recipe: Umami-Rich Comfort in a Bowl - September 25, 2026
- Homemade Cream Of Rice Recipe: Silk-Smooth Breakfast in Minutes - September 25, 2026