
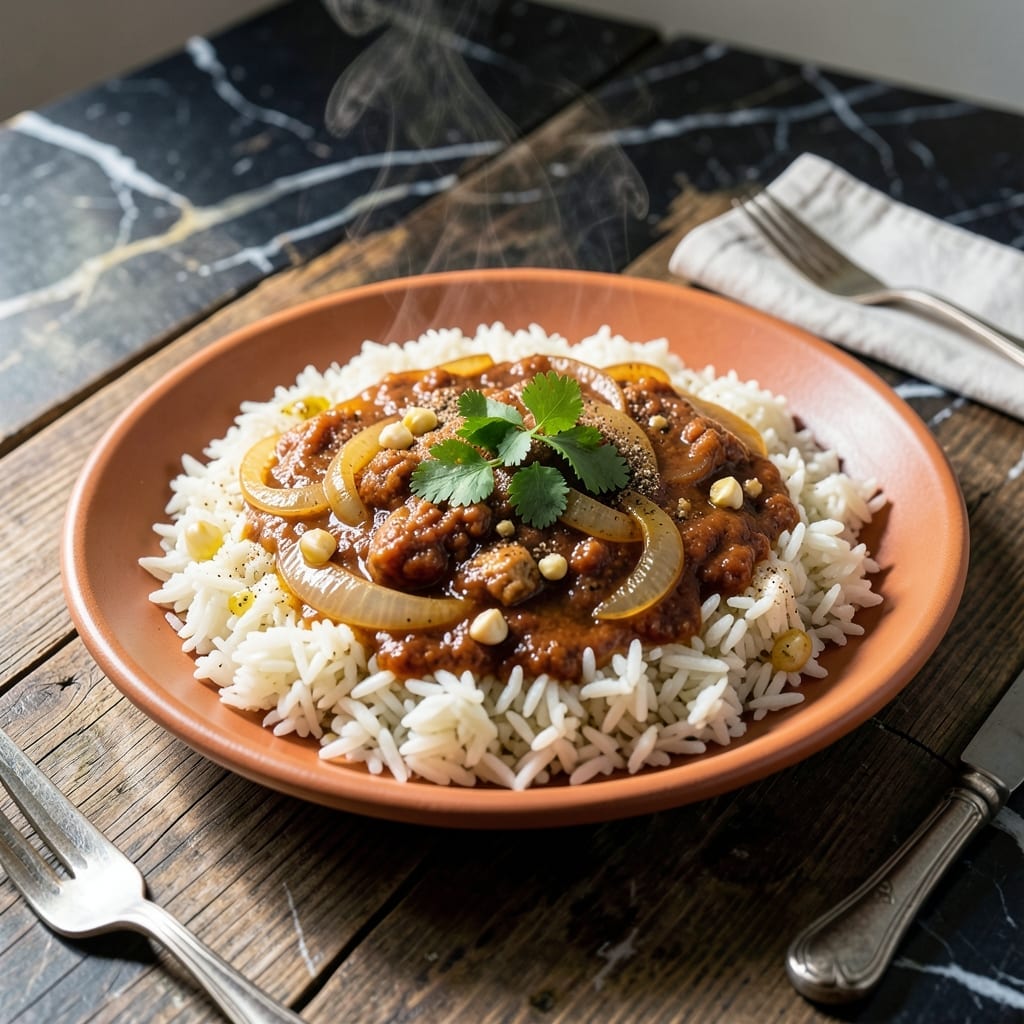
This recipe captures the essence of Tex-Mex in a simple, flavorful side dish. The blend of spices and tomatoes creates a rich, aromatic base that pairs perfectly with any main course.
With just a few pantry staples and 20 minutes, you can bring the taste of El Fenix to your kitchen. The result is light, fluffy rice with bold, authentic flavors.
Ingredients for El Fenix Rice
Pantry raid time. Everything here is probably in your kitchen already.
| Ingredient | Amount | Notes |
|---|---|---|
| Long-Grain White Rice 🍚 | 1 ½ cups | Rinsed until water runs clear |
| Tomato Sauce 🍅 | 1 cup | Plain, no added seasonings |
| Chicken Broth 🥣 | 2 ½ cups | Low-sodium preferred for control |
| Onion 🧅 | 1 whole | Medium, finely diced |
| Garlic Cloves 🧄 | 3 cloves | Minced for even distribution |
| Ground Cumin 🌿 | 1 tsp | Toasted lightly if using old |
| Chili Powder 🌶️ | 1 tsp | Mild or medium heat |
| Dried Oregano 🍃 | ½ tsp | Mexican oregano if available |
| Salt 🧂 | 1 tsp | Adjust to taste at end |
| Black Pepper 🌶️ | ½ tsp | Freshly ground preferred |
| Vegetable Oil 🫒 | 2 tbsp | Neutral flavor for sautéing |
| Cayenne Pepper 🔥 | ¼ tsp | Optional for extra heat |
| Lime 🍈 | 1 whole | Juiced for finishing touch |
The rice is the foundation—long-grain white gives you that fluffy texture (jasmine or basmati work too). I grab mine from HEB when I’m in Texas—their bulk bins are perfect for just the right amount. The tomato sauce needs to be plain, no Italian seasoning or added sugars. Hunt’s or store brand is fine, just check the label. For the broth, Swanson’s low-sodium lets you control the salt content better.
No chicken broth? Vegetable broth works just as well (use low-sodium if available). Out of tomato sauce? One can of tomato paste plus water gets you close—mix 6 oz paste with 1.5 cups water. Don’t have Mexican oregano? Regular dried oregano at the same amount is totally fine. The cayenne is optional, but I always add a pinch (the good kind of heat).
Leftovers keep great—store in an airtight container for up to 5 days in the fridge. Reheats beautifully in the microwave (add a splash of water if it’s dry). Honestly, it tastes even better the next day once everything melds together (worth the extra minute to make a double batch).
Why You’ll Love This Recipe
- One Pot Wonder: I toss everything in—rice, tomato sauce, broth, onion, garlic—and let it simmer. No fancy steps, just hands-off cooking.
- Rich and Comforting: The tomato sauce and chicken broth blend into this deep, savory flavor that soaks right into the rice. Honestly, it’s the kind of dish I crave on chilly evenings.
- Feeds a Crowd: Whether it’s a family dinner or a potluck, this rice stretches beautifully. I’ll be real: it tastes even better the next day.
- Budget Stretcher: Long-grain rice plus pantry staples make this a wallet-friendly meal. Between us, it’s my go-to when I need something filling and affordable.
Step-by-Step Instructions for Tex-Mex Rice
Here’s the method. Straightforward, tested, works every time.
Step 1: Sauté Aromatics Until Fragrant
Heat the 2 tbsp vegetable oil in a large pot or deep skillet over medium heat. Add the onion and cook for 5-6 minutes, stirring occasionally, until it turns translucent and just starts to soften around the edges.
Stir in the 3 cloves garlic cloves and cook for 30 seconds until fragrant but not browned. I always watch this closely—garlic burns easily and can turn bitter in an instant. The moment you smell that warm, toasty aroma, you’re ready for the next step.
Step 2: Toast Spices and Rice for Depth of Flavor
Add the 1.5 cups long-grain white rice, 1 tsp ground cumin, 1 tsp chili powder, 0.5 tsp dried oregano, 1 tsp salt, 0.5 tsp black pepper, and 0.25 tsp cayenne pepper to the pot. Stir constantly for 2 minutes to toast the spices and rice.
This toasting step is crucial—it brings out the full aroma of the spices and gives the rice a nutty depth. You’ll notice the rice grains become slightly opaque and the spices release their fragrance into the air. Don’t let the rice brown, just warm it through.
Step 3: Add Liquids and Simmer to Perfection
Pour in the 1 cup tomato sauce and 2.5 cups chicken broth. Stir well to combine, making sure to scrape up any browned bits from the bottom of the pot. These bits are packed with flavor and will dissolve into your cooking liquid.
Bring the mixture to a boil, then reduce heat to low, cover, and let it simmer for 20-25 minutes. You’ll know it’s done when the liquid is fully absorbed and the rice is tender but not mushy.
Step 4: Rest and Finish with Fresh Lime
Remove the pot from heat and let it sit covered for 5 minutes. This resting time allows the rice to steam in its own heat, ensuring even doneness throughout.
Fluff the rice gently with a fork, then squeeze the juice from the 1 whole lime over the top. Stir to distribute the lime juice evenly. The bright citrus cuts through the richness and brings all the Tex-Mex flavors to life. Taste and adjust salt if needed before serving.
Pro Tips For Making El Fenix Rice
- Toast the Rice: Cook the rice in the pot with a little oil for 2-3 minutes until it turns slightly opaque—this keeps the grains separate and adds a nutty depth that soaks up the tomato sauce better.
- Bloom the Garlic: After sautéing the onion, add the minced garlic and cook just until fragrant, about 30 seconds. I learned this the hard way—burnt garlic turns bitter and ruins the dish.
- Use Warm Broth: Pour in chicken broth that’s already warm, not cold, to keep the cooking temperature steady. Cold broth slows everything down and can make the rice gummy.
- Let It Rest: Once done, take it off the heat, cover, and let it sit for 5-10 minutes. Sounds weird, but it works: the rice steams in its own moisture and finishes perfectly.
Storing and Reheating This Recipe
Fridge Storage
Let this dish cool completely before transferring to airtight containers. It’ll keep in the fridge at 40°F or below for up to 5 days. The flavors deepen overnight, so leftovers taste even better the next day. ❄️
Freezing for Later
Portion cooled rice into freezer-safe bags or containers, leaving 1 inch of headspace for expansion. It freezes well for up to 3 months. I like using quart-sized bags—they lay flat and thaw quickly.
Stovetop Reheating
Add rice to a skillet with 2 tbsp water or broth over low heat. Cover and stir occasionally for 5-7 minutes until heated through. This method keeps the grains separate and fluffy.
Microwave Method
Place a portion in a microwave-safe dish, sprinkle with 1 tbsp water, and cover loosely. Heat on 70% power for 2-3 minutes, stirring halfway through. The steam revives the texture beautifully. 🔥
Reviving Dry Rice
If your leftovers seem dry, add a splash of chicken broth and let it sit covered for 5 minutes before reheating. The liquid absorbs into the grains, restoring moisture and flavor.
Nutrition Facts
Frequently Asked Questions
Can I use brown rice instead of white?
Yes, but adjust the liquid to 3 cups and simmer for 40-45 minutes. The texture will be chewier, and the flavor more nutty. Brown rice absorbs more liquid and takes longer to cook.
Why toast the rice and spices first?
Toasting enhances the aroma and depth of flavor. It brings out the natural oils in the spices and gives the rice a subtle nutty taste. Skip this, and your dish will lack complexity.
What if my rice turns out mushy?
This usually happens from too much liquid or stirring while cooking. Use the exact 2.5 cups broth and avoid lifting the lid during simmering. Let it rest 5 minutes after cooking.
Can I make this in a rice cooker?
Sauté aromatics and toast rice/spices in a pan first, then transfer to your rice cooker with the liquids. Cook on the standard cycle and let it rest 5 minutes before serving.

- Fried Rice Mix Recipe: Customizable Pantry Staple for Quick Meals - October 6, 2026
- Fruit Loop Rice Crispy Treats Recipe: Colorful Crunch With Marshmallow Magic - October 6, 2026
- Erewhon Rice Balls Recipe: Copycat Crispy and Creamy Bites - October 6, 2026