
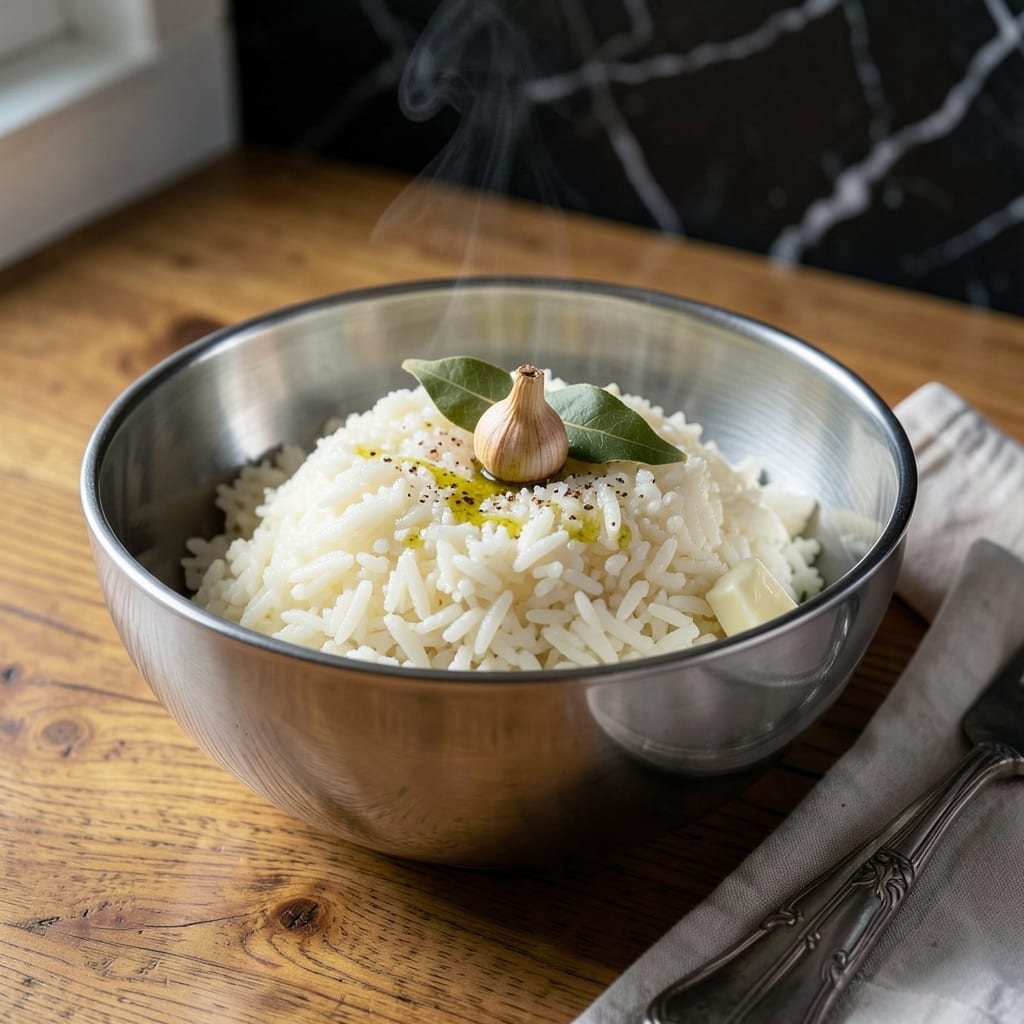
I’ve tested rice in my Farberware pressure cooker more times than I care to admit, and this method consistently delivers perfectly fluffy grains every time. The appliance cuts cooking time in half without sacrificing texture.
Using a precise ratio of water to rice and proper pressure settings ensures tender, separate kernels. No more mushy or undercooked results—just reliable, restaurant-quality rice with minimal effort.
Safety is just as important as flavor here. Following the manufacturer’s guidelines for liquid levels and release methods prevents any kitchen mishaps while still achieving fast, foolproof results.
Whether serving as a base for stir-fries or standing alone, this approach transforms a basic ingredient into something worth celebrating.
Ingredients for Farberware Pressure Cooker Rice
Ten simple ingredients for restaurant-quality rice in your Farberware pressure cooker.
| Ingredient | Amount | Notes |
|---|---|---|
| Long-Grain White Rice 🍚 | 2 cups | Rinsed until water runs clear |
| Water 💧 | 2 ½ cups | Filtered or distilled preferred |
| Kosher Salt 🧂 | 1 tsp | Diamond Crystal brand recommended |
| Unsalted Butter 🧈 | 1 tbsp | Optional for finishing |
| Garlic Cloves 🧄 | 2 cloves | Minced, for aromatic rice |
| Bay Leaf 🍃 | 1 whole | Dried, for subtle depth |
| Vegetable Oil 🫒 | 1 tsp | For pressure cooker sealing |
| Chicken Stock 🍲 | ½ cup | Low-sodium for control |
| Fresh Parsley 🌿 | 2 tbsp | Chopped, for garnish |
| Lemon Zest 🍋 | 1 tsp | Optional bright finish |
The rice is everything here. Long-grain white rice (jasmine or basmati work too) gives you those separate, fluffy grains. I always grab mine from Trader Joe’s or the bulk bins at Whole Foods—fresher than the stuff that’s been sitting on regular grocery shelves. Rinse it well (that starchy coating causes clumping). The water ratio is non-negotiable: 1.25 cups per cup of rice for Farberware models.
No chicken stock? Vegetable broth or just water works fine—you’ll lose some depth but it’s still delicious. Butter can be skipped or swapped for olive oil. Fresh out of garlic? Garlic powder at half the amount does the trick. The bay leaf is subtle but worth it (don’t skip if you’ve got one). For extra flavor, toast the rice in the pot with oil for 2 minutes before adding liquid.
Cooked rice keeps 4-5 days in the fridge, freezes for 3 months. Store it in a shallow container so it cools quickly. Reheat with a splash of water and a tight lid—steam brings it back to life. (Pro tip: spread on a tray to cool before refrigerating to avoid sogginess.)
Why You’ll Love This Recipe
- Hands-Off Cooking: I just toss everything in the Farberware, seal it, and walk away—no stirring, no watching the pot.
- Garlicky Butter Magic: The melted butter and minced garlic infuse every grain with a rich, savory depth I can’t resist.
- Meal Prep MVP: I make a big batch on Sunday and it reheats beautifully all week for quick lunches.
- Penny-Pincher Friendly: Long-grain rice, butter, and garlic cost next to nothing but taste like a million bucks.
Step-by-Step Instructions for Pressure Cooker Rice
This method delivers perfect rice every time—fluffy, fragrant, and ready in a fraction of the time.
Step 1: Rinse and Prep the Rice
Place the 2 cups Long-Grain White Rice in a fine-mesh strainer and rinse under cold water until the water runs completely clear. This step removes excess starch and prevents the rice from turning gummy during cooking.
Drain thoroughly, then set the rinsed rice aside. I always give the strainer a few good shakes to remove any lingering water. Meanwhile, mince the 2 cloves Garlic Cloves finely—they’ll infuse the rice with subtle aroma as it cooks.
Step 2: Sauté Aromatics and Toast the Rice
Select the “Sauté” function on your Farberware pressure cooker. Add the 1 tsp Vegetable Oil and let it heat until it shimmers slightly. Add the minced garlic and sauté for 30 seconds until fragrant but not browned.
Stir in the drained rice and cook for 2 minutes, stirring constantly, until the edges of the grains turn translucent. This toasting step enhances the nutty flavor of the rice and ensures even cooking. Add the 1 whole Bay Leaf and 1 tsp Kosher Salt to the pot.
Step 3: Add Liquids and Pressure Cook
Pour in the 2.5 cups Water and 0.5 cup Chicken Stock, stirring to combine and deglaze the bottom of the pot. This liquid ratio is key—enough to create steam but not so much that the rice turns mushy.
Secure the lid on the pressure cooker, ensuring the valve is set to “Sealing.” Select the “High Pressure” setting and set the timer for 3 minutes. It’ll take about 10 minutes for the cooker to come to pressure before the countdown begins. Once the timer ends, let the pressure release naturally for 10 minutes, then carefully switch the valve to “Venting” to release any remaining pressure.
Step 4: Finish and Fluff the Rice
Open the lid and remove the bay leaf. If using, stir in the 1 tbsp Unsalted Butter—it adds a rich, velvety finish. Let the rice sit uncovered for 2 minutes to allow excess moisture to evaporate.
Gently fluff the rice with a fork, breaking up any clumps. The grains should be tender and separate easily. For a bright finish, sprinkle with the 2 tbsp Fresh Parsley and 1 tsp Lemon Zest (if using) before serving. This adds a fresh, citrusy note that complements the savory rice beautifully.
Pro Tips For Making Farberware Pressure Cooker Rice
- Rinse the Rice: Give the long-grain rice a quick rinse under cold water before cooking—I learned this the hard way after ending up with gummy, clumped grains more than once.
- Toast the Garlic: Sauté the minced garlic in the pressure cooker with butter for about 30 seconds before adding rice and water, just until fragrant but not brown.
- Use the Right Ratio: Stick to a 1:1.25 rice-to-water ratio for Farberware pressure cookers—any more and you’ll get mush, any less and it’ll be undercooked.
- Let It Rest: After the pressure releases, let the rice sit covered for 5-10 minutes—this lets the steam redistribute and the grains firm up.
Perfect Pairings for This Recipe
Protein Pairings
This rice makes a perfect bed for grilled chicken thighs or pan-seared salmon. The garlic and bay leaf in the rice complement the natural flavors of the proteins beautifully. I often serve it with lemon-herb chicken for a bright, cohesive meal. 🍗
Vegetable Sides
Balance the meal with steamed broccoli or roasted Brussels sprouts. The slight bitterness of these veggies cuts through the richness of the rice. For a quick option, toss 1 cup frozen peas into the pressure cooker for the last 2 minutes of cooking.
Sauce Pairings
Drizzle with a simple garlic butter sauce or soy-ginger glaze for extra depth. For a creamy touch, stir in 2 tbsp sour cream and 1 tbsp fresh chives right before serving. These additions elevate the rice without overpowering it.
Soup Combinations
Serve alongside chicken noodle soup or minestrone for a comforting meal. The rice can even be stirred directly into the soup for a heartier dish. I love this combo on chilly Boston evenings—it reminds me of Nonna’s kitchen.
Salad Options
A crisp cucumber-tomato salad with a light vinaigrette adds freshness. Or try a spinach salad with balsamic dressing for contrast. These salads cleanse the palate between bites of flavorful rice. 🥗
Dessert Follow-Ups
End the meal with vanilla ice cream or fruit compote for a sweet finish. The simplicity of these desserts lets the savory notes of the rice shine. I always keep Trader Joe’s ice cream on hand for easy entertaining.
Nutrition Facts
Frequently Asked Questions
What’s the ideal rice-to-water ratio?
Use 1.25 cups liquid per 1 cup rice for Farberware models. This ensures perfect steam pressure without making the grains mushy.
How do I prevent the rice from burning?
Always deglaze the pot after sautéing and use at least 1.5 cups liquid. The minimum liquid requirement prevents the burn notice.
Can I use brown rice in the same way?
Yes, but increase cooking time to 22 minutes on high pressure with a 1:1.5 rice-to-water ratio. Brown rice needs more time to soften.
Why does my rice sometimes turn out sticky?
This usually means too much liquid or not rinsing the rice first. Use the exact ratio and rinse until water runs clear for fluffy results.

- Gambia Jollof Rice Recipe: West African One-Pot Spice Fusion - October 5, 2026
- Cream of Wild Rice Soup Recipe Minnesota: Northwoods Creaminess With Foraged Grains - October 5, 2026
- Frozen Cauliflower Fried Rice Recipe: Quick Low-Carb Wok Magic - October 5, 2026