
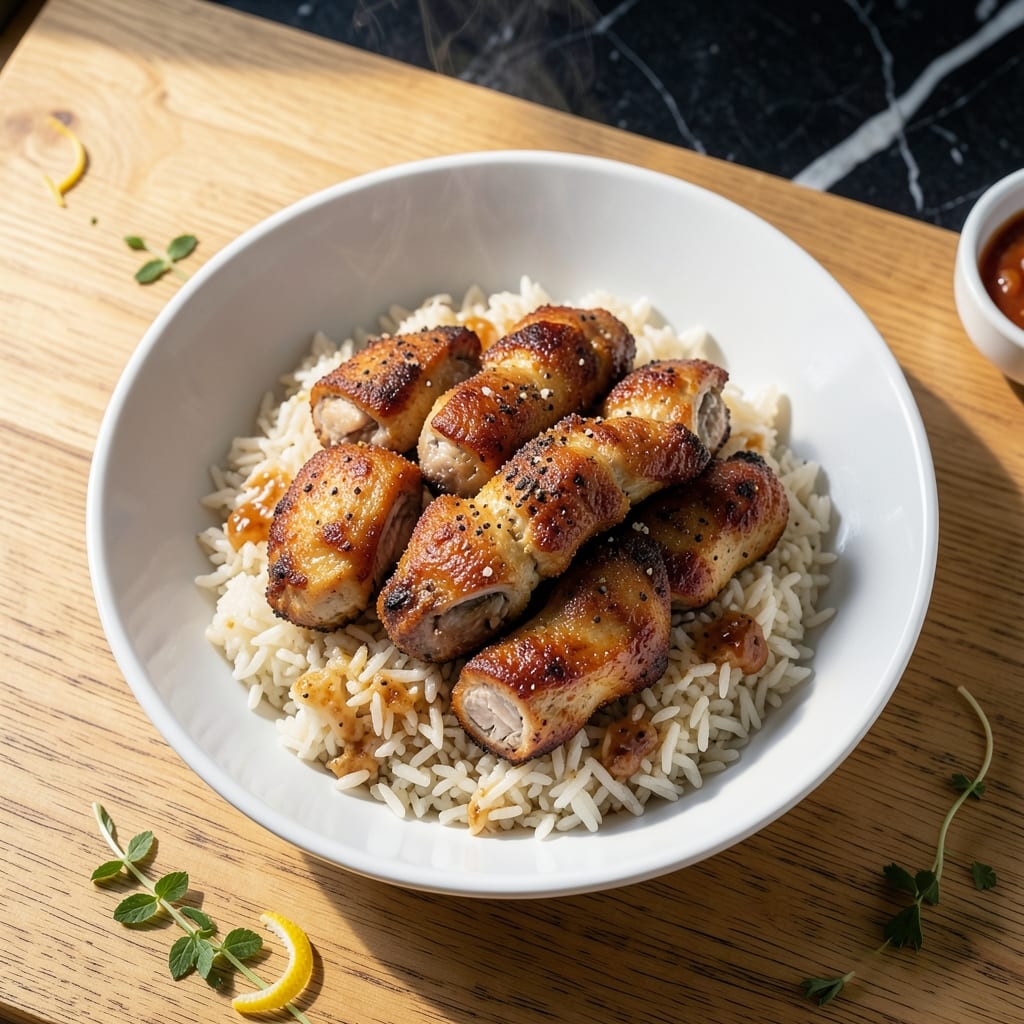
This rice cooker method delivers crispy fried chicken with minimal effort. I developed this technique for busy weeknights when I needed hands-off cooking without sacrificing texture.
The secret is using the rice cooker’s steam function to par-cook the chicken before a quick pan-fry. This ensures even cooking while maintaining that essential crunch we all crave in fried chicken.
What emerges is golden, crispy chicken with juicy interior, all while your rice cooks simultaneously. The rice cooker handles the heavy lifting, leaving you with restaurant-quality results.
Perfect for feeding a crowd or meal prepping for the week. This approach proves you can achieve excellent fried chicken without standing over a hot stove.
Ingredients for Fried Chicken Rice Cooker
Nothing exotic here—just chicken, flour, and a few pantry staples for that perfect crunch.
| Ingredient | Amount | Notes |
|---|---|---|
| Chicken Thighs 🍗 | 2 lb | Boneless, skin-on for crispiness |
| All-Purpose Flour 🌾 | 1 ½ cups | For dredging coating |
| Cornstarch 🌽 | ½ cup | Creates extra crunch |
| Large Eggs 🥚 | 2 whole | Beaten for binding |
| Buttermilk 🥛 | 1 cup | For marinating chicken |
| Kosher Salt 🧂 | 1 ½ tsp | Diamond Crystal preferred |
| Black Pepper 🌶️ | 1 tsp | Freshly ground for best flavor |
| Garlic Powder 🧄 | 1 tsp | For seasoning flour |
| Onion Powder 🧅 | 1 tsp | For seasoning flour |
| Paprika 🌶️ | 1 tsp | Sweet or smoked variety |
| Cayenne Pepper 🔥 | ¼ tsp | Adjust for spice preference |
| Vegetable Oil 🫒 | 2 cups | For pan-frying chicken |
| Hot Sauce 🌶️ | 1 tbsp | For buttermilk marinade |
The chicken is the star here. Thighs stay juicier than breasts during the two-stage cooking. Look for skin-on, boneless at Whole Foods or your regular supermarket—they usually have them pre-packaged. If you can only find bone-in, debone them yourself (worth the extra minute). The buttermilk marinade is non-negotiable—full-fat gives you the best texture and flavor.
No buttermilk? Whole milk plus 1 tbsp vinegar or lemon juice works in a pinch. Swap cornstarch for arrowroot if that’s what you’ve got. Want more heat? Add extra cayenne or a pinch of chipotle powder. The paprika can be smoked for deeper flavor. If you’re out of hot sauce, Tabasco or Frank’s RedHot are my go-tos. Fresh garlic powder from bulk bins at Whole Foods tastes better than jarred.
Marinate the chicken for at least 4 hours (overnight is ideal). Leftovers keep 3-4 days in the fridge—reheat in the oven to maintain crispiness. Freezes for 2 months if you want to prep ahead (thaw overnight before reheating).
Why You’ll Love This Recipe
- One Pot Magic: I toss everything into the rice cooker, set it, and walk away—no splattering oil, no messy stovetop.
- Crispy Outside, Juicy Inside: The buttermilk marinade keeps the chicken thighs tender while the flour-cornstarch combo gives that addictive crunch.
- Feeds the Gang: This makes enough for a weeknight dinner and leftovers that reheat surprisingly well.
- Budget Winner: Chicken thighs stay cheap, and I already have flour and eggs in my pantry—no special trips to the store.
Step-by-Step Instructions for Fried Chicken in a Rice Cooker
Here’s the method that delivers crispy, savory results with minimal hands-on effort.
Step 1: Marinate the Chicken Thighs
In a large bowl, whisk together the 1 cup buttermilk and 1 tbsp hot sauce until well combined. This mixture tenderizes the meat while adding a subtle tang. Add the 2 lb chicken thighs and ensure each piece is fully coated.
Cover and refrigerate for at least 1 hour, but I recommend 4 hours or overnight for maximum flavor penetration. The buttermilk works its magic during this time, breaking down proteins for juicier, more flavorful chicken.
Step 2: Prepare the Dredging Mixture
In a separate large bowl, combine the 1.5 cups all-purpose flour, 0.5 cup cornstarch, 1.5 tsp kosher salt, 1 tsp black pepper, 1 tsp garlic powder, 1 tsp onion powder, 1 tsp paprika, and 0.25 tsp cayenne pepper. Whisk until evenly distributed.
The cornstarch is the secret to extra crispiness, creating a lighter, crunchier coating than flour alone. The spices add depth and a slight kick that balances the richness of the chicken. Make sure the mixture is completely uniform before dredging.
Step 3: Dredge and Coat the Chicken
Remove the chicken from the buttermilk marinade, allowing excess to drip off. Dredge each piece thoroughly in the flour mixture, pressing firmly to adhere. I like to use one hand for wet ingredients and one for dry to keep things clean.
For extra crispiness, dip the floured chicken back into the buttermilk, then dredge in the flour mixture a second time. This double-dredging creates a thicker crust that holds up beautifully. Place the coated chicken on a wire rack set over a baking sheet to rest for 10 minutes while you heat the oil.
Step 4: Pan-Fry to Golden Perfection
Pour the 2 cups vegetable oil into your rice cooker’s inner pot. Heat to 350°F—you’ll know it’s ready when a pinch of flour sizzles immediately when sprinkled in. Carefully place the chicken in the hot oil, working in batches to avoid overcrowding.
Fry for 6-8 minutes per side until the coating is deep golden brown and the internal temperature reaches 165°F. Use a slotted spoon to transfer the chicken to a paper towel-lined plate to drain excess oil. The rice cooker maintains steady heat, ensuring even cooking without hot spots.
Step 5: Rest and Serve
Let the chicken rest for 5 minutes before serving. This allows the juices to redistribute and the coating to set, ensuring crispiness in every bite. The skin-on thighs will stay moist while the exterior remains shatteringly crisp.
Serve immediately while hot. The contrast of the juicy interior and crunchy exterior is what makes this dish so satisfying. For best results, enjoy fresh out of the cooker—the crispiness is at its peak during the first 15 minutes.
Pro Tips For Making Fried Chicken Rice Cooker
- Double-Dredge the Thighs: Dip the chicken in flour, then buttermilk, then back in flour mixed with cornstarch—I learned this the hard way after my first batch had zero crunch.
- Preheat the Cooker: Start with the rice cooker on its highest setting for 5 minutes to mimic a hot pan, or the coating will steam instead of crisp.
- Skip the Overcrowding: Fry in batches if needed—packing in too many thighs turns them soggy, and I’ve ruined a meal by rushing this.
- Rest Before Serving: Let the cooked chicken sit 3-4 minutes in the cooker’s warm setting so the crust sets and doesn’t slide off when you cut in.
Essential Equipment for This Recipe
Rice Cooker Essentials
You’ll need a standard rice cooker with a steam function—I use my trusty Zojirushi Neuro Fuzzy for this. The 5-6 cup capacity models work best for batches of chicken. Look for one with a removable inner pot for easy cleaning. 💪
Temperature Control Tools
A candy or deep-fry thermometer is non-negotiable for monitoring oil temperature. I swear by my Taylor Classic thermometer. Maintaining 350°F is crucial for even cooking and crispy results without burning.
Dredging Station
Set up two large mixing bowls—one for wet marinade and one for dry coating. I prefer stainless steel for durability. A wire rack with a baking sheet underneath catches drips while chicken rests before frying.
Frying Accessories
Use tongs for safe chicken handling in hot oil. My OXO Good Grips tongs have the perfect lock mechanism. Keep a slotted spoon nearby for removing chicken and a paper towel-lined plate for draining excess oil.
Safety Gear
Always keep a fire extinguisher rated for grease fires in your kitchen. I also recommend heat-resistant gloves for handling hot pots. Never leave hot oil unattended—safety first with this method. ⚡
A splatter screen helps contain oil pops while frying. I use a stainless steel one that fits over my rice cooker pot perfectly.
Nutrition Facts
Frequently Asked Questions
Do I need a special rice cooker for frying?
Any standard rice cooker with a steam function works. A 5-6 cup capacity model is ideal for batches. Just ensure it has a removable inner pot for easy cleaning.
How do I keep the chicken crispy after cooking?
Place fried pieces on a wire rack, not a plate. This prevents steam from making the coating soggy. Serve within 15 minutes for peak crispiness.
Can I use chicken breasts instead of thighs?
Thighs stay juicier, but breasts work if pounded to even 1/2-inch thickness. Reduce frying time to 5-6 minutes per side to prevent drying out.
What oil is best for frying in a rice cooker?
Use oils with a high smoke point like vegetable, canola, or peanut oil. Avoid olive oil as it can burn at 350°F.

- Jollof Rice Sauce Recipe: West African Tomato and Spice Infusion - September 25, 2026
- Japanese Rice Soup Recipe: Umami-Rich Comfort in a Bowl - September 25, 2026
- Homemade Cream Of Rice Recipe: Silk-Smooth Breakfast in Minutes - September 25, 2026