
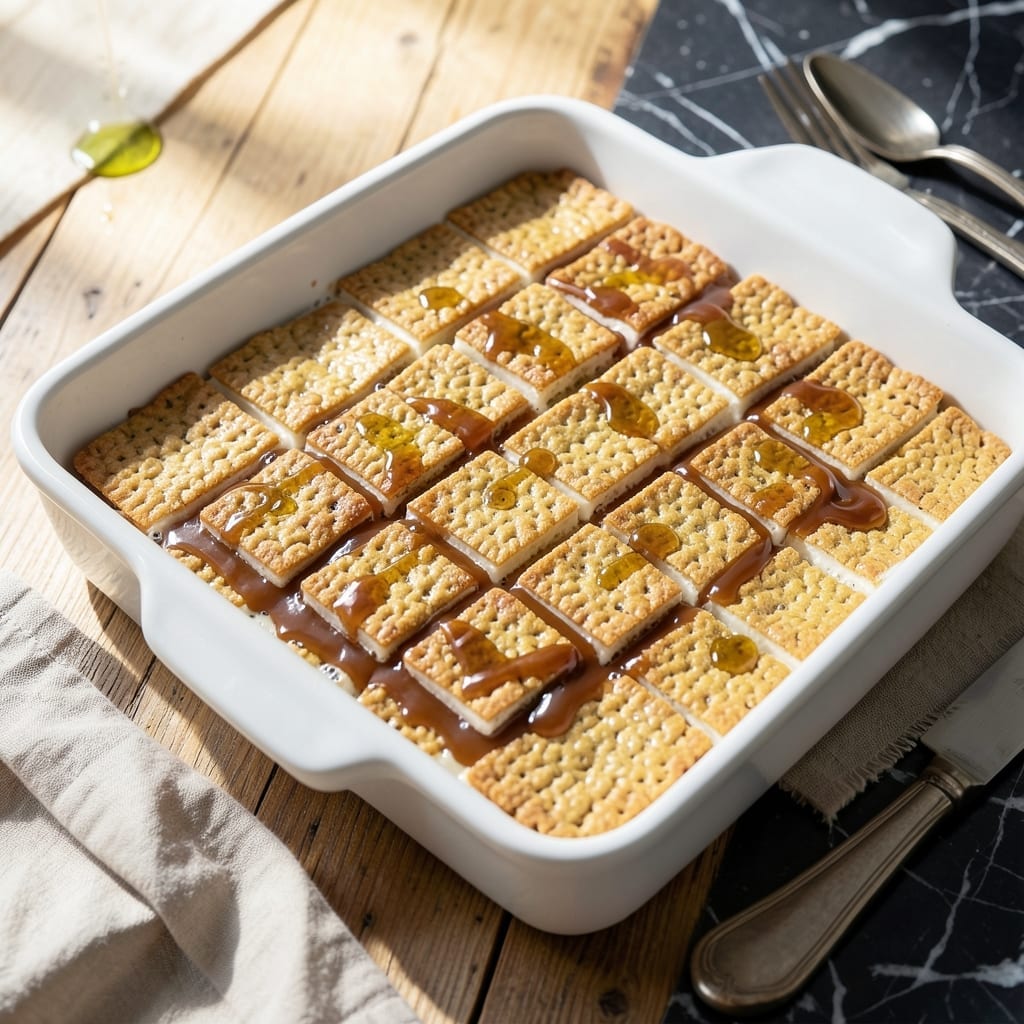
Making classic treats without gelatin is easier than you think. This version uses plant-based marshmallows to create the same sticky, gooey texture that binds the cereal perfectly.
The result is a crispy, sweet treat that holds its shape and tastes just like the original. Simple ingredients and a 10-minute process deliver foolproof results every time.
Ingredients for Gelatin Free Rice Krispies
A handful of plant-based staples transform into crispy, gooey perfection with ease.
| Ingredient | Amount | Notes |
|---|---|---|
| Rice Krispies Cereal 🥣 | 6 cups | Standard variety, unsweetened |
| Plant-Based Marshmallows 🍬 | 10 oz | Vegan brand like Dandies |
| Vegan Butter 🧈 | 3 tbsp | Or coconut oil for dairy-free |
| Vanilla Extract 🌿 | 1 tsp | Pure extract for best flavor |
| Salt 🧂 | ¼ tsp | Fine grain for even distribution |
| Agave Nectar 🍯 | 1 tbsp | Optional, for extra sweetness |
| Flaky Sea Salt 🧂 | ½ tsp | For finishing on top |
The marshmallows are the key here—Dandies or Trader Joe’s vegan marshmallows melt beautifully and bind just like traditional ones. Look for brands labeled explicitly plant-based, as some may still contain gelatin. The Rice Krispies should be the standard variety; avoid flavored versions that might compete with the vanilla. Whole Foods and Natural Grocers stock reliable vegan options.
No vegan marshmallows? Homemade marshmallow fluff (aquafaba-based) works in a pinch but requires more effort. For the butter, Earth Balance or Miyoko’s are solid choices, though coconut oil adds a subtle tropical note. The vanilla extract should be pure—imitation vanillas can taste artificial. Agave can be swapped for maple syrup at equal amounts.
These keep well at room temperature in an airtight container for 3-4 days. Press plastic wrap directly on top to maintain freshness. They freeze beautifully too—layer between parchment paper and store for up to 2 months.
Why You’ll Love This Recipe
- I’ll be real: the squares stay soft and fresh in an airtight tin for three days, so I can double the batch and call it meal prep.
- 10-Minute Magic: I melt the vegan butter and marshmallows in one pot, stir in the cereal, and we’re eating before the oven even preheats.
- Vanilla Cloud Crunch: That warm vanilla-kissed sweetness from the plant-based marshmallows clings to every crispy Rice Krispie, making each bite ridiculously good.
- Potluck MVP: Honestly, I’ve brought this to birthday parties and office lunches—no one believes it’s gelatin-free until I tell them.
Step-by-Step Instructions for Gelatin Free Rice Krispies
Master this technique for perfectly crisp yet chewy treats with a professional finish.
Step 1: Prepare the Baking Pan
Lightly grease a 9×13-inch baking pan with a thin layer of the 3 tbsp Vegan Butter. Use a paper towel to spread it evenly across the bottom and up the sides. This prevents sticking and ensures easy removal after setting.
I prefer using a metal pan for this recipe as it conducts heat more evenly, helping the treats set properly. The thin butter layer also adds a subtle richness to the final product without overpowering the other flavors.
Step 2: Melt the Marshmallow Mixture
In a large saucepan, combine the 10 oz Plant-Based Marshmallows, remaining Vegan Butter, 1 tsp Vanilla Extract, 0.25 tsp Salt, and 1 tbsp Agave Nectar. Cook over low heat, stirring constantly with a silicone spatula.
Continue stirring until the mixture becomes completely smooth and glossy—this should take about 5-7 minutes. The marshmallows will melt gradually, and you’ll notice the mixture pull away slightly from the sides of the pan when it’s ready. Avoid higher heat, which can cause scorching.
Step 3: Incorporate the Cereal
Remove the saucepan from heat and immediately add all 6 cups Rice Krispies Cereal. Using the same spatula, fold gently but thoroughly until every piece is evenly coated. The cereal will soften slightly from the heat but should maintain its crispness.
Work quickly at this stage—the mixture begins to set as it cools. You’ll know it’s properly mixed when the cereal turns a uniform, slightly sticky shade and no dry spots remain visible. The texture should be tacky enough to hold together when pressed.
Step 4: Press and Shape the Treats
Transfer the mixture to your prepared pan. Using the spatula or buttered hands, press it evenly into the pan with firm, consistent pressure. Aim for a uniform thickness of about 1 inch throughout.
I find that starting in the center and working outward prevents air pockets. Press down firmly—the more compact the mixture, the better the treats will hold their shape after cutting. Avoid overworking the mixture, as this can make the treats dense rather than light and crisp.
Let the pan sit at room temperature for 15-20 minutes to cool slightly before cutting.
Step 5: Cut and Finish
Once the treats are cool enough to handle but still slightly warm, use a sharp knife to cut into 12 equal squares. For clean cuts, dip the knife in hot water between each slice and wipe it clean with a towel.
Arrange the squares on a serving tray and immediately sprinkle the tops with the 0.5 tsp Flaky Sea Salt. This final touch enhances the sweetness and adds a sophisticated contrast in both flavor and texture. Serve at room temperature for the best consistency.
Pro Tips For Making Gelatin Free Rice Krispies
- Melt Slowly: Use low heat when melting the vegan butter and marshmallows—I learned this the hard way after burning two batches. Stir constantly and pull off the heat just before they’re fully melted.
- Toast the Cereal: Spread the Rice Krispies on a baking sheet and toast at 300°F for 5 minutes. Sounds weird, but it keeps them crisp longer in the final treat.
- Skip the Boil: Plant-based marshmallows can seize up if overheated. Remove the pot from heat as soon as they’re mostly melted and let residual warmth finish the job.
- Press While Warm: Press the mixture into the pan immediately after mixing—waiting even 2 minutes makes it harder to shape. Use a buttered spatula or your hands (lightly greased) for an even layer.
Wine and Beer Pairings for This Dish
Non-Alcoholic Pairings
For a kid-friendly pairing, serve with cold vanilla almond milk or oat milk. The creamy sweetness complements the crispy texture beautifully. I also love these treats with a tall glass of chocolate milk for a classic combo. 🥛
Coffee Pairings
A hot cup of dark roast coffee cuts through the sweetness perfectly. The bitterness balances the marshmallow’s sugar content. Iced coffee works equally well, especially in warmer months.
Tea Pairings
Chai tea with its warm spices enhances the vanilla notes in the treats. For herbal options, peppermint tea provides a refreshing contrast. Both hot and iced versions pair wonderfully.
Wine Pairings
A glass of Moscato d’Asti with its light effervescence and sweet stone fruit flavors matches the treat’s sweetness. For red wine lovers, try a chilled Lambrusco—its slight frizzante quality works surprisingly well. 🍷
Beer Pairings
Stouts and porters are excellent choices, as their roasted malt flavors complement the marshmallow’s depth. A vanilla cream ale would echo the extract in the recipe. Avoid hoppy IPAs, as they can clash with the sweetness.
Dessert Pairings
Serve alongside a scoop of vanilla coconut ice cream for an indulgent dessert. The cool creaminess contrasts nicely with the crispy treats. A drizzle of chocolate sauce ties everything together perfectly. 🍦
Nutrition Facts
Frequently Asked Questions
What can I use instead of gelatin marshmallows?
Use plant-based marshmallows like Dandies or Trader Joe’s. They melt just like regular ones and bind the cereal perfectly without gelatin.
How do I keep them from getting hard?
Store in an airtight container at room temperature with plastic wrap pressed directly on top. This keeps them soft for 3-4 days.
Can I make these without butter?
Yes! Substitute coconut oil in equal amounts for a dairy-free version. The flavor will be slightly different but still delicious.
Why did my treats turn out crumbly?
This usually means the marshmallow mixture wasn’t fully melted before mixing with cereal. Make sure it’s completely smooth and glossy first.

- El Pollo Loco Spanish Rice Recipe: Smoky Tomato-Infused Side Dish - October 11, 2026
- Fresh Black Beans and Rice Recipe: Latin-Inspired One-Bowl Heartiness - October 11, 2026
- Empire Ghee Rice Recipe: Fragrant Basmati With Golden Clarity - October 11, 2026