
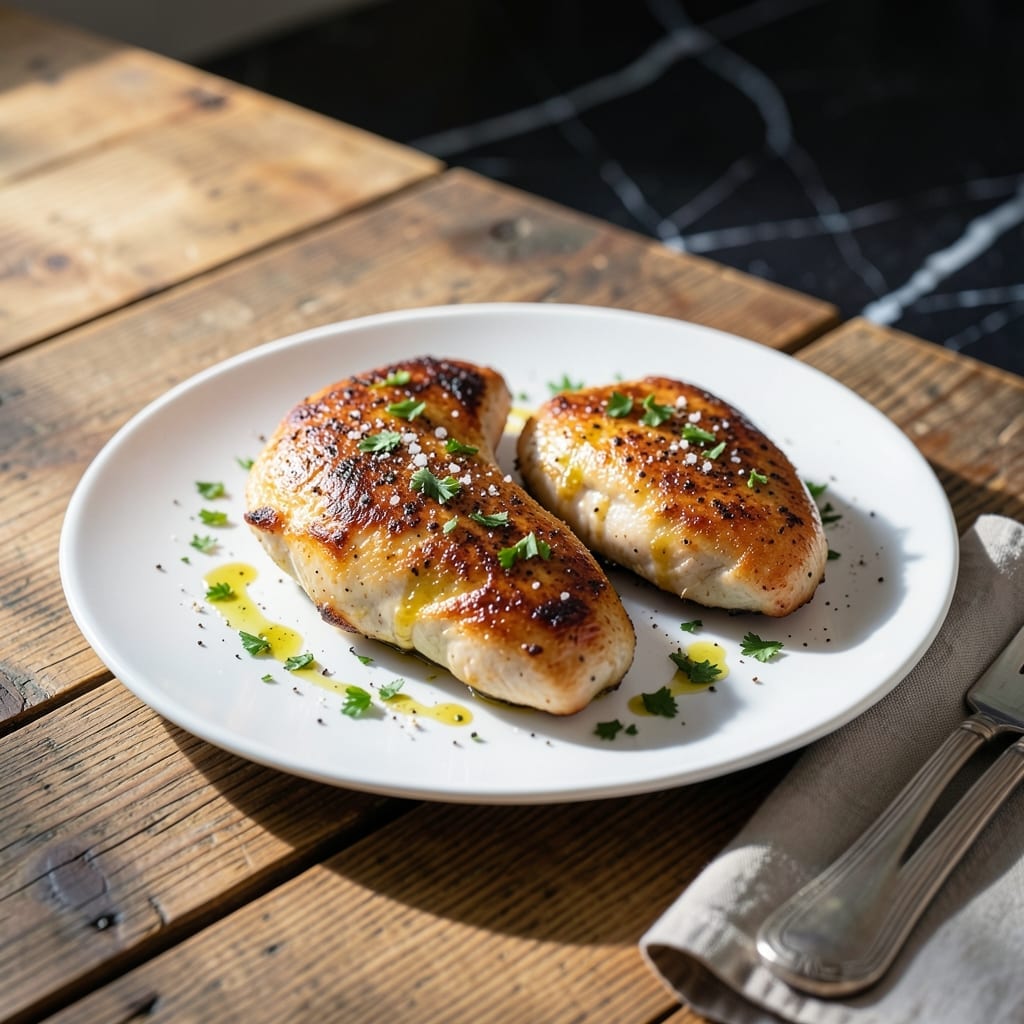
Chicken is the ultimate blank canvas in the kitchen, and this versatile recipe proves it can shine in countless ways. With simple techniques and basic seasonings, you’ll transform ordinary poultry into a dish that works for any meal.
The beauty lies in its adaptability—pan-searing, baking, or grilling all yield excellent results. A hot skillet and proper timing ensure juicy, flavorful meat every time, whether you’re making a quick weeknight dinner or prepping for a gathering.
What you get is perfectly cooked chicken that’s tender inside with a golden crust outside. The method is straightforward, but the results taste anything but basic.
Use it as a base for salads, sandwiches, or pasta, or enjoy it as a standalone main with your favorite sides.
Ingredients for General Chicken
Pantry staples plus chicken transform into a versatile, flavorful dish for any meal.
| Ingredient | Amount | Notes |
|---|---|---|
| Boneless Skinless Chicken Breasts 🍗 | 1 ½ lb | Pounded to even thickness |
| Olive Oil 🫒 | 2 tbsp | Divided for cooking and finishing |
| Kosher Salt 🧂 | 1 ½ tsp | Diamond Crystal preferred for even seasoning |
| Freshly Ground Black Pepper 🌶️ | 1 tsp | Coarse grind for texture |
| Garlic Powder 🧄 | 1 tsp | Not garlic salt |
| Onion Powder 🧅 | 1 tsp | For depth of flavor |
| Smoked Paprika 🌶️ | 1 tsp | Adds subtle smokiness |
| Dried Thyme 🍃 | ½ tsp | Crushed between fingers to release oils |
| Dried Oregano 🌿 | ½ tsp | Mediterranean variety preferred |
| Lemon Juice 🍋 | 1 tbsp | Freshly squeezed for brightness |
| Unsalted Butter 🧈 | 1 tbsp | For basting golden crust |
| Fresh Parsley 🌿 | ¼ cup | Chopped, for garnish |
The chicken quality matters most. Air-chilled boneless, skinless breasts from Whole Foods or Costco have better texture than water-chilled varieties. Pound them to even thickness—this ensures even cooking and that golden crust every time. I always grab a family pack and freeze what I won’t use within 2 days (they keep 9 months frozen).
No smoked paprika? Regular paprika plus a pinch of cayenne works. Fresh herbs like rosemary or sage can replace the dried thyme and oregano—use triple the amount. The lemon juice brightens everything up, but apple cider vinegar in a pinch does the trick. For extra crisp, swap the olive oil for avocado oil (higher smoke point).
Cooked chicken keeps in the fridge for 3-4 days—perfect for meal prep. Store in airtight containers to maintain moisture. Reheat gently to avoid drying out. The seasoning blend itself? Mix extra and keep in a jar for 6 months (just shake before using).
Why You’ll Love This Recipe
- 20-Minute Meal: I can get this from counter to plate faster than it takes to decide on takeout.
- Garlicky Bite: The garlic powder with olive oil gives every piece that savory depth I crave.
- Weeknight MVP: Between us, this is my Tuesday night lifesaver when everyone’s starving and hangry.
- Leftovers Win: Honestly, it tastes even better the next day in wraps or on salads.
Step-by-Step Instructions for General Chicken
This method delivers perfectly seasoned, juicy chicken that works in salads, sandwiches, or as a main course.
Step 1: Prep and Season the Chicken
Place the boneless skinless chicken breasts between two sheets of plastic wrap. Using a meat mallet or rolling pin, pound them to an even ½-inch thickness. This ensures even cooking and prevents dry, overdone edges while the center finishes.
Pat the chicken dry with paper towels—this is crucial for achieving a good sear. In a small bowl, combine the kosher salt, freshly ground black pepper, garlic powder, onion powder, smoked paprika, dried thyme, and dried oregano. Rub this mixture evenly over all surfaces of the chicken, pressing gently to adhere. Here’s the thing—don’t skip the drying step, or the seasoning won’t stick properly.
Step 2: Sear for Maximum Flavor
Heat 1 tablespoon olive oil in a large skillet over medium-high heat until it shimmers. Add the chicken breasts and cook undisturbed for 5-6 minutes until the bottom develops a deep golden crust and the chicken releases easily from the pan.
Flip the chicken and add the remaining 1 tablespoon olive oil along with the unsalted butter. As the butter melts, tilt the pan slightly and baste the chicken with the foaming butter for 1-2 minutes. This basting technique adds richness and promotes even browning. Cook for another 4-5 minutes until the internal temperature reaches 165°F.
Step 3: Rest and Finish
Transfer the chicken to a cutting board and let it rest for 5-10 minutes. I know it’s tempting to cut in right away, but resting allows the juices to redistribute throughout the meat. If you skip this, you’ll lose all those delicious juices onto the cutting board.
While the chicken rests, drizzle the lemon juice over the top. This adds a bright, fresh note that cuts through the richness. Once rested, slice the chicken against the grain or leave whole, depending on how you plan to serve it.
Step 4: Garnish and Serve
Chop the fresh parsley just before serving to preserve its vibrant color and fresh flavor. Sprinkle the parsley over the chicken as a finishing touch. The parsley adds a pop of color and a fresh herbal note that complements the smoky, savory seasoning.
Serve immediately while the chicken is still warm. This dish works beautifully sliced over salads, tucked into sandwiches, or as a simple main course with your favorite sides. The versatility is what makes this preparation so valuable in my kitchen.
Pro Tips For Making General Chicken
- Pound the Breasts: Use a rolling pin or meat mallet to even out the thickness—about ¾ inch—so they cook uniformly and don’t dry out on the thin edges while waiting for the thicker parts to finish.
- Dry the Chicken: Pat the breasts very dry with paper towels before seasoning; I learned this the hard way after my chicken steamed instead of seared in the pan.
- Skip the Cold Pan: Heat the olive oil over medium-high until it shimmers, then add the chicken—no sooner. Sounds weird, but it works: this prevents sticking and starts the crust right.
- Rest Before Slicing: Give it a solid 5-10 minutes under foil after cooking—yes, even if you’re impatient like me—so the juices redistribute instead of pooling on the cutting board.
Pro Cooking Tips for Great general chicken
Perfect Pounding Technique
Use a meat mallet or rolling pin to pound chicken to an even ½-inch thickness. Place between plastic wrap to prevent tearing. This ensures even cooking and that golden crust we all love.
Heat Control Mastery
Heat your skillet over medium-high heat until the oil shimmers but doesn’t smoke. I use Lodge cast iron for even heat distribution. Too hot and the outside burns before the inside cooks. 🔥
Basting Like a Pro
After flipping, add 1 tbsp butter and tilt the pan to pool the melted butter. Spoon it over the chicken continuously for 1-2 minutes. This adds richness and accelerates crust formation.
The Resting Rule
Let your chicken rest for 5-10 minutes before slicing. This allows juices to redistribute. I learned this the hard way—cutting too soon makes dry chicken.
Temperature Precision
Use an instant-read thermometer to check for 165°F in the thickest part. I swear by ThermoWorks for accuracy. Undercooked is unsafe, overcooked is dry—precision matters. 💡
Seasoning Adherence
Pat the chicken completely dry before seasoning. The spices stick better to dry surfaces. I use paper towels and press firmly to remove all moisture.
Nutrition Facts
Frequently Asked Questions
Can I use bone-in chicken instead?
Yes, but adjust cooking time to 25-30 minutes at 375°F in the oven. Bone-in stays juicier but needs longer to reach 165°F internally.
Why do I need to pound the chicken?
Pounding to ½-inch thickness ensures even cooking. Without it, thin edges dry out while thick centers stay undercooked.
How can I tell when it’s done without a thermometer?
Pierce the thickest part—juices should run clear, not pink. The meat should feel firm, not rubbery, when pressed.
What if my seasoning won’t stick?
Pat the chicken completely dry first. Moisture creates a barrier between spices and meat. Press the seasoning in gently.

- Jollof Rice Sauce Recipe: West African Tomato and Spice Infusion - September 25, 2026
- Japanese Rice Soup Recipe: Umami-Rich Comfort in a Bowl - September 25, 2026
- Homemade Cream Of Rice Recipe: Silk-Smooth Breakfast in Minutes - September 25, 2026