
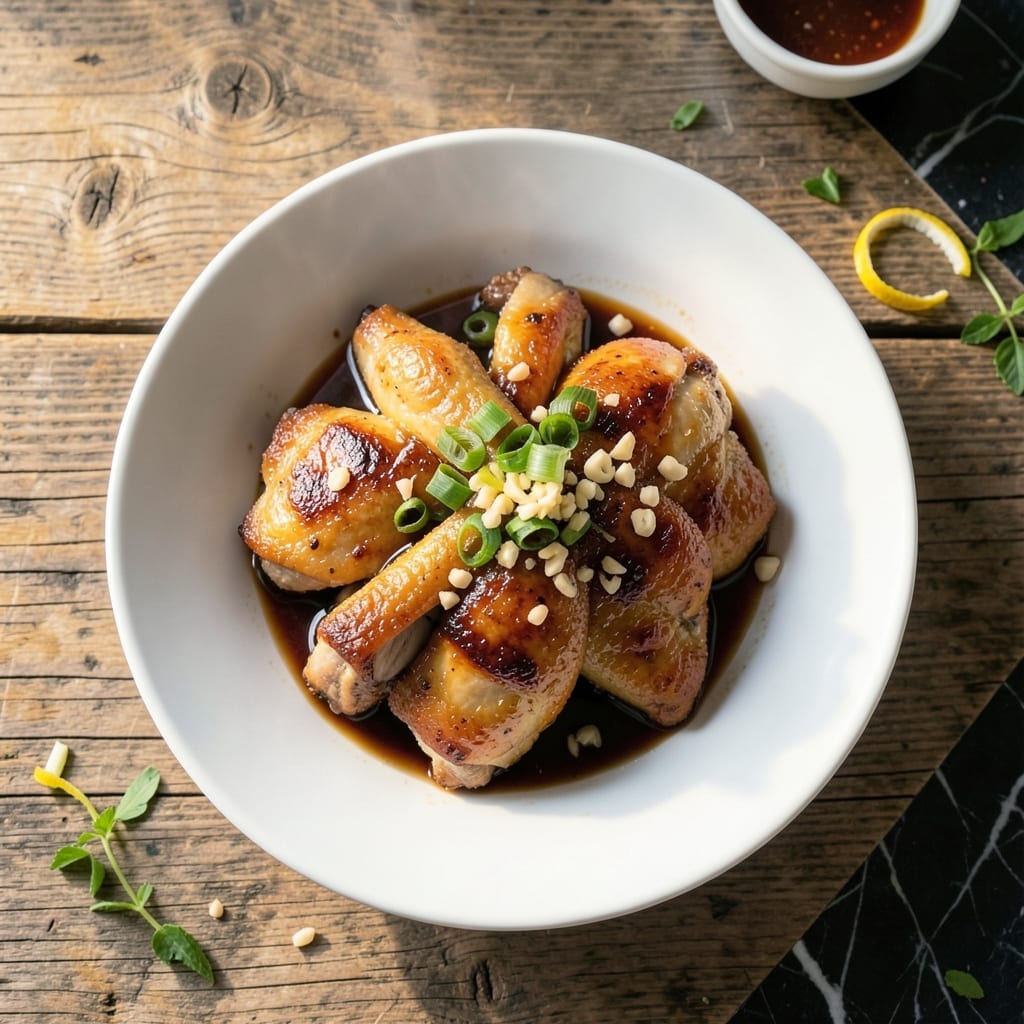
This Singaporean classic brings together tender chicken and a crispy golden coating that shatters with every bite. The secret lies in marinating the meat with fragrant spices before breading, a technique perfected in Hainanese kitchens.
What sets this dish apart is the double-frying method, ensuring the exterior stays crispy while the inside remains juicy. The marinade infuses each piece with layers of garlic, ginger, and soy, creating a flavor profile that’s both comforting and complex.
Serve it with a side of tangy chili sauce or a simple cucumber salad to balance the richness. The contrast between the tender chicken and its crispy crust makes it irresistible, a true taste of Singaporean street food.
Perfect for a weeknight dinner or a special occasion, this recipe delivers restaurant-quality results at home.
Ingredients for Hainanese Chicken Chop
Tender chicken meets a shatteringly crisp coating with aromatic marinade layers beneath.
| Ingredient | Amount | Notes |
|---|---|---|
| Chicken Thighs 🍗 | 1 ½ lb | Boneless, skinless, pounded to 1/2-inch thickness |
| Light Soy Sauce 🫒 | 2 tbsp | Low-sodium preferred for balance |
| Shaoxing Wine 🍶 | 1 tbsp | Dry sherry works as substitute |
| Garlic Cloves 🧄 | 4 cloves | Minced finely for marinade |
| Fresh Ginger 🌿 | 1 tbsp | Grated or minced |
| White Pepper 🧂 | ½ tsp | Freshly ground for best flavor |
| Sesame Oil 🫒 | 1 tsp | Toasted variety preferred |
| Cornstarch 🌾 | ½ cup | For tenderizing and coating |
| All-Purpose Flour 🌾 | ½ cup | For initial dredging |
| Panko Breadcrumbs 🍞 | 1 ½ cups | For extra crispy texture |
| Large Eggs 🥚 | 2 whole | Beaten for egg wash |
| Neutral Oil 🫒 | 3 cups | For deep-frying, like vegetable or canola |
| Salt 🧂 | 1 tsp | Kosher or sea salt |
| Granulated Sugar 🍚 | ½ tsp | Balances marinade flavors |
| Green Onions 🧅 | 3 whole | Thinly sliced for garnish |
The chicken thighs are non-negotiable here—bone-in, skin-on versions work but require deboning first. Asian markets often carry pre-deboned thighs, or ask your butcher to prep them. For the soy sauce, Pearl River Bridge or Lee Kum Kee offer authentic flavor profiles. Shaoxing wine is essential for authenticity, but dry sherry in a pinch delivers similar depth (just avoid cooking wine).
No Shaoxing wine? Dry white wine with a pinch of sugar mimics the complexity. Panko is key for that signature crunch, but fresh breadcrumbs work if pulsed in a food processor. For a gluten-free version, cornstarch plus crushed rice cereal creates a similar texture. The ginger and garlic must be fresh—jarred versions lack potency.
Marinate the chicken for at least 4 hours, preferably overnight. Store leftovers in an airtight container for up to 3 days—reheat in a toaster oven to revive crispness. The frying oil can be strained and reused once if kept in a cool, dark place.
Why You’ll Love This Recipe
- One Pan Wonder: I toss everything in a single pan—chicken thighs, garlic, ginger—and let the soy and Shaoxing wine do their magic.
- Umami Bomb: That first bite of crispy skin with the savory-sweet sauce? Ridiculously good.
- Weeknight Hero: Between us, this is my go-to when I need dinner on the table fast but still want it to taste special.
- Budget Stretcher: Honestly, chicken thighs are cheap, and this recipe makes them taste like a restaurant dish.
Step-by-Step Instructions for Hainanese Chicken Chop
Master the technique that creates an irresistibly crispy exterior with juicy, flavorful meat inside.
Step 1: Marinate the Chicken for Maximum Flavor
In a large bowl, combine the 1.5 lb Chicken Thighs with 2 tbsp Light Soy Sauce, 1 tbsp Shaoxing Wine, 4 cloves minced Garlic Cloves, 1 tbsp Fresh Ginger, 0.5 tsp White Pepper, 1 tsp Sesame Oil, 1 tsp Salt, and 0.5 tsp Granulated Sugar.
Massage the marinade into the meat thoroughly, ensuring every piece is evenly coated. Cover and refrigerate for at least 30 minutes, allowing the flavors to penetrate deeply. This step is crucial for achieving the dish’s signature taste profile.
Step 2: Create the Breading Station for Extra Crispiness
Set up three shallow dishes. Place the 0.5 cup All-Purpose Flour in the first, beat the 2 whole Large Eggs in the second, and put the 1.5 cups Panko Breadcrumbs mixed with 0.5 cup Cornstarch in the third. The cornstarch addition creates an ultra-crispy texture.
Dredge each marinated thigh first in the flour, shaking off excess, then dip in the beaten eggs, and finally coat thoroughly with the panko-cornstarch mixture. Press gently to ensure the crumbs adhere completely to all surfaces.
Step 3: Deep-Fry to Golden Perfection
Heat the 3 cups Neutral Oil in a deep, heavy-bottomed pot to 350°F. Use a deep-fry thermometer for accuracy. The oil should be deep enough to fully submerge the chicken pieces.
Carefully lower the breaded thighs into the hot oil, working in batches to avoid crowding. Fry for 6-8 minutes until the coating turns a deep golden brown and the internal temperature reaches 165°F. The panko will create an audibly crisp crust when done.
Step 4: Rest and Garnish for Serving
Transfer the fried chicken to a wire rack set over a baking sheet to allow excess oil to drain. Let rest for 5 minutes—this ensures the juices redistribute while maintaining crispness.
Slice the 3 whole Green Onions thinly and scatter over the top just before serving. The contrast of the vibrant green against the golden-brown crust adds visual appeal while providing a fresh, mild onion flavor that complements the rich, savory notes of the dish.
Pro Tips For Making Hainanese Chicken Chop
- Pound the Thighs: Use the flat side of a cleaver or a meat mallet to gently pound the chicken thighs to an even 1/2-inch thickness—this guarantees they cook through without burning the marinade.
- Marinate Overnight: I learned this the hard way—let the chicken soak in the light soy sauce, Shaoxing wine, garlic and ginger for at least 4 hours, preferably overnight, for the flavors to really sink in.
- Skip Overcrowding: Resist the urge to pack the pan; cook the thighs in batches so they sear properly instead of steaming in their own juices.
- Use Chicken Fat: After cooking, pour out the excess oil but leave those golden bits and about a tablespoon of chicken fat—sounds weird, but it makes a real difference when you toss the thighs back in to coat before serving.
Make-Ahead Tips for This Recipe
Prep the Marinade
I always mix the marinade the night before and store it in an airtight container in the fridge. This way, the garlic, ginger, and soy flavors meld overnight, saving you time on cooking day. The marinade keeps well for up to 24 hours. 💡
Bread Early for Crispiness
After marinating, bread the chicken and place it on a wire rack in the fridge. This helps the coating dry slightly, ensuring a crispier crust when fried. I’ve found this step prevents soggy breading and keeps the texture perfect.
Double-Fry for Success
If you’re making a big batch, fry the chicken once in advance, then finish with a second fry just before serving. Store the first-fried pieces in the fridge for up to 2 days. This method keeps the coating crispy without overcooking the meat.
Freeze for Later
Breaded but uncooked chicken can be frozen on a tray first, then transferred to a freezer-safe bag for up to 1 month. Thaw overnight in the fridge before frying—no need to re-bread. This is a lifesaver for busy weeks.
Reheat Like a Pro
To revive leftovers, use a toaster oven or air fryer at 375°F for 5-7 minutes. This brings back the crispy texture better than a microwave. I always add a spritz of oil for extra crunch. 🔥
Sauce Prep Ahead
Make the chili or dipping sauce up to 3 days ahead and store it in a jar. This way, all you need to do is fry the chicken and serve. The flavors in the sauce deepen over time, making it even more delicious.
Nutrition Facts
Frequently Asked Questions
Can I use chicken breast instead of thighs?
Thighs stay juicier, but boneless breast works if pounded to 1/2-inch thickness. Reduce frying time to 4-5 minutes to prevent dryness.
Why does the recipe call for double-frying?
The first fry cooks the meat through, while the second at 375°F creates the signature shatteringly crispy crust. It’s a classic technique for perfect texture.
How do I keep the coating crispy if serving later?
Place fried pieces on a wire rack in a 200°F oven for up to 1 hour. Avoid stacking to prevent steam from making the crust soggy.
What’s the best oil for frying?
Use a neutral oil with a high smoke point like peanut or vegetable oil. Avoid olive oil—its low smoke point burns at frying temps.

- Jollof Rice Sauce Recipe: West African Tomato and Spice Infusion - September 25, 2026
- Japanese Rice Soup Recipe: Umami-Rich Comfort in a Bowl - September 25, 2026
- Homemade Cream Of Rice Recipe: Silk-Smooth Breakfast in Minutes - September 25, 2026