
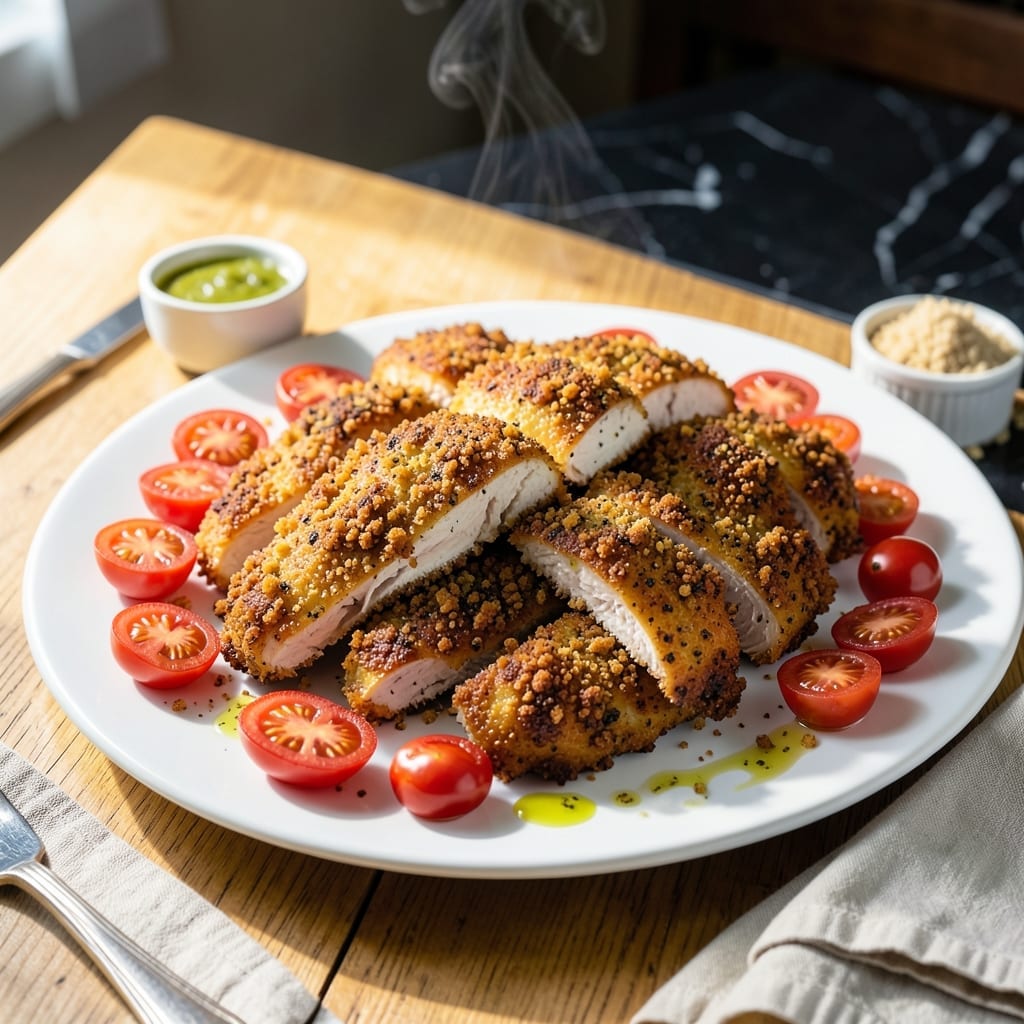
This homemade version of the classic shake and bake method delivers crispy, golden chicken without the mess of deep frying. The secret lies in a perfectly seasoned breadcrumb coating that adheres beautifully to each piece.
I developed this technique after years of testing ratios and methods to achieve that signature crunch. The key is using a combination of breadcrumbs and cornmeal for extra texture, with spices that create a balanced, savory flavor profile.
You’ll love how this method transforms ordinary chicken into a family favorite. Each bite offers a satisfying crunch followed by juicy, tender meat inside. The coating stays crispy even after baking, unlike some homemade attempts.
This approach works for chicken pieces of any size and requires just a few simple ingredients you likely already have on hand.
Ingredients for Homemade Chicken Shake and Bake
Pantry raid plus a quick chicken stop. Big crunch, zero deep fry mess.
| Ingredient | Amount | Notes |
|---|---|---|
| Chicken Pieces 🍗 | 3 lb | Bone-in, skin-on for best crispiness |
| All-Purpose Flour 🌾 | 1 cup | For initial dredging layer |
| Large Eggs 🥚 | 2 whole | Beaten for adhesion base |
| Plain Breadcrumbs 🍞 | 2 cups | Panko for extra crunch |
| Yellow Cornmeal 🌽 | ½ cup | Fine grind for texture |
| Garlic Powder 🧄 | 2 tsp | Not garlic salt substitute |
| Onion Powder 🧅 | 2 tsp | Freshly ground preferred |
| Paprika 🌶️ | 1 ½ tsp | Sweet or smoked variety |
| Dried Thyme 🌿 | 1 tsp | Crushed between fingers |
| Dried Oregano 🍃 | 1 tsp | Mediterranean oregano preferred |
| Salt 🧂 | 1 ½ tsp | Kosher salt for even coating |
| Black Pepper 🌶️ | 1 tsp | Freshly ground for best flavor |
| Cayenne Pepper 🔥 | ¼ tsp | Adjust for heat preference |
| Vegetable Oil 🫒 | 2 tbsp | Neutral flavor for spraying |
The chicken is non-negotiable here. Bone-in, skin-on thighs and drumsticks give you that juicy interior and maximum crisp factor—breasts dry out too fast. I grab mine from Costco for the best value, but any supermarket works. The cornmeal is what sets this coating apart—Bob’s Red Mill has a good fine-grind version if your store doesn’t stock it in bulk. Look for breadcrumbs without added seasonings (plain only).
No cornmeal? Crushed cornflakes actually work in a pinch (weird but true). Swap fresh garlic for the powder at a 3:1 ratio if you’re mincing your own. Dried parsley can replace the oregano if needed. The flour coating might seem like overkill, but it’s what makes the crumbs adhere properly—don’t skip this step. For extra browning, add a pinch of brown sugar to the mix.
The breadcrumb mix keeps in a jar for 2 months—just re-crush any lumps before using. Baked chicken stays crispy for 2-3 days in the fridge, though it’s best fresh. Freeze uncooked coated pieces on a tray first, then transfer to bags for up to 3 months (bake straight from frozen, add 10 minutes).
Why You’ll Love This Recipe
- One Bowl Wonder: I toss the chicken, flour, eggs, and breadcrumbs right in a bag—no extra dishes, just shake and bake.
- That Crunch: The cornmeal in the coating gives it this irresistible crispy bite every single time.
- Feeds a Crowd: I make a double batch on Sunday and we’re set for lunches all week.
- Pantry Staples: All-purpose flour, eggs, breadcrumbs—stuff I already have, so it’s a no-brainer dinner.
Step-by-Step Instructions for Chicken Shake and Bake
This method delivers that nostalgic crunch with a homemade, grown-up flavor profile you won’t find in a box.
Step 1: Season and Dredge the Chicken Pieces
Pat the 3 lb Chicken Pieces dry with paper towels—this is non-negotiable for crispy results. Season them generously with the 1.5 tsp Salt, 1 tsp Black Pepper, 0.25 tsp Cayenne Pepper, 2 tsp Garlic Powder, 2 tsp Onion Powder, 1.5 tsp Paprika, 1 tsp Dried Thyme, and 1 tsp Dried Oregano.
Place the 1 cup All-Purpose Flour in a large bowl. Dredge each piece of chicken in the flour, pressing gently to adhere. Shake off any excess—you want a thin, even coating, not a thick paste. This initial layer creates the foundation for the crispy crust to cling to.
Step 2: Create the Egg Wash and Breading Station
In a shallow dish, beat the 2 whole Large Eggs until well combined. In a separate large bowl, mix the 2 cups Plain Breadcrumbs and 0.5 cup Yellow Cornmeal together. The cornmeal adds that extra crunch and texture that sets this apart from store-bought versions.
Dip each floured chicken piece into the egg wash, letting any excess drip off. Then roll it in the breadcrumb-cornmeal mixture, pressing firmly to ensure the coating adheres completely. For maximum crispiness, I like to press the mixture into the chicken rather than just rolling it.
Step 3: Rest the Coated Chicken
Place the coated chicken pieces on a wire rack set over a baking sheet. This setup allows air to circulate around the chicken, preventing the coating from getting soggy on the bottom. Let the chicken rest for 10-15 minutes—this step is crucial for allowing the coating to set and adhere properly.
During this rest, the egg wash dries slightly, creating a better bond between the chicken and the breading. Don’t skip this step; it’s the difference between breading that falls off and breading that stays put. Preheat your oven to 400°F during this time so it’s ready to go.
Step 4: Bake to Golden, Crispy Perfection
Lightly brush or spray the chicken pieces with the 2 tbsp Vegetable Oil. This small amount of oil helps the coating crisp up beautifully in the oven without deep frying. Place the chicken on a baking sheet lined with parchment paper.
Bake at 400°F for 35-40 minutes, flipping halfway through, until the chicken is golden brown and the internal temperature reaches 165°F. The coating should be crispy and the juices should run clear when pierced. For extra crispiness, broil for the last 2-3 minutes, watching closely to prevent burning.
Let the chicken rest for 5 minutes before serving. This allows the juices to redistribute, ensuring every bite is moist and flavorful beneath that crispy coating.
Pro Tips For Making Homemade Chicken Shake And Bake
- Preheat the Pan: Get your baking sheet in the oven while it heats to 400°F—this guarantees a crispier crust from the first minute. I learned this the hard way after pulling out soggy-bottomed chicken one too many times.
- Dry the Chicken: Pat those pieces thoroughly with paper towels before dredging, or the coating won’t stick. Sounds tedious, but it’s the difference between breading that clings and breading that slides off.
- Double-Dredge for Crunch: Dip in flour, then egg, then breadcrumbs mixed with cornmeal, and repeat the egg and crumb step. This extra layer actually changes the outcome, giving you that thick, shatteringly crisp texture.
- Use Fresh Crumbs: Skip the pre-packaged breadcrumbs if you can—pulse day-old bread in a food processor for a coarser, more flavorful coat. My grandmother swore by this, and she was right: it just tastes better.
Troubleshooting Great homemade chicken shake and bake
Coating Not Sticking
If your breading falls off during baking, the chicken likely wasn’t dry enough before dredging. Pat pieces thoroughly with paper towels first. Also ensure your egg wash isn’t too thin—use 2 whole eggs without adding water or milk. 💡
Soggy Bottoms
This happens when chicken sits on a flat surface without airflow. Always use a wire rack over a baking sheet. The rack lets heat circulate underneath, preventing steam from making the coating soggy. Avoid crowding pieces too closely together.
Uneven Browning
For consistent color, flip chicken halfway through baking. If some pieces brown faster, move them to a cooler spot in the oven. A light spray of vegetable oil before baking helps create that golden finish. Rotate the pan 180 degrees if your oven has hot spots.
Dry Chicken
Overbaking is the usual culprit. Use a meat thermometer and pull chicken at exactly 165°F internal temperature. Bone-in pieces often finish at different times—check the thickest portions first. Letting it rest 5 minutes after baking preserves moisture.
Bland Flavor
Don’t skimp on seasoning the chicken itself before dredging. I generously coat each piece with the full 1.5 tsp salt and spice blend. For extra punch, add 1 tsp smoked paprika to your breadcrumb mix. Freshly ground spices always taste more vibrant.
Coating Too Thick
Press breadcrumbs firmly but don’t over-pile. Shake off excess after each dredging step. The ideal coating should be ¼ inch thick max. Too much breading won’t crisp properly and can taste doughy. Use a light hand with the cornmeal—it’s potent for texture.
Nutrition Facts
Frequently Asked Questions
Can I use boneless chicken breasts?
Boneless breasts work but tend to dry out faster. Reduce baking time to 25-30 minutes and check temperature early. Bone-in, skin-on pieces are ideal for juiciness and crispiness.
What if I don’t have cornmeal?
Substitute with crushed cornflakes or extra breadcrumbs. The texture won’t be identical but still crispy. For best results, pulse cornflakes in a food processor first.
How do I make it extra crispy?
Broil for 2-3 minutes at the end of baking. Also press breadcrumbs firmly into the chicken during coating. A light spray of oil before baking helps too.
Can I prepare this ahead of time?
Coat chicken and refrigerate up to 12 hours before baking. Keep uncovered so the coating stays dry. Add 5-10 minutes to baking time if cooking straight from the fridge.

- Jollof Rice Sauce Recipe: West African Tomato and Spice Infusion - September 25, 2026
- Japanese Rice Soup Recipe: Umami-Rich Comfort in a Bowl - September 25, 2026
- Homemade Cream Of Rice Recipe: Silk-Smooth Breakfast in Minutes - September 25, 2026