
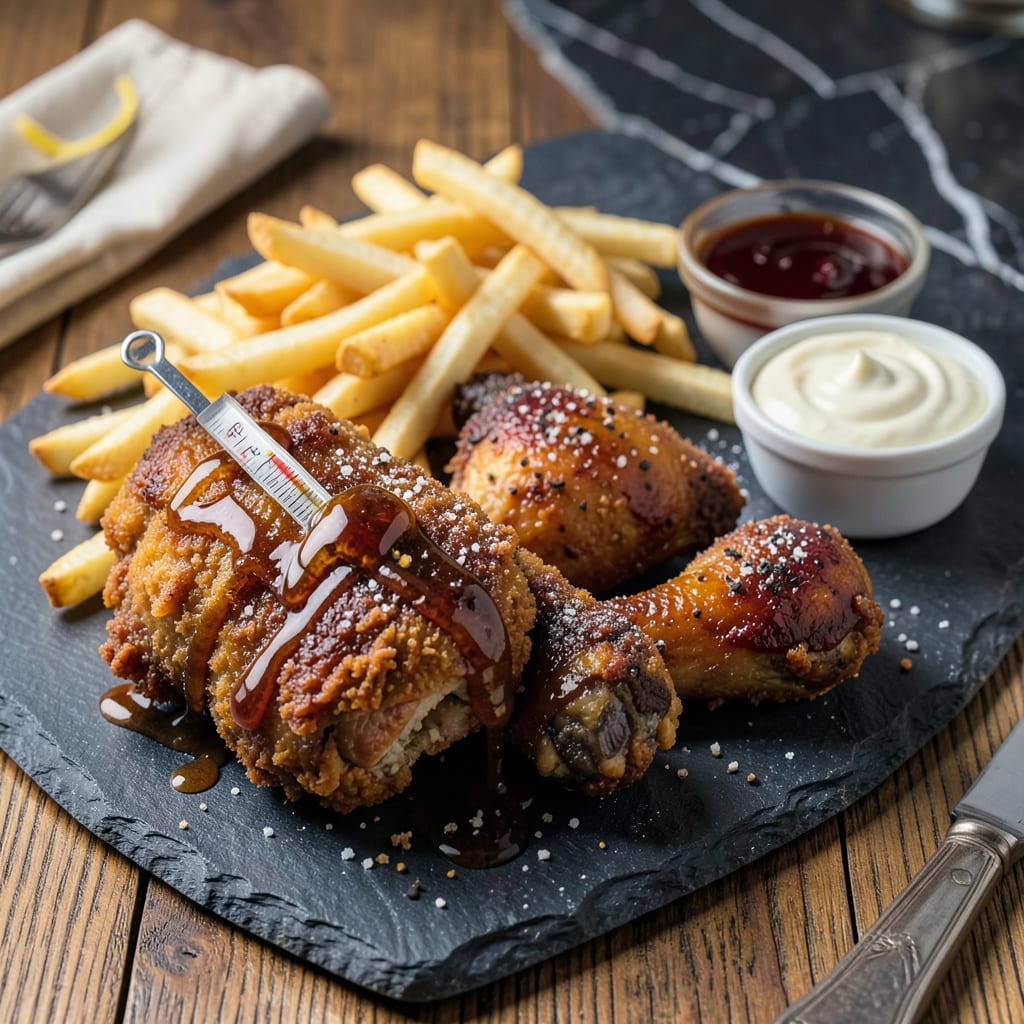
Nothing ruins a fried chicken dinner faster than cutting into a piece that’s still raw inside. I’ve been there—golden crust on the outside, disappointing pink in the middle. The good news? There’s a foolproof way to get it right every single time, and it’s easier than you think.
Forget guessing games—165°F internal temperature is your golden rule, straight from USDA guidelines. But here’s the thing: color and texture matter too. Perfect fried chicken should have a deep golden-brown crust that crackles when you bite, juices that run clear (not pink), and meat that pulls away easily from the bone. No fancy tools? No problem—I’ll show you how to check with just your eyes and ears.
Most people mess this up by overcrowding the fryer or using oil that’s not hot enough. Both lead to greasy, undercooked chicken that looks done but isn’t. I’ll walk you through the exact signs to watch for—like when the bubbling oil sound changes to a steady sizzle, or how properly cooked chicken should feel when you press it with tongs.
By the time you finish reading, you’ll never second-guess your fried chicken again. Whether you’re making classic Southern-style or experimenting with spicy Korean double-fried, these tests work every time. Let’s get that chicken perfectly crispy and safely cooked—no more crossing your fingers when you take that first bite.
📚 In This Guide
- What You’ll Need
- Instructions
- Tips and Common Mistakes
What Youll Need
- ● Fresh or thawed chicken pieces – 2–4 lbs (legs, thighs, breasts, or wings; pat dry with paper towels for crispiness 🍗).
- ● Neutral oil for frying – 4–6 cups (peanut, vegetable, or canola oil; enough for 1.5–2 inches depth in your pot).
- ● Deep fryer, Dutch oven, or heavy-bottomed pot – At least 5–6 quarts (with a lid for safety!).
- ● Candy/deep-fry thermometer – Critical for monitoring oil temp (350–375°F is the sweet spot 🌡️).
- ● Instant-read meat thermometer – To check doneness (165°F for breasts, 175°F for dark meat).
- ● Tongs or slotted spoon – For safe flipping and draining (no forks—they pierce the crust! 🚫).
- ● Paper towels or wire rack – For draining excess oil (a rack keeps it crispier!).
- ● Breading station: Flour (1–2 cups, seasoned with salt, pepper, and paprika).
- ● Egg wash (2 eggs + ¼ cup milk or buttermilk).
- ○ Optional: Cornstarch (¼ cup mixed into flour for extra crunch ✨).
- ● Seasonings – Salt, black pepper, garlic powder, cayenne (adjust to taste!).
- ○ Optional but handy: Splatter screen (to avoid oil burns 😅).
- ● Kitchen timer (for tracking cook time per batch).
- ● Aluminum foil
Instructions
Here’s exactly how to test your fried chicken for perfect doneness—no guesswork required.
Check the Internal Temperature
The most reliable way to know when fried chicken is done is by using an instant-read thermometer. Insert the probe into the thickest part of the meat, avoiding contact with bone. For dark meat (thighs and drumsticks), you want to reach 175°F—this ensures the connective tissue has broken down completely.
For white meat (breasts and wings), aim for 165°F. The temperature will continue to rise a few degrees after you remove the chicken from the oil, so pull it out when it’s 5°F below your target. I always test multiple pieces since different sizes cook at different rates.
Observe the Crust Color and Texture
While temperature is the gold standard, visual cues are important too. Perfectly fried chicken should have a deep golden-brown crust that’s crispy to the touch. If your crust looks pale or blond, it needs more time—this usually means the oil temperature was too low.
Listen for the sizzle: when the chicken is nearly done, the bubbling sound will become more subdued. The crust should feel firm when pressed gently with tongs, not soft or doughy. If you notice any wet spots or areas where the breading isn’t fully set, give it another 1-2 minutes in the oil.
Test the Juices for Clarity
Here’s an old-school method that still works: pierce the thickest part of the chicken with a knife or skewer. If the juices run clear with no pink or red tint, your chicken is done. This works particularly well for larger pieces like thighs or breasts.
For extra confirmation, press on the meat with your tongs—properly cooked chicken should feel firm and spring back slightly, not squishy or mushy. If you see any pink juices or the meat feels overly soft, it needs more time. Remember that bone-in pieces may show a slight pink tint near the bone even when fully cooked.
Consider the Cooking Time
While time alone isn’t foolproof, it’s a good cross-check. At 350°F oil temperature, bone-in chicken typically takes 12-15 minutes for dark meat and 8-10 minutes for white meat. Boneless pieces cook about 2-3 minutes faster.
If you’re cooking in batches, remember that adding cold chicken to the oil lowers the temperature temporarily. I recommend letting the oil recover to 350°F between batches. When in doubt, it’s better to pull a piece out early and test it rather than risk overcooking the entire batch.
Let It Rest Before Serving
Once your chicken reaches the proper temperature and has that perfect golden crust, transfer it to a wire rack set over a baking sheet. Let it rest for 5-10 minutes before serving. This allows the juices to redistribute throughout the meat instead of running out when you cut into it.
The resting period also gives the crust time to set completely, preventing that disappointing sogginess that can happen when you stack hot fried chicken pieces. If you need to keep chicken warm while finishing other batches, place it in a 200°F oven—this maintains crispness without continuing to cook the meat.
Tips and Common Mistakes
Getting fried chicken perfectly done takes practice, but these insights will help you avoid the most common pitfalls.
Temperature Precision: The 350°F oil temperature mentioned in Step 4 is absolutely critical. If your oil dips below this, the chicken will absorb excess oil and become greasy. If it climbs too high, the crust will burn before the meat cooks through. I use a deep-fry thermometer clipped to the side of my pot to monitor constantly—don’t trust the dial on your stove alone.
Thermometer Technique: When checking internal temperatures in Step 1, make sure you’re testing multiple pieces, especially if they’re different sizes. I’ve found that thighs often need the full 175°F to be truly tender, while smaller wings might hit 165°F much faster. Always insert the probe from the side to avoid hitting bone, which can give false readings.
Batch Cooking Strategy: The instructions mention how adding cold chicken lowers oil temperature—this is why I never crowd my fryer. Cook in small batches, giving the oil time to return to 350°F between each. If you’re making large quantities, keep finished pieces warm in a 200°F oven as suggested in Step 5, but don’t stack them or you’ll lose that crispy crust you worked so hard to achieve.
Visual Verification: That deep golden-brown crust described in Step 2 should be uniform all over. Pay special attention to the areas where the chicken touches other pieces in the fryer—these spots can steam instead of crisp. If you notice any pale areas during that final 1-2 minutes of cooking, separate the pieces slightly to allow even browning.
Pro Tips for Know When Fried Chicken Is Done
- Getting fried chicken perfectly done takes practice, but these insights will help you avoid the most common pitfalls.
- Temperature Precision: The 350°F oil temperature mentioned in Step 4 is absolutely critical. If your oil dips below t…
- Thermometer Technique: When checking internal temperatures in Step 1, make sure you’re testing multiple pieces, espec…
Frequently Asked Questions
Got questions about nailing that perfect golden crisp? Here are the most common ones—answered fast so you can get back to frying!
How long does it take to fry chicken at 350°F?
Boneless pieces take 8–12 minutes, while bone-in (like thighs or drumsticks) needs 12–16 minutes. Always check the internal temp—165°F is your magic number! Use a meat thermometer for foolproof results.
Can I fry chicken without a thermometer?
Yes! Cut into the thickest piece—if the juices run clear (not pink) and the meat pulls away from the bone, it’s done. Pro tip: The crust should be deep golden-brown, not blond or burnt.
Why is my fried chicken raw inside but burnt outside?
Oil temp was too high! Aim for 325–350°F. If the outside cooks too fast, lower the heat or fry in batches. Bone-in pieces may need extra time—patience prevents sad, raw centers.
Is it safe to eat fried chicken that’s slightly pink?
Only if it hits 165°F internally. Modern farming can leave a pink tint near bones (myoglobin), but never eat it if it’s rubbery or cold. When in doubt, pop it back in the oil for 2 more minutes!
What’s the best oil for frying chicken?
Neutral oils with high smoke points win: peanut, canola, or vegetable oil. Avoid olive oil—it burns at frying temps. For extra crispiness, add a splash of cornstarch to your flour mix!
Now you’re armed with the secrets to perfectly cooked fried chicken every time! 🎯 Remember: 165°F internal temp is your golden rule, but don’t forget the visual cues—crispy golden crust, clear juices, and no pink near the bone. Trust your tools (that thermometer is your best friend!) and your senses.
Ready to put your skills to the test? Grab that batch of chicken, fire up the oil, and fry with confidence. And if you’re craving extra crunch or flavor twists, check out our guide on seasoning blends for fried chicken next! 🍗✨

- Jollof Rice Sauce Recipe: West African Tomato and Spice Infusion - September 25, 2026
- Japanese Rice Soup Recipe: Umami-Rich Comfort in a Bowl - September 25, 2026
- Homemade Cream Of Rice Recipe: Silk-Smooth Breakfast in Minutes - September 25, 2026