
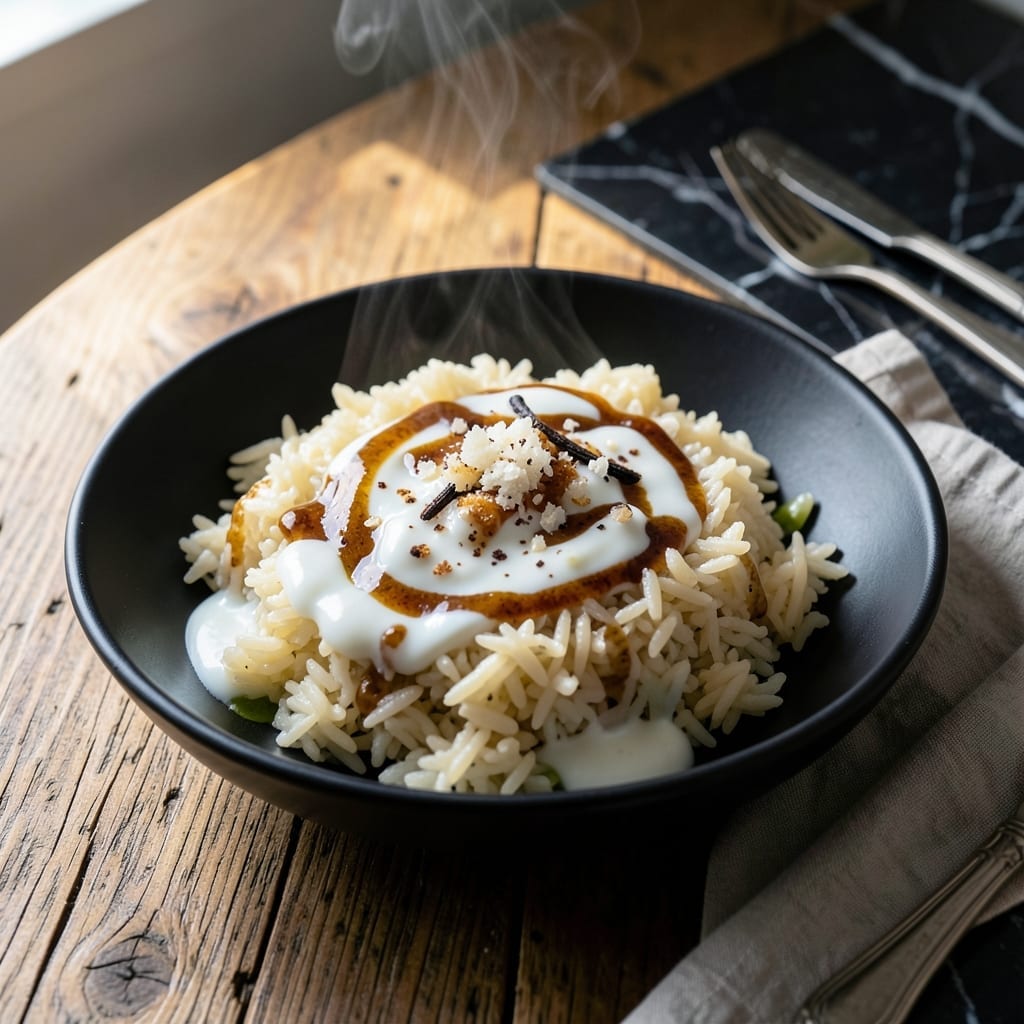
This dessert transforms simple ingredients into a luxurious treat that feels special enough for company. Koda Farms sweet rice forms the perfect chewy base for a coconut-infused creation that’s both comforting and elegant.
The secret lies in the texture—each grain absorbs the creamy coconut milk while maintaining its signature stickiness. A touch of sugar enhances the natural sweetness without overpowering the delicate flavor of the rice.
What emerges is a dish with layers of richness, from the tender rice to the fragrant coconut undertones. It’s a dessert that satisfies without being overly heavy, making it perfect for any occasion.
Serve warm or at room temperature, and watch it disappear. This recipe proves that the simplest ingredients can create the most memorable dishes.
Ingredients for Koda Farms Sweet Rice
Simple yet luxurious ingredients create this elegant coconut-infused dessert base with signature chewy texture.
| Ingredient | Amount | Notes |
|---|---|---|
| Koda Farms Sweet Rice 🌾 | 1 ½ cups | Rinsed until water runs clear |
| Full-Fat Coconut Milk 🥥 | 1 can | 13.5 oz can, well shaken |
| Granulated Sugar 🍚 | ⅓ cup | Adjust to taste preference |
| Water 💧 | 2 cups | For cooking rice base |
| Vanilla Extract 🌿 | 1 tsp | Pure extract preferred |
| Salt 🧂 | ¼ tsp | Fine sea salt |
| Unsalted Butter 🧈 | 2 tbsp | For finishing richness |
| Toasted Coconut Flakes 🥥 | ¼ cup | For garnish, optional |
| Heavy Cream 🥛 | ¼ cup | For creaminess, optional |
| Lime Zest 🍋 | 1 tsp | Freshly grated for brightness |
The Koda Farms sweet rice is non-negotiable here—its unique short-grain variety delivers that signature chew. Find it at Asian markets or specialty grocers like Whole Foods. The rice must be rinsed thoroughly until the water runs completely clear (worth the extra minute). For coconut milk, Thai Kitchen or Native Forest brands offer consistent full-fat richness that absorbs properly into the grains.
No Koda Farms rice? Japanese sweet rice or glutinous rice at one-to-one ratio works as substitute. For a lighter version, light coconut milk can be used but texture suffers slightly. The sugar amount is flexible—start with less, taste, then add more. Vanilla can be swapped for almond extract at half the quantity for a different aromatic profile. Butter can be replaced with coconut oil for dairy-free.
Store uncooked rice in an airtight container in a cool, dry place for up to 1 year. Once cooked, this keeps 3-4 days refrigerated. Reheat gently with a splash of water or coconut milk to restore creaminess. Best served warm but equally delightful at room temperature.
Why You’ll Love This Recipe
- One Pot Wonder: I just dump the rice, coconut milk, sugar, and water in a pot—no fancy steps, and it practically cooks itself.
- Creamy Vanilla Dream: The full-fat coconut milk and vanilla create this rich, velvety texture that’s honestly hard to resist.
- Breakfast or Dessert: I serve it warm for breakfast with fruit, or chilled as a pudding—my kids don’t even realize it’s the same dish.
- Keeps Like a Champ: Leftovers stay creamy in the fridge for days, and I’ll be real: I’ve eaten it straight from the container.
Step-by-Step Instructions for Chewy Coconut-Infused Sweet Rice
This method ensures perfectly tender grains with rich coconut flavor and a delicate sweetness.
Step 1: Rinse and Prepare the Sweet Rice
Place the 1.5 cups Koda Farms Sweet Rice in a fine-mesh strainer and rinse under cold running water, agitating with your hands, until the water runs completely clear. This removes excess starch that could make the final dish gummy rather than pleasantly chewy.
Drain the rice thoroughly in the strainer, then transfer it to a medium saucepan. The grains should be separate and free of any cloudy residue. Proper rinsing is essential for achieving the ideal texture in this dish.
Step 2: Combine Liquids and Begin Cooking
Add the 2 cups Water and 1 can Full-Fat Coconut Milk to the saucepan with the rice. Stir in the 0.33 cup Granulated Sugar and 0.25 tsp Salt until both are fully dissolved. The sugar should incorporate completely without any visible grains.
Place the saucepan over medium-high heat and bring to a gentle boil. Watch for small bubbles to form around the edges of the pan before the mixture comes to a full rolling boil. This gradual heating prevents scorching at the bottom.
Step 3: Simmer Until Rice is Tender
Once boiling, reduce the heat to low and cover the saucepan with a tight-fitting lid. Allow the mixture to simmer for 20-25 minutes, stirring occasionally to prevent sticking. You’ll notice the liquid transforming into a creamy porridge as the rice absorbs the coconut milk.
The rice is done when the grains are tender but still retain a slight bite, and most of the liquid has been absorbed. The mixture should look thick and creamy, similar to a loose risotto. If it appears too thick before the rice is fully cooked, add a splash of water and continue simmering.
Step 4: Finish with Aromatics and Texture
Remove the saucepan from heat and stir in the 1 tsp Vanilla Extract and 2 tbsp Unsalted Butter until both are fully incorporated. The butter should melt completely into the warm rice, adding a rich, velvety finish to the dish.
Let the sweet rice rest, covered, for 5 minutes. This allows the flavors to meld together and the texture to set slightly. The final consistency should be creamy with distinct, chewy grains of rice suspended throughout.
Step 5: Serve with Optional Garnishes
Transfer the coconut-infused sweet rice to serving bowls. For added richness and texture, drizzle each portion with 0.25 cup Heavy Cream and sprinkle with 0.25 cup Toasted Coconut Flakes and 1 tsp Lime Zest. The lime zest adds a bright, citrusy contrast to the creamy sweetness.
The toasted coconut flakes should be golden and fragrant, providing a satisfying crunch against the soft rice. Serve warm for the best experience, as the flavors intensify slightly when the dish is freshly prepared.
Pro Tips For Making Koda Farms Sweet Rice
- Soak the Rice: I learned this the hard way—soak the Koda Farms sweet rice for at least 4 hours (or overnight) before cooking. It cuts the cooking time in half and prevents that gummy, uneven texture.
- Use Full-Fat Coconut Milk: Skip the light versions; full-fat coconut milk gives the rice that rich, creamy consistency that makes the dish worth making. The lower-fat kinds just don’t deliver the same depth.
- Watch the Simmer: Keep the heat at a gentle simmer—too high and the coconut milk will separate or scorch. I burned two batches before I got the hang of this.
- Add Vanilla Last: Stir in the vanilla extract after the rice is cooked and off the heat. Adding it too early lets the alcohol cook off, and you’ll lose that warm, aromatic flavor.
Essential Equipment for This Dish
Rice Cooker
A high-quality rice cooker takes the guesswork out of this dish. I use my Zojirushi Neuro Fuzzy—it automatically adjusts heat for perfect texture. The non-stick pot makes cleanup effortless, and the 1.5 cup capacity is ideal for this recipe. 💡
Fine-Mesh Strainer
Rinsing the rice thoroughly is crucial, and a fine-mesh strainer prevents grains from slipping through. I prefer the OXO Good Grips model with a sturdy handle. It fits perfectly over my sink and handles the volume of rice in this recipe.
Medium Saucepan
If cooking on the stovetop, use a heavy-bottomed saucepan with a tight-fitting lid. I swear by my All-Clad 3-quart—it distributes heat evenly and prevents scorching. The straight sides make it easy to monitor the rice as it absorbs the coconut milk.
Wooden Spoon
A wooden spoon won’t scratch your cookware and gently stirs the rice without breaking the grains. I keep a 12-inch bamboo spoon dedicated to my rice dishes. It’s long enough to reach the bottom of deep pots and strong enough to handle thick mixtures.
Microplane
For the lime zest, a Microplane grater removes just the flavorful outer layer without the bitter pith. I use mine almost daily—it’s perfect for citrus, nutmeg, or even garlic. The fine, fluffy texture it creates blends beautifully into the finished dish. ✨
Mixing Bowls
Have a few mixing bowls ready for prepping ingredients. I love Pyrex glass bowls because they’re microwave-safe and easy to clean. A 2-quart bowl is perfect for rinsing and draining the rice before cooking.
Nutrition Facts
Frequently Asked Questions
Can I use regular rice instead?
No, regular rice won’t give the same chewy texture. Japanese sweet rice or glutinous rice works as a 1:1 substitute.
How do I know when it’s done?
The rice should be tender with a slight bite after 20-25 minutes of simmering. Most liquid will be absorbed, leaving a creamy consistency.
Can I make this ahead?
Yes, it keeps 3-4 days refrigerated. Reheat gently with a splash of water or coconut milk to restore creaminess.

- Mujadara Rice and Lentils Recipe: Earthy Spiced Lentils With Caramelized Onions - November 1, 2026
- Naija Fried Rice Recipe: Street-Style Spice With Veggie Crunch - November 1, 2026
- Mushy Rice Recipe: Fluffy Grains Transformed in Minutes - November 1, 2026