
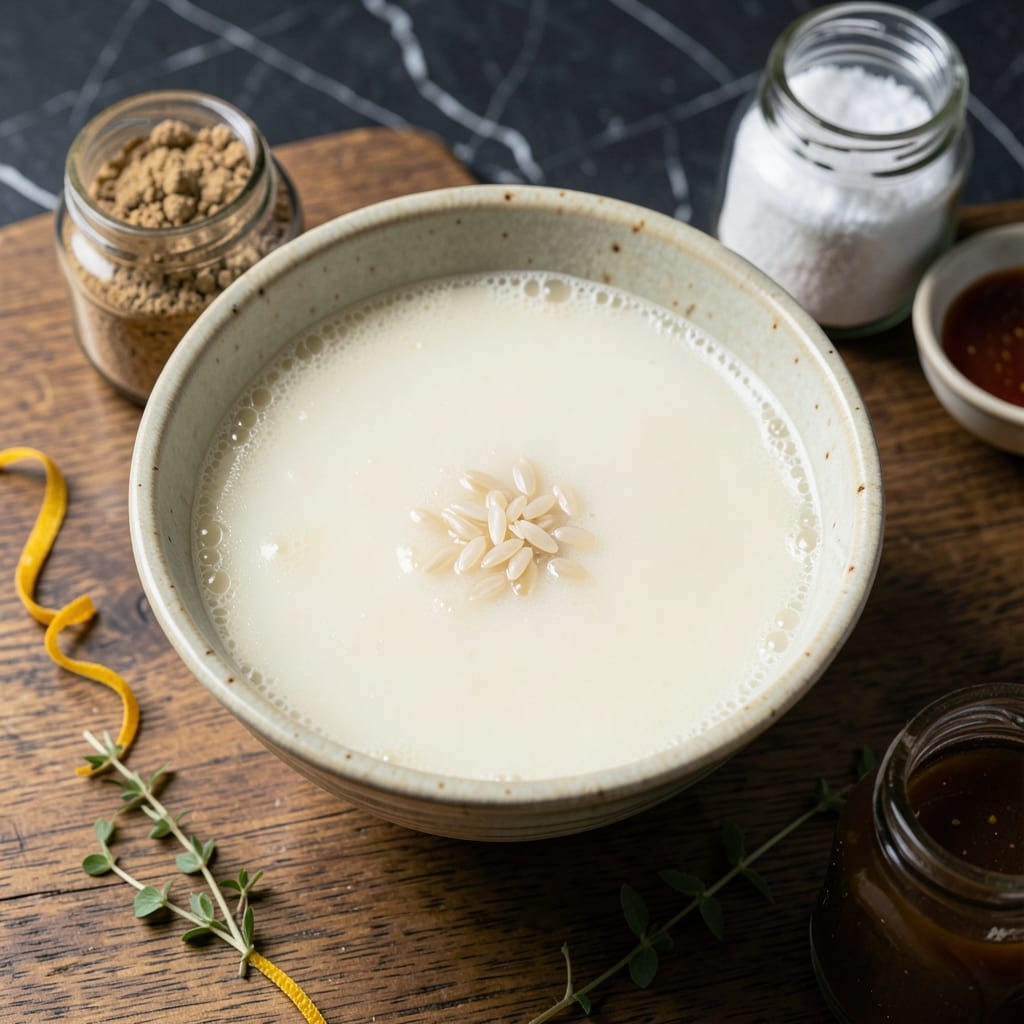
Fermenting your own Korean rice wine at home transforms simple ingredients into a complex, aromatic liquid with layers of flavor. This traditional method yields a clean, slightly sweet beverage that improves with age.
Using only rice, water, and a starter culture, the process develops natural sweetness and depth through slow fermentation. The key is maintaining consistent temperatures and proper sanitation throughout.
The result is a versatile liquid that works beautifully in cooking or sipping. It captures the essence of Korean culinary tradition in a single jar.
Patience is required, but the reward is a homemade rice wine that surpasses commercial versions in both flavor and authenticity.
Ingredients for Korean Rice Wine
Traditional fermentation requires only rice, water, and culture. Clean, complex, authentic results every time.
| Ingredient | Amount | Notes |
|---|---|---|
| Short-Grain White Rice 🍚 | 4 cups | Rinsed thoroughly, preferred Korean variety |
| Water 💧 | 10 cups | Filtered or distilled for purity |
| Nuruk 🌾 | ½ cup | Traditional Korean fermentation starter |
| Koji 🌱 | ¼ cup | Optional, enhances fermentation |
| Sugar 🍚 | 2 tbsp | Organic white or raw cane |
| Yeast 🍷 | ¼ tsp | Wine or champagne yeast preferred |
| Salt 🧂 | ½ tsp | Sea salt or kosher salt |
The rice is the foundation—short-grain white rice yields the best texture and fermentable sugars. Korean brands like Ssanggyesa or any glutinous variety work perfectly. Nuruk, the traditional starter, is non-negotiable for authenticity and can be found at Korean markets or online. Water quality matters: filtered or distilled prevents unwanted bacteria that could spoil the batch.
No nuruk? Koji rice can substitute but may yield a milder flavor. Wine yeast (Lalvin EC-1118) works in a pinch but lacks the complexity of traditional methods. One-third the amount of yeast if using as a nuruk replacement. The sugar isn’t strictly necessary—rice provides enough starch—but it helps kickstart fermentation for beginners.
Store the finished wine in glass jars with airlocks for up to 1 year. Refrigerate after opening and consume within 1 month. The flavor deepens over time, so resist the urge to taste early—patience is truly rewarded here.
Why You’ll Love This Recipe
- Minimal Effort: I just mix rice, water, and nuruk, then let time do the work—no constant stirring or fancy equipment.
- Sweet & Tangy: That subtle sweetness from the koji and sugar balances the earthy nuruk perfectly.
- Endlessly Useful: I use it in marinades, cocktails, or even sip it warm on chilly evenings.
- Budget Stretcher: A bag of short-grain rice and a little nuruk make gallons of this for pennies per batch.
Step-by-Step Instructions for Korean Rice Wine
Master this traditional fermentation process for a clean, aromatic homemade brew.
Step 1: Prepare and Steam the Rice
Rinse the 4 cups short-grain white rice thoroughly under cold water until the water runs clear. This removes excess starch that could inhibit fermentation. Drain completely, then transfer to a steamer basket lined with cheesecloth to prevent sticking.
Steam the rice over boiling water for 30-35 minutes until it reaches a soft, sticky consistency. You’re aiming for grains that clump together when pressed but retain their shape. Test by biting into a grain—it should be fully cooked with no hard center. Let it cool to room temperature before proceeding.
Step 2: Create the Fermentation Starter
In a sanitized bowl, combine the steamed rice with 0.5 cup nuruk and 0.25 cup koji. The nuruk should be crumbly and fragrant—this is your primary fermentation agent. Use your hands to mix thoroughly, breaking up any rice clumps and ensuring even distribution of the starters.
Add the 2 tbsp sugar, 0.25 tsp yeast, and 0.5 tsp salt. The sugar provides immediate food for the yeast, while the salt helps control unwanted bacteria. Mix again until all ingredients are fully incorporated. You should see the rice grains glistening with moisture from the starters.
Step 3: Initial Fermentation Phase
Transfer the mixture to a sanitized glass jar with a lid. Press down gently to remove air pockets, but leave at least 2 inches of headspace to accommodate expansion. Cover with a clean kitchen towel or loose lid to allow airflow while keeping out contaminants.
Store at room temperature, ideally between 68-72°F, for 24-48 hours. You’ll notice the mixture beginning to bubble and develop a slightly sweet, yeasty aroma. This is the starter culture activating. Stir once daily to distribute heat and prevent mold formation on the surface.
Step 4: Secondary Fermentation with Water
After the initial fermentation, pour in the remaining 10 cups water. Use filtered or distilled water to avoid chlorine, which can inhibit fermentation. Stir vigorously to break up the rice mixture and create a uniform liquid with some suspended solids.
Reseal the jar with a lid, but don’t tighten it completely—fermentation gases need to escape. Return to room temperature for 7-10 days. You’ll see active bubbling within the first day, and the liquid will gradually turn from cloudy to slightly translucent as the rice starches convert to alcohol.
Step 5: Strain and Age the Wine
After the secondary fermentation, strain the liquid through a fine-mesh sieve lined with cheesecloth into a clean jar. Gently press the solids to extract all liquid, but avoid squeezing, which can make the wine bitter. Discard the spent rice.
Seal the jar with a lid and let the wine age in the refrigerator for at least 1 month. This resting period allows the flavors to mellow and the sediment to settle. The finished wine should be clear with a clean, slightly sweet aroma and a smooth, slightly tangy flavor profile. Serve chilled for best results.
Pro Tips For Making Korean Rice Wine
- Rinse the Rice: Wash the short-grain rice until the water runs clear to remove excess starch—I learned this the hard way when my first batch turned out murky and off-flavored.
- Use Filtered Water: Tap water can introduce unwanted minerals that mess with fermentation, so filtered or spring water actually changes the outcome.
- Avoid Metal Utensils: Metal can react with the nuruk or koji, so stick to glass, ceramic, or wood when mixing or storing your rice wine.
- Keep It Warm: Maintain a steady 68-75°F during fermentation—any colder and the process stalls, any hotter and you risk killing the good microbes.
Dietary Considerations for korean rice wine
Gluten-Free Status
This homemade version is naturally gluten-free when using pure nuruk and koji without wheat additives. Always verify your starter cultures are certified gluten-free, as some commercial nuruk blends may contain wheat-based starters. I source mine from Korean grocery stores that label their products clearly.
Vegan and Vegetarian
Traditional Korean rice wine is inherently vegan and vegetarian-friendly. The fermentation process uses no animal products—just rice, water, and microbial cultures. Even the optional yeast and sugar are plant-derived or synthetic, making this suitable for all plant-based diets. 🌱
Alcohol Content Note
The final product contains 12-15% alcohol by volume, similar to wine. Those avoiding alcohol for health, religious, or personal reasons should opt for non-alcoholic alternatives like rice vinegar or sikhye (sweet rice drink). The fermentation time directly affects alcohol levels—longer aging increases potency.
Low-Sugar Option
To reduce sugar content, omit the 2 tbsp sugar entirely. The rice starches provide enough fermentable material, though the process may take 1-2 extra days to complete. The resulting wine will be less sweet but equally complex, with more pronounced yeasty and earthy notes.
Allergen Considerations
The primary allergen risk comes from the nuruk or koji, which may contain traces of soy or wheat depending on the manufacturer. For those with severe allergies, consider making your own nuruk using only rice and wild yeast. Always check labels carefully.
Sodium Control
The recipe includes just 0.5 tsp salt, making it low-sodium by most standards. For a completely salt-free version, simply omit it—the fermentation will proceed normally. I often reduce it to ¼ tsp when using particularly flavorful nuruk that already has a salty tang. 💡
Nutrition Facts
Frequently Asked Questions
Can I use regular rice instead of short-grain?
Short-grain is ideal for its sticky texture and starch content. Long-grain may work but yields a thinner, less flavorful result. For best outcomes, stick with Korean short-grain or glutinous rice.
How long does fermentation take?
Initial phase takes 24-48 hours, followed by 7-10 days for secondary fermentation. Aging in the fridge for at least 1 month develops the best flavor. Patience is key!
What if I don’t have nuruk?
You can substitute with koji rice or wine yeast, though the flavor will differ. Use 1/3 the amount of yeast and expect a milder profile. Nuruk is traditional for authentic taste.
How should I store the finished wine?
Keep in a sealed glass jar in the fridge for up to 1 year. Once opened, consume within 1 month. The flavor deepens over time, so resist early tasting!

- Mujadara Rice and Lentils Recipe: Earthy Spiced Lentils With Caramelized Onions - November 1, 2026
- Naija Fried Rice Recipe: Street-Style Spice With Veggie Crunch - November 1, 2026
- Mushy Rice Recipe: Fluffy Grains Transformed in Minutes - November 1, 2026