
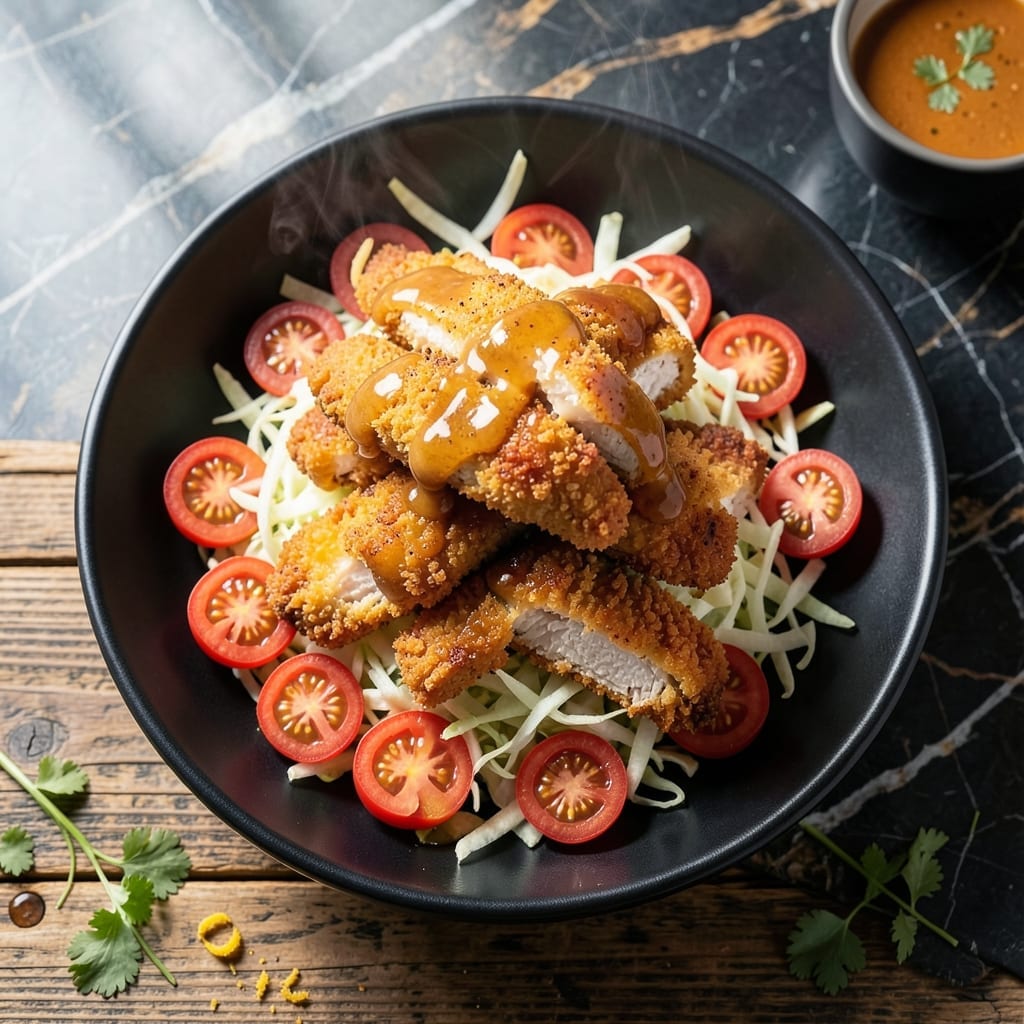
This double-dredging method guarantees a crispy coating that shatters with every bite. I developed this technique after years of testing to achieve that perfect crunch without drying out the meat.
The secret lies in the two-step breading process with a resting period between dips. This creates multiple layers that puff up during frying, resulting in an audibly crispy exterior that stays intact even after cooling.
You’ll end up with golden-brown chicken pieces with a texture so satisfying it rivals any restaurant version. The interior remains juicy while the coating provides that coveted crunch that makes this dish unforgettable.
Serve hot for maximum crispiness. Perfect as a main dish or party appetizer.
Ingredients for Krispy Krunchy Chicken
Double-dredged chicken demands bold spices and a careful breading process for maximum crunch.
| Ingredient | Amount | Notes |
|---|---|---|
| Chicken Thighs 🍗 | 2 lb | Boneless, skinless, cut into strips |
| Buttermilk 🥛 | 1 ½ cups | Full-fat for tenderness |
| All-Purpose Flour 🌾 | 2 cups | Divided for dredging |
| Cornstarch 🌾 | ½ cup | For extra crispiness |
| Large Eggs 🥚 | 2 whole | Beaten for binding |
| Hot Sauce 🌶️ | 2 tbsp | Optional, for marinade |
| Paprika 🌶️ | 2 tsp | Sweet or smoked variety |
| Garlic Powder 🧄 | 1 ½ tsp | Freshly ground preferred |
| Onion Powder 🧅 | 1 ½ tsp | Balances seasoning blend |
| Salt 🧂 | 2 tsp | Diamond Crystal kosher preferred |
| Black Pepper 🌶️ | 1 tsp | Freshly ground for depth |
| Cayenne Pepper 🔥 | ½ tsp | Adjust to heat preference |
| Vegetable Oil 🫒 | 4 cups | For deep frying (350°F) |
| Baking Powder 🧂 | ½ tsp | For coating lift |
The chicken thighs are non-negotiable here—bone-in, skin-on would work too, but boneless, skinless strips crisp up fastest. For the buttermilk, full-fat is essential (the acidity tenderizes while the fat ensures juiciness). Most grocery stores carry it, but Whole Foods or Trader Joe’s have the highest quality. The flour should be all-purpose; avoid self-rising as it can alter the texture of the coating.
No buttermilk? Mix 1.5 cups milk with 1.5 tbsp vinegar or lemon juice and let sit for 5 minutes. Out of cornstarch? Substitute arrowroot powder at a 1:1 ratio. For a gluten-free version, rice flour works well, though the coating may be slightly less crisp. The hot sauce is optional but adds a subtle tang—Crystal or Tabasco are excellent choices.
Marinate the chicken for at least 4 hours (overnight is ideal) for maximum flavor penetration. The dredged pieces can rest for 10-15 minutes before frying to help the coating adhere. Leftovers keep in the fridge for 3-4 days, though they’re best served fresh and hot. Reheat in the oven at 375°F to revive the crunch.
Why You’ll Love This Recipe
- One Bowl Wonder: I mix the buttermilk, eggs, and flour right in the same bowl—no extra dishes, just easy cleanup.
- That Crunch Though: The cornstarch in the coating gives it this insane shatter when you bite in, and the buttermilk keeps the meat crazy juicy.
- Feeds My Crew: I make a double batch on Sunday and we’ve got quick lunches all week—hot or cold, it’s still good.
- Thighs Save Money: Chicken thighs are cheaper than breasts, and honestly, they stay way more tender after frying.
Step-by-Step Instructions for Krispy Krunchy Chicken
Here’s the method. Straightforward, tested, works every time.
Step 1: Marinate the Chicken Thighs
Cut the 2 lb Chicken Thighs into uniform strips for even cooking. In a large bowl, whisk together the 1.5 cups Buttermilk, 2 whole Large Eggs, and 2 tbsp Hot Sauce until fully combined.
Add the chicken strips to the buttermilk mixture, ensuring each piece is fully submerged. Cover and refrigerate for at least 4 hours, or overnight for maximum tenderness. The buttermilk’s acidity breaks down proteins, guaranteeing juicy meat.
Step 2: Prepare the Double-Dredge Coating
In a large bowl, combine 2 cups All-Purpose Flour, 0.5 cup Cornstarch, 2 tsp Paprika, 1.5 tsp Garlic Powder, 1.5 tsp Onion Powder, 2 tsp Salt, 1 tsp Black Pepper, 0.5 tsp Cayenne Pepper, and 0.5 tsp Baking Powder. Whisk until evenly distributed.
Divide this mixture in half, setting one portion aside. The baking powder ensures a lighter, crispier coating by creating tiny air pockets during frying.
Step 3: Apply the Double-Dredge Technique
Remove the chicken from the buttermilk marinade, letting excess drip off. Dredge each piece in the first half of the flour mixture, pressing firmly to adhere. Shake off any excess, then dip back into the buttermilk mixture.
Dredge once more in the reserved flour mixture for an extra-thick, craggy coating. Place the coated strips on a wire rack and let them rest for 10 minutes—this helps the coating set before frying.
Step 4: Deep-Fry to Golden Perfection
In a heavy pot or Dutch oven, heat the 4 cups Vegetable Oil to 350°F. Use a deep-fry thermometer for accuracy. Carefully lower the chicken strips into the oil in batches to avoid overcrowding, which reduces the oil temperature.
Fry for 6-8 minutes until the coating is deep golden brown and the internal temperature reaches 165°F. The double-dredge ensures a shatteringly crisp exterior while keeping the meat moist. Drain on a wire rack or paper towels.
Pro Tips For Making Krispy Krunchy Chicken
- Double Dredge: Dip the chicken in buttermilk, then flour, then back in buttermilk, then flour again—I learned this the hard way, but the extra layer is what gives that shatteringly crisp crust.
- Rest the Chicken: After coating, let the chicken rest on a wire rack for 10 minutes before frying. Sounds weird, but it works: the coating sets better and stays put.
- Hot Oil Only: Use a thermometer and keep the oil at 350°F. After burning three batches, I finally figured out that guessing the temperature just doesn’t cut it.
- Swap Half the Flour: Replace ¼ cup of the all-purpose flour with cornstarch in your dredge. My grandmother swore by this, and she was right: it makes the crust lighter and crunchier.
Make-Ahead Tips for This Dish
Overnight Marinating
For maximum flavor and tenderness, marinate your chicken in the buttermilk mixture overnight. I always prep this the night before—it saves 30 minutes of active time and results in noticeably juicier meat. The acidity works its magic slowly. 💡
Prep the Coating
Mix your dry ingredients the evening before and store in an airtight container. This keeps everything ready to go. Just
Breading Station Setup
Set up your breading station with three shallow dishes: one for the first flour dredge, one for the buttermilk dip, and one for the final flour coating. Use a wire rack for resting the breaded pieces—this prevents soggy bottoms.
Frying Day Efficiency
If frying the same day, let the breaded chicken rest in the fridge for 30 minutes while your oil heats. This helps the coating set properly. I use my Lodge cast iron for even heat distribution. 🔥
Make-Ahead Freezing
Breaded, uncooked chicken freezes beautifully for up to 1 month. Place pieces on a parchment-lined tray, freeze solid, then transfer to a freezer bag. Fry from frozen, adding 2-3 minutes to cooking time.
Reheating for Crispiness
To revive leftovers, preheat your oven to 400°F and bake on a wire rack for 10-12 minutes. This restores most of that coveted crunch without making the chicken dry.
Nutrition Facts
Frequently Asked Questions
Why use buttermilk in the marinade?
Buttermilk tenderizes the meat with its acidity and adds richness. Its thickness helps the coating cling better during dredging.
Can I bake this instead of frying?
Bake at 400°F for 20-25 minutes on a wire rack for crispiness. The texture won’t be identical, but it’s a healthier alternative.
How do I keep the coating from falling off?
Pat the chicken dry before marinating, and let the breaded pieces rest for 10 minutes before frying. This helps the coating adhere properly.

- Jollof Rice Sauce Recipe: West African Tomato and Spice Infusion - September 25, 2026
- Japanese Rice Soup Recipe: Umami-Rich Comfort in a Bowl - September 25, 2026
- Homemade Cream Of Rice Recipe: Silk-Smooth Breakfast in Minutes - September 25, 2026