
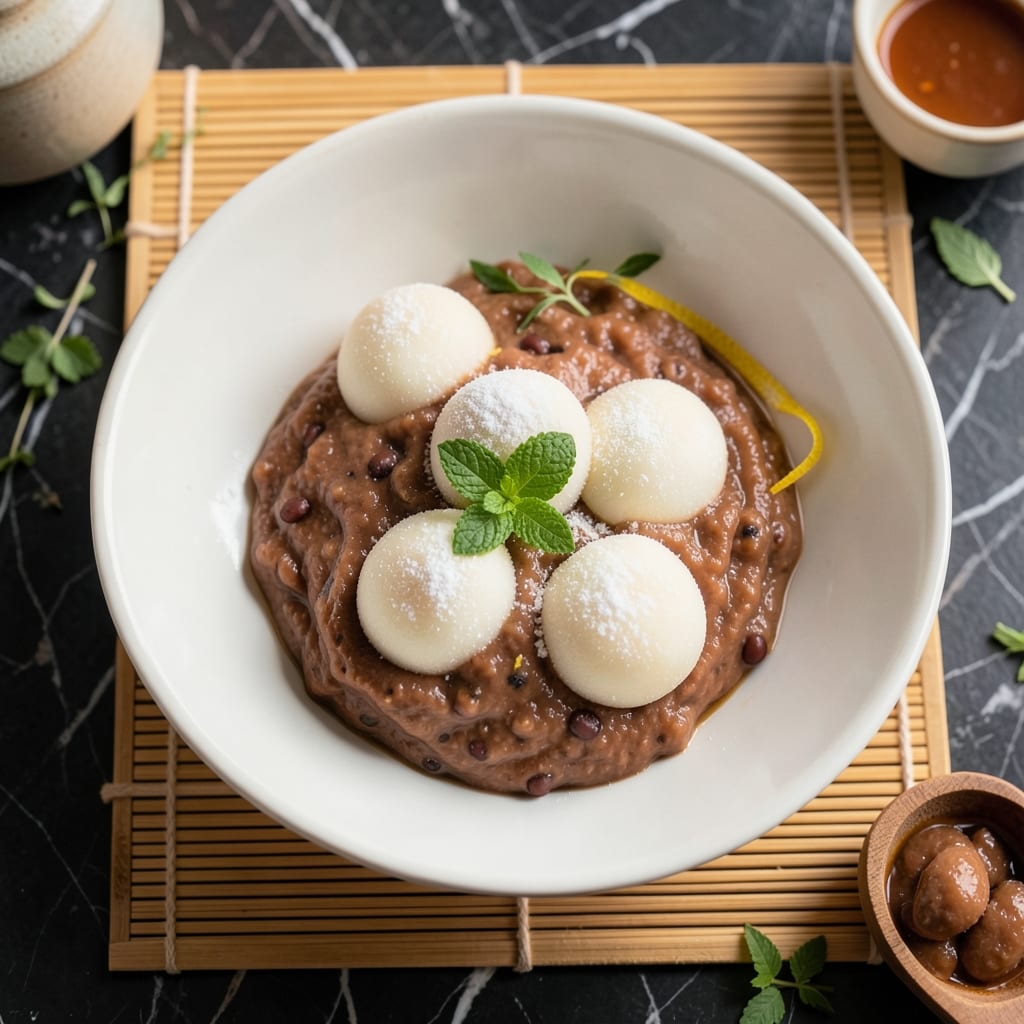
There’s a unique satisfaction in crafting homemade mochi that simply can’t be matched by store-bought versions. This recipe delivers soft, chewy centers with sweet fillings that melt in your mouth.
The technique involves steaming glutinous rice flour until it becomes elastic, then shaping it around your favorite sweet filling. The process is surprisingly straightforward once you understand the texture cues to watch for.
What emerges is a delicate balance of chewy exterior and gooey center, with each bite offering a perfect ratio of rice to filling. The hands-on nature of shaping these balls makes the process as rewarding as the final product.
Customize with red bean paste, custard, or fruit for endless variations. The results are consistently impressive.
Ingredients for Mochi Rice Balls
Simple pantry ingredients transform into these pillowy, sweet-filled delights with minimal effort.
| Ingredient | Amount | Notes |
|---|---|---|
| Glutinous Rice Flour 🌾 | 1 ½ cups | Also called sweet rice flour |
| Granulated Sugar 🍚 | ½ cup | Adjust to taste preference |
| Water 💧 | 1 ¼ cups | Warm for better dissolution |
| Cornstarch 🌾 | ¼ cup | For dusting work surface |
| Red Bean Paste 🍡 | ¾ cup | Sweetened adzuki bean paste |
| Potato Starch 🥔 | 2 tbsp | Alternative to cornstarch |
| Matcha Powder 🍵 | 1 tsp | Optional for green tea flavor |
| Coconut Milk 🥥 | ¼ cup | Full-fat for creaminess |
| Vanilla Extract 🌿 | 1 tsp | Pure extract recommended |
| Salt 🧂 | ¼ tsp | Fine sea salt preferred |
| Vegetable Oil 🫒 | 1 tbsp | Neutral flavor for greasing |
The glutinous rice flour is non-negotiable—look for Mochiko brand at Asian markets or the international aisle. It’s different from regular rice flour, so don’t substitute. For the red bean paste, Kikkoman or Shiraan brands are widely available and consistently good. If you’re making a big batch, H Mart or 99 Ranch have both in bulk. Always check the label for added sugars if you prefer to control sweetness yourself.
No red bean paste? Sweetened custard or fruit jam work beautifully—just keep the filling thick so it doesn’t ooze. Matcha powder can be swapped for cocoa powder or food coloring for different flavors and colors. The coconut milk adds richness, but oat milk or almond milk can work in a pinch (though the texture won’t be quite as tender). Skip the vanilla if you’re going for pure traditional flavor.
Store the flour in an airtight container in a cool, dark place for up to 1 year. Red bean paste keeps for 2 weeks in the fridge once opened. The finished mochi are best eaten fresh but can be refrigerated for 3 days in a sealed container—just bring to room temperature before serving.
Why You’ll Love This Recipe
- Five Ingredients: I love that this only needs glutinous rice flour, sugar, water, cornstarch, and red bean paste—no fancy shopping required.
- Sweet & Chewy: The soft, stretchy texture with that burst of sweet red bean paste in the center is ridiculously addictive.
- Party or Snack: I make these for potlucks, but honestly, they’re just as good as a midnight treat.
- Budget Stretcher: A bag of rice flour makes dozens, and they keep well for days—my wallet thanks me every time.
Step-by-Step Instructions for Mochi Rice Balls
Master the technique and you’ll create perfectly chewy mochi with luscious sweet centers every time.
Step 1: Prepare the Mochi Dough Base
In a microwave-safe bowl, whisk together the 1.5 cups glutinous rice flour, 0.5 cup granulated sugar, and 0.25 tsp salt. Gradually pour in the 1.25 cups water while stirring continuously until no dry spots remain. The mixture should be smooth and slightly translucent.
Microwave the bowl on high power for 2 minutes, then stir vigorously with a wet spatula (the dough will be extremely sticky). Return to the microwave for another 1-2 minutes until the dough becomes stretchy and nearly translucent. At this point, it should pull away from the sides of the bowl slightly.
Step 2: Incorporate Flavor Variations
Divide the cooked dough into portions if making multiple flavors. For matcha mochi, knead the 1 tsp matcha powder into one portion until evenly distributed and the dough turns a uniform green. For coconut flavor, work in the 0.25 cup coconut milk and 1 tsp vanilla extract to another portion until fully incorporated.
I use a stand mixer with a dough hook for this step to save my arms—the dough is quite resistant at first but becomes smoother as you work it. If the dough feels too sticky, wet your hands with water before handling. The final texture should be elastic and slightly bouncy when pressed.
Step 3: Shape and Fill the Mochi
Dust your work surface generously with 0.25 cup cornstarch or 2 tbsp potato starch to prevent sticking. Divide the dough into 12 equal portions (about 1.5 oz each) and roll each into a smooth ball. Flatten a ball in your palm to create a thin circle, about 3 inches in diameter.
Place 1 tsp red bean paste in the center of each flattened dough circle. Pinch the edges together to seal completely, then roll gently between your palms to reshape into a smooth ball. The seal must be tight to prevent the filling from leaking during cooking. If the dough tears, patch it with a bit of extra dough.
Step 4: Finish and Store Properly
Lightly brush each completed mochi with 1 tbsp vegetable oil to add shine and prevent sticking. Let them rest on a parchment-lined tray for 10 minutes to set slightly. The surface should become just tacky enough to hold its shape but still soft to the touch.
Store in an airtight container at room temperature for up to 3 days, with parchment paper between layers to prevent sticking. For longer storage, refrigerate for up to 1 week or freeze for 1 month. Bring to room temperature before serving for the best texture—cold mochi loses its signature chewiness.
Pro Tips For Making Mochi Rice Balls
- Microwave in Bursts: Cook the dough in 1-minute microwave bursts and stir between each—I learned this the hard way after my first batch came out rubbery from uneven heating.
- Dust Generously: Coat your hands and work surface with cornstarch, and reapply often; the dough sticks like crazy, and this is the only thing that keeps it manageable.
- Skip Cold Water: Use warm water for the dough mixture, about 110°F, or your mochi will turn out dense and crack when shaping.
- Portion Small: Make the red bean paste filling no larger than 1 teaspoon per ball—any bigger and the mochi won’t seal properly, no matter how much you stretch the dough.
Storing and Reheating mochi rice balls
Room Temperature Storage
Let your mochi cool completely after shaping. Store in an airtight container with parchment between layers to prevent sticking. At room temperature, they stay fresh and chewy for up to 3 days. I love how the flavors meld during this time. ❄️
Refrigerator Storage
For longer freshness, refrigerate in the same airtight container setup. They’ll keep for up to 1 week, but the texture becomes firmer. To restore chewiness, let them sit at room temperature for 30 minutes before serving.
Freezing for Later
Freeze mochi on a parchment-lined tray first, then transfer to a freezer bag. They’ll stay good for 1 month. Thaw overnight in the fridge, then bring to room temperature. Avoid microwaving, as it makes them rubbery.
Reheating Tips
Steam refrigerated or thawed mochi for 2-3 minutes to revive their softness. I use a bamboo steamer over simmering water for best results. This method restores the perfect chewy texture every time. 🔥
Preventing Stickiness
Always dust mochi with cornstarch or potato starch before storing. This creates a barrier that keeps them from sticking together. Re-dust lightly if they seem tacky after storage.
Nutrition Facts
Frequently Asked Questions
Can I use regular rice flour instead?
No, regular rice flour won’t work. You need glutinous rice flour (like Mochiko brand) for the signature chewy texture. Regular flour lacks the elasticity and will crumble.
How do I prevent the filling from leaking?
Seal the edges tightly when shaping. Make sure the dough circle is thin enough to wrap completely around the 1 tsp filling. Patch any tears immediately.
Why did my mochi turn out hard?
Overcooking or using too much starch can make it tough. Microwave in 1-2 minute bursts and dust lightly with cornstarch. Work quickly while the dough is warm.
Can I make these ahead of time?
Yes! They keep for 3 days at room temperature or 1 month frozen. Store between parchment layers in an airtight container to prevent sticking.

- Lump Rice Recipe Sri Lanka: Traditional Island-Style Texture - November 4, 2026
- Laos Sticky Rice Recipe: Traditional Steamed Perfection - November 4, 2026
- Magic Rice Recipe: One-Pot Aromatic Wonder - November 4, 2026