
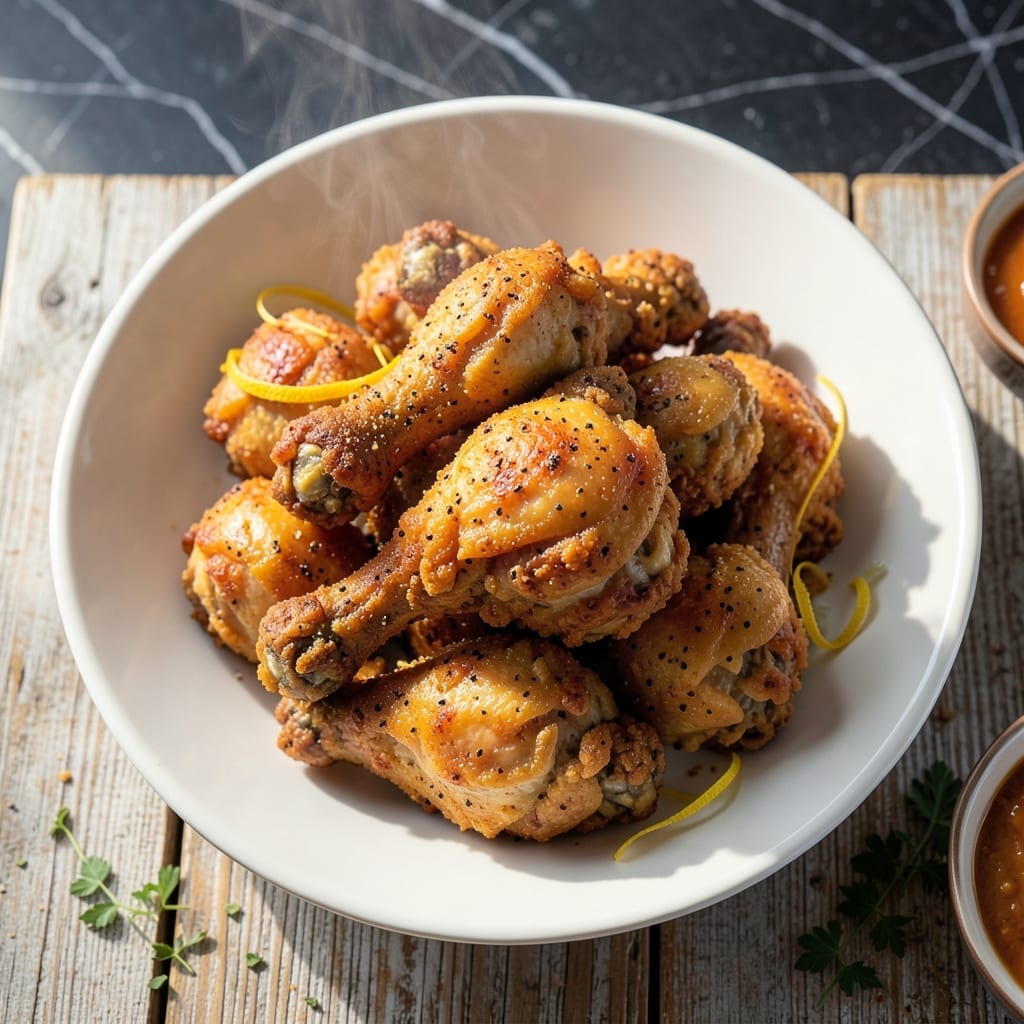
There’s nothing quite like the crispy, golden-brown crust of old-fashioned fried chicken, with meat so juicy it practically melts off the bone. This method stays true to tradition, using a simple but precise approach to achieve that signature texture and flavor.
The secret lies in the double-dipping process and maintaining the right oil temperature. A well-seasoned flour coating creates a shatteringly crispy exterior, while hot oil ensures the chicken cooks through evenly without drying out.
Each bite delivers that perfect contrast: a juicy, tender interior protected by a perfectly seasoned, crispy shell. The result is fried chicken that tastes just like the classic versions from generations past.
Serve it hot for the best experience, straight from the fryer to the table. This is comfort food at its finest.
Ingredients for Old Fashioned Fried Chicken
Classic ingredients for that perfect crispy exterior and juicy interior everyone loves.
| Ingredient | Amount | Notes |
|---|---|---|
| Chicken Thighs 🍗 | 2 ½ lb | Bone-in, skin-on for crispiness |
| Chicken Drumsticks 🍗 | 1 ½ lb | Skin-on for best texture |
| All-Purpose Flour 🌾 | 3 cups | For double-dredging coating |
| Buttermilk 🥛 | 2 cups | Full-fat for tenderness |
| Kosher Salt 🧂 | 1 tbsp | Diamond Crystal preferred |
| Freshly Ground Black Pepper 🌶️ | 1 tbsp | Coarse grind recommended |
| Paprika 🌶️ | 2 tsp | Sweet or smoked variety |
| Garlic Powder 🧄 | 1 tbsp | Not garlic salt substitute |
| Onion Powder 🧅 | 1 tbsp | Fine grind preferred |
| Cayenne Pepper 🔥 | ½ tsp | Adjust for heat preference |
| Vegetable Shortening 🫒 | 4 cups | Crisco brand recommended for frying |
| Peanut Oil 🫒 | 2 cups | High smoke point alternative |
The chicken needs to be bone-in, skin-on for authentic texture. Costco has great bulk packs of thighs and drumsticks, but any grocery store will do. For the flour, White Lily is traditional in Southern cooking for its lower protein content—creates a lighter crust. Buttermilk is non-negotiable; its acidity tenderizes the meat while helping the coating adhere.
No buttermilk? Whole milk with 1 tbsp vinegar or lemon juice per cup works in a pinch. Out of shortening? Lard (if you’re not vegetarian) or peanut oil alone both produce excellent results. The seasoning blend can be adjusted—add a pinch of MSG for that classic diner flavor. For extra crispiness, some cooks swear by a cornstarch addition (about 1/4 cup) to the flour.
Fry in batches to maintain oil temperature—overcrowding lowers the heat and makes chicken greasy. Leftovers keep in the fridge for 3-4 days but are best eaten fresh. To reheat, use a toaster oven or air fryer at 375°F for 10-12 minutes to restore some crispiness.
Why You’ll Love This Recipe
- One Pan Magic: I love that I only need a skillet, some flour, and buttermilk—no fancy gadgets or hard-to-find spices.
- Crispy & Juicy: That buttermilk soak keeps the meat tender while the flour crust gets impossibly crunchy.
- Feeds My Whole Crew: Between us, this is the only meal where my picky nephew and foodie brother both ask for seconds.
- Budget Win: Chicken thighs and drumsticks are always affordable, and honestly, they taste better than pricier cuts here.
Step-by-Step Instructions for Old Fashioned Fried Chicken
Master the technique for achieving that signature crispy crust while keeping the interior remarkably juicy.
Step 1: Season and Buttermilk Marinate the Chicken
In a large bowl, whisk together the buttermilk with the 1 tbsp Kosher Salt, 1 tbsp Freshly Ground Black Pepper, 2 tsp Paprika, 1 tbsp Garlic Powder, 1 tbsp Onion Powder, and 0.5 tsp Cayenne Pepper until fully combined. This spiced buttermilk creates a flavorful base that also tenderizes the meat.
Add the 2.5 lb Chicken Thighs and 1.5 lb Chicken Drumsticks to the buttermilk mixture, ensuring each piece is fully coated. Cover and refrigerate for at least 4 hours or overnight. The longer marinade time allows the buttermilk to penetrate deeply, guaranteeing a juicy interior. The skin will appear slightly pale after marinating, which is normal.
Step 2: Prepare the Double-Dredge Flour Coating
Pour the 3 cups All-Purpose Flour into a large shallow dish. This double-dredging method is non-negotiable for that extra-crispy crust. I use a rimmed baking sheet for easy cleanup. The flour should be spread in an even layer to fully coat each piece of chicken.
Remove the chicken from the buttermilk, letting the excess drip off for 5 seconds before dredging in the flour. Press firmly to adhere the flour to the chicken, creating a thick, even coating. Place the dredged pieces on a wire rack set over a baking sheet. Let them rest for 15 minutes—this allows the coating to set slightly, preventing it from falling off during frying.
Step 3: Heat the Frying Medium to Optimal Temperature
In a large, heavy-bottomed pot or Dutch oven, combine the 4 cups Vegetable Shortening and 2 cups Peanut Oil. The oil depth should be at least 2 inches to fully submerge the chicken pieces. This combination ensures a high smoke point and consistent temperature throughout frying.
Heat the oil over medium-high heat until it reaches 350°F on a deep-fry thermometer. This temperature is critical—too low and the chicken will absorb oil and become greasy; too high and the outside will burn before the inside cooks. The oil should shimmer but not smoke. Maintain this temperature between batches by adjusting the heat as needed.
Step 4: Fry to Golden Perfection in Batches
Carefully lower 3-4 pieces of chicken into the hot oil using tongs, being careful not to overcrowd the pot. Overcrowding lowers the oil temperature, leading to soggy, oily chicken. Fry the chicken for 12-15 minutes for the thighs and 10-12 minutes for the drumsticks, turning occasionally, until the coating is deep golden brown and crispy.
The internal temperature should reach 165°F when checked with an instant-read thermometer inserted into the thickest part of the meat. The crust should be audibly crisp when the chicken is removed from the oil. Transfer the fried chicken to a wire rack set over a baking sheet to drain excess oil while keeping it crispy.
Step 5: Rest and Serve While Hot
Let the chicken rest for 5-10 minutes before serving. This brief rest allows the juices to redistribute within the meat, ensuring every bite is moist and flavorful. The crust will remain crispy if kept on the wire rack rather than a paper towel, which can trap steam.
Serve immediately while hot. The contrast between the shatteringly crisp crust and the tender, juicy meat beneath is what makes this dish exceptional. The coating should crackle slightly when bitten into, with no greasy residue on your fingers. This method delivers on the promise of old-fashioned fried chicken done right.
Pro Tips For Making Old Fashioned Fried Chicken
- Dry the Chicken First: Pat the thighs and drumsticks completely dry with paper towels before dredging—this makes the flour coating cling better and crisp up faster.
- Soak Overnight: Let the chicken sit in buttermilk for at least 8 hours, preferably overnight. I learned this the hard way—rushing it gives you less tender meat and a weaker crust.
- Mind the Oil Temp: Keep the oil between 350-375°F. After burning three batches, I finally figured out that too-hot oil burns the outside while leaving the inside raw.
- Double Dredge: Dip the chicken in flour, then buttermilk, then flour again. Sounds tedious, but it creates that thick, craggy crust old-fashioned fried chicken is known for.
Regional Styles of This Dish
Southern Style
In the South, they often add 1 tsp baking powder to the flour for extra crispiness. The buttermilk marinade stays the same, but some families swear by a splash of hot sauce in the mix. I learned this trick from my grandmother—it makes all the difference. 💛
Nashville Hot
This variation adds a fiery kick with a post-fry dredge in a spicy oil blend. Mix ½ cup lard, 3 tbsp cayenne, 1 tbsp brown sugar, and 1 tsp smoked paprika. Dredge the hot chicken in this mixture right after frying for that signature Nashville burn.
Kentucky Fried
The original KFC recipe uses 11 herbs and spices, but home cooks can approximate it. Add 1 tsp dried thyme, 1 tsp dried basil, and ½ tsp celery salt to your flour mix. Use a pressure cooker for extra tenderness, though a Dutch oven works too.
Midwest Church Supper
For large batches, they often use chicken legs only for easy serving. The flour gets a boost with ½ cup cornmeal for a grittier texture. I’ve seen this at every potluck—it’s a crowd-pleaser that stays crispy even when stacked. 🔥
Appalachian Mountain
Here, they sometimes use lard exclusively for frying, claiming it adds richness. The seasoning is simpler—just salt, pepper, and a touch of sage. The chicken is often fried in a cast-iron skillet, giving it a rustic, homey feel.
Texas Roadhouse
This style uses a buttermilk marinade with 1 tbsp Worcestershire sauce for depth. The flour mix includes 1 tsp onion powder and 1 tsp mustard powder. The result is a tangy, savory crust that’s hard to resist.
Nutrition Facts
Frequently Asked Questions
Why use buttermilk in the marinade?
Buttermilk tenderizes the meat while adding flavor. Its acidity breaks down proteins, ensuring a juicy interior.
How do I keep the coating from falling off?
Pat the chicken dry before dredging, and let it rest 15 minutes after coating. This helps the flour adhere properly.
Can I use boneless chicken?
Bone-in, skin-on pieces are best for flavor and texture. Boneless can dry out and lacks the same crispiness.
What’s the ideal oil temperature?
Maintain 350°F for perfect frying. Too low makes it greasy; too high burns the crust before cooking through.

- Jollof Rice Sauce Recipe: West African Tomato and Spice Infusion - September 25, 2026
- Japanese Rice Soup Recipe: Umami-Rich Comfort in a Bowl - September 25, 2026
- Homemade Cream Of Rice Recipe: Silk-Smooth Breakfast in Minutes - September 25, 2026