
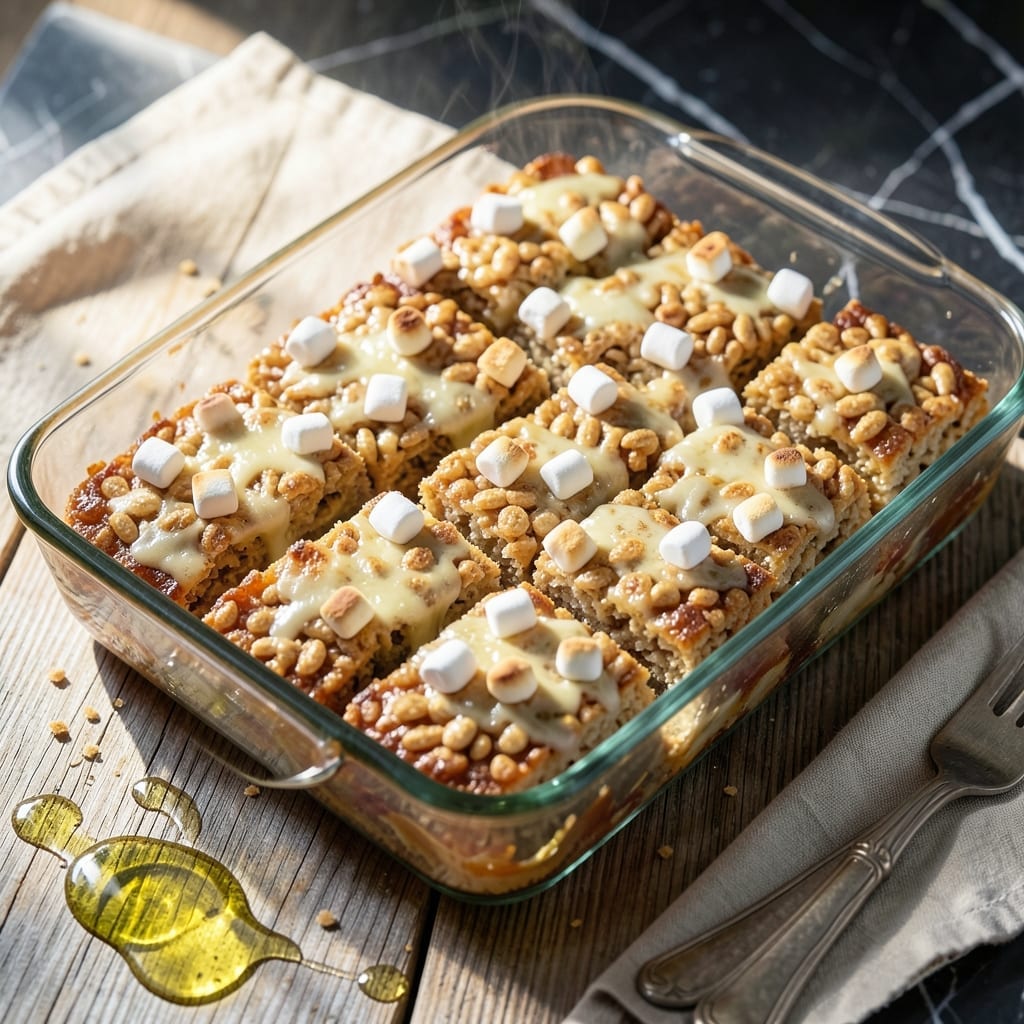
There’s something special about the simplicity of old-fashioned rice krispie bars that brings back childhood memories. This recipe stays true to the traditional method my grandmother used, creating that perfect balance of crispy and chewy.
With just a handful of basic ingredients, you’ll create a treat that’s both nostalgic and delicious. The key is using the right ratio of melted marshmallows to cereal, ensuring every bite delivers that signature crunch and gooey texture.
The process is straightforward: melt, mix, press, and let set. No baking required, just pure satisfaction in every square. These bars are perfect for gatherings, lunchboxes, or when you need a quick sweet fix.
They’ll transport you back to simpler times while creating new memories with every crispy, marshmallowy bite.
Ingredients for Old Fashioned Recipe for Rice Krispie Bars
Six ingredients. One bowl. Pure nostalgic magic in every square.
| Ingredient | Amount | Notes |
|---|---|---|
| Rice Krispies Cereal 🥣 | 6 cups | Original flavor preferred |
| Mini Marshmallows 🍡 | 10 oz | Fresh for best melt |
| Unsalted Butter 🧈 | ½ cup | For melting with marshmallows |
| Vanilla Extract 🌿 | 1 tsp | Pure extract recommended |
| Salt 🧂 | ¼ tsp | Fine grain for balance |
| Cooking Spray 🫒 | 1 can | For greasing pan |
The marshmallows matter here. Jet-Puffed mini marshmallows melt the smoothest, but store brand works fine if that’s what you’ve got. The butter should be unsalted—you control the salt level that way. I always grab my cereal from Kroger (the big boxes last forever), but any brand of Rice Krispies will do. Just make sure it’s fresh—stale cereal kills the crunch.
No mini marshmallows? Regular marshmallows cut in half work, but they take longer to melt. Want a richer flavor? Swap the vanilla for almond extract at half the amount. Short on cereal? Corn Flakes give a different texture but still taste great. The salt might seem optional, but don’t skip it—it balances all that sweetness.
These keep 2-3 days at room temp in an airtight container (if they last that long). For longer storage, wrap individual squares in parchment and freeze for up to 1 month. They soften a bit when thawed, but that gooey texture is still perfect.
Why You’ll Love This Recipe
- One Pot Wonder: I melt the butter, toss in marshmallows, and stir in cereal—no fancy equipment, just a saucepan and spatula.
- Buttery Vanilla Magic: The combo of browned butter and vanilla makes these taste like childhood, but richer.
- Bake Sale MVP: Between us, these disappear faster than cookies at school events, and they’re half the work.
- Budget Stretcher: A box of cereal and a bag of marshmallows feed a crowd for under five bucks. I’ll be real: it’s my go-to for last-minute gatherings.
Step-by-Step Instructions for Rice Krispie Bars
This method delivers that classic crispy-chewy texture you remember from childhood.
Step 1: Prepare the Pan and Measure Ingredients
Lightly coat a 9×13-inch baking pan with the cooking spray, making sure to cover all sides and corners thoroughly. This prevents sticking and makes cutting easier later. I always use the original flavor Rice Krispies for that authentic snap, crackle, pop experience.
Measure out the 6 cups Rice Krispies Cereal and set it aside in a large mixing bowl. Having everything prepped and ready to go ensures smooth sailing once you start melting the marshmallow mixture—this process moves quickly and there’s no time to measure once it begins.
Step 2: Melt the Butter and Marshmallows Together
In a large saucepan, melt the 0.5 cup Unsalted Butter over low heat. Once completely melted, add the entire 10 oz Mini Marshmallows and stir constantly with a silicone spatula. The marshmallows will begin to melt and combine with the butter after about 3-4 minutes.
Continue stirring until the mixture becomes completely smooth with no visible marshmallow lumps. At this point, remove the saucepan from heat and immediately stir in the 1 tsp Vanilla Extract and 0.25 tsp Salt. The vanilla adds depth while the salt balances the sweetness perfectly.
Step 3: Combine Marshmallow Mixture with Cereal
Pour the hot marshmallow mixture over the 6 cups Rice Krispies Cereal in your mixing bowl. Using the same spatula (no need to clean it), gently fold everything together until every piece of cereal is evenly coated. Be thorough but don’t overmix—you want to maintain some of that cereal crunch.
Work quickly here, as the mixture will begin to set as it cools. I find that using a gentle pressing motion with the spatula helps distribute the marshmallow evenly without crushing the cereal. The mixture should look glossy and slightly sticky, with no dry cereal pieces visible.
Step 4: Press and Set the Bars
Transfer the cereal mixture to your prepared pan. Using your spatula or a piece of parchment paper to avoid sticking, press the mixture evenly into the pan. I apply firm, even pressure all over to create uniform bars that hold their shape when cut.
Press particularly well into the corners and edges where the mixture tends to be thinner. Let the bars cool at room temperature for at least 30 minutes until completely set. You’ll know they’re ready when they pull away slightly from the edges of the pan and feel firm to the touch.
Step 5: Cut and Serve the Bars
Once fully cooled and set, use a sharp knife to cut into squares. For clean cuts, I like to dip my knife in hot water and wipe it between each cut. This prevents the marshmallow from sticking to the blade and dragging the cereal with it.
Cut into 12-16 squares depending on your preferred size. The bars should hold together well but still have that signature crispy texture. Serve at room temperature for the best combination of chewy marshmallow and crunchy cereal in every bite.
Pro Tips For Making Old Fashioned Recipe For Rice Krispie Bars
- Melt Low and Slow: Keep your butter and marshmallows on low heat—high heat will turn the sugar in the marshmallows grainy and the whole mixture a weird brown. I learned this the hard way after ruining a batch by rushing it.
- Use Fresh Cereal: Stale Rice Krispies won’t give you that satisfying snap, so check the box date and give them a quick squeeze in the bag to test for freshness. Sounds weird, but it works.
- Press, Don’t Squash: When pressing the mixture into the pan, use a buttered spatula and gentle pressure—pack it too tight and your bars turn dense and chewy instead of light and crispy.
- Add Vanilla Last: Stir the vanilla extract in after removing from heat so it keeps its full aroma. My grandmother swore by this, and she was right.
Essential Equipment for This Dish
Essential Pan Selection
I always reach for my trusty 9×13-inch metal baking pan for this recipe. The metal conducts heat evenly, helping the bars set properly. Glass pans work too, but they can take a bit longer to cool. Whatever you choose, make sure it’s sturdy enough to handle the pressing.
Non-Stick Solution
A good cooking spray is non-negotiable here. I use Pam for Baking—it has a higher heat tolerance and better coverage. Don’t skimp on the spray; coat every nook and cranny of the pan. This ensures your bars won’t stick and will release cleanly when cutting.
Melting Pot Matters
For melting the butter and marshmallows, a 3-quart saucepan is ideal. I love my All-Clad stainless steel for its even heat distribution. A heavy bottom prevents scorching the marshmallows, which can happen quickly over direct heat. 🔥
Mixing Bowl Must-Have
A large mixing bowl (at least 4 quarts) gives you room to fold the cereal into the marshmallow mixture without spills. I prefer stainless steel for its durability and ease of cleaning. A wide, shallow bowl works better than a deep one for even mixing.
Pressing Tool
I swear by my silicone spatula for pressing the mixture into the pan. It’s heat-resistant and flexible, letting me smooth the top perfectly. For extra leverage, I sometimes use the flat bottom of a drinking glass greased with a bit of butter.
Cutting Cleanly
A long, sharp chef’s knife is key for clean cuts. I use my 8-inch Wüsthof, dipping it in hot water between slices. This simple trick prevents the marshmallow from sticking and dragging the cereal with it, giving you those perfect squares every time. ✨
Nutrition Facts
Frequently Asked Questions
Can I use regular marshmallows instead of mini?
Yes, but cut them in half for faster melting. They take longer to dissolve and may create uneven texture. Mini marshmallows melt smoother and faster.
How do I keep the bars from getting too hard?
Press gently when shaping—over-compacting crushes the cereal. Let cool for 30 minutes max before cutting. Store in an airtight container at room temperature.
What can I add for extra flavor?
Stir in 1/2 cup peanut butter with melted marshmallows or sprinkle 1/4 cup chocolate chips over the mixture before pressing. A pinch of cinnamon adds warmth.
How long will they stay fresh?
They keep 2-3 days at room temperature in an airtight container. For longer storage, freeze wrapped squares for up to 1 month. Thaw at room temp.

- Peri Peri Rice Recipe: Spicy Portuguese One-Pot Harmony - November 6, 2026
- Mexican Flavoured Rice Recipe: Authentic Spice-Infused One-Pot Meal - November 6, 2026
- Lao Gan Ma Fried Rice Recipe: Spicy Wok-Tossed Perfection - November 6, 2026