
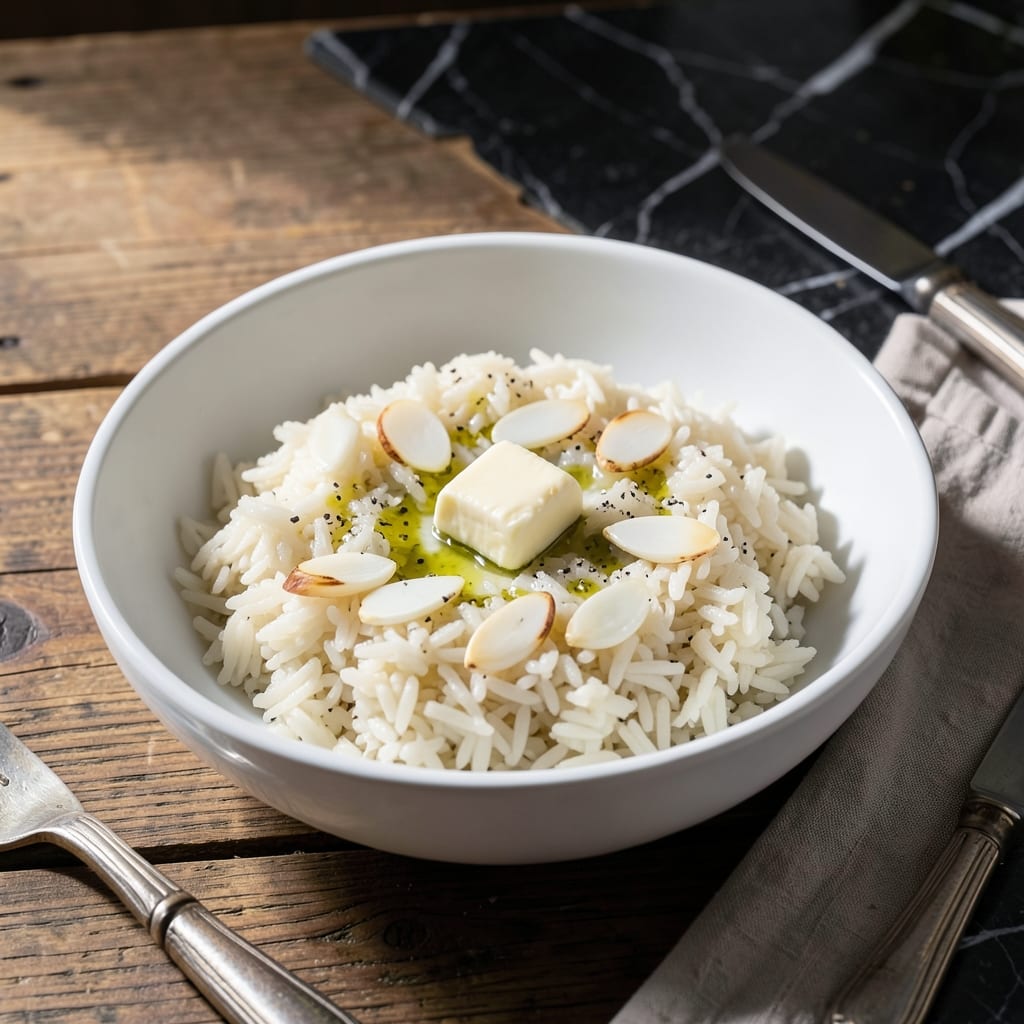
Perfect rice every time is within reach with this hands-free method. I’ve tested countless ratios and techniques to ensure consistent, fluffy results without the guesswork.
The rice maker does the heavy lifting—just add the right amounts of water and grains, then let the appliance work its magic. No stirring, no watching, no risk of burning or undercooking.
What you’ll get is evenly cooked rice with distinct, separate grains that are tender yet firm. This method works for white, brown, or even mixed grains with minimal effort.
Whether you’re serving it as a side or a base for bowls, this approach guarantees reliable results. Let’s get started.
Ingredients for Rice Maker
Twelve ingredients for foolproof rice maker results with minimal effort required.
| Ingredient | Amount | Notes |
|---|---|---|
| Long-Grain White Rice 🍚 | 2 cups | Rinsed until water runs clear |
| Water 💧 | 4 cups | Filtered for best texture |
| Kosher Salt 🧂 | 1 tsp | Diamond Crystal preferred |
| Unsalted Butter 🧈 | 1 tbsp | Optional, for richness |
| Extra-Virgin Olive Oil 🫒 | 1 tsp | Cold-pressed for aroma |
| Garlic Cloves 🧄 | 2 cloves | Minced, optional for fragrance |
| Fresh Parsley 🌿 | 2 tbsp | Chopped, for garnish |
| Bay Leaf 🍃 | 1 whole | Optional for subtle depth |
| Lemon Zest 🍋 | 1 tsp | Finely grated, optional |
| Chicken Stock 🍲 | ½ cup | Low-sodium, for brown rice |
| Black Pepper 🌶️ | ¼ tsp | Freshly ground preferred |
| Green Onions 🧅 | 2 whole | Thinly sliced, for serving |
The rice quality is paramount. Jasmine or basmati deliver superior texture compared to instant varieties. Trader Joe’s and Whole Foods offer excellent bulk options. For brown rice, short-grain provides the best chew. Always rinse until the water runs clear—this removes excess starch that can make grains gummy. A fine-mesh strainer makes this step effortless.
No long-grain white rice? Medium-grain works at a 1:1.25 ratio (rice to water). Skip the butter? Avocado oil offers a neutral alternative. For vegetable-based dishes, substitute vegetable stock for chicken stock—use low-sodium to control seasoning. The bay leaf and lemon zest are optional but add complexity worth the extra minute.
Uncooked rice keeps in a cool, dry pantry for 1-2 years. Cooked rice stays fresh in the fridge for 4-5 days or freezes for 6 months. Reheat with a splash of water to restore moisture. For best results, let cooked rice sit covered for 10 minutes before fluffing with a fork.
Why You’ll Love This Recipe
- Set and Forget: I dump in the rice, water, and a pinch of salt, then walk away—my rice maker does all the work.
- Buttery Richness: The combo of butter and olive oil gives every grain a subtle, luxurious flavor that plain rice just can’t match.
- Meal Prep Hero: I make a big batch Sunday night and it pairs perfectly with everything from stir-fry to roasted chicken all week.
- Pocket-Friendly Staple: Long-grain white rice is cheap, and this method stretches it into a side that feels way fancier than the cost.
Step-by-Step Instructions for Rice Maker Rice
Here’s the method. Straightforward, tested, works every time.
Step 1: Rinse and Prepare the Rice
Place the 2 cups Long-Grain White Rice in a fine-mesh strainer and rinse under cold running water until the water runs completely clear. This removes excess starch that can make your rice gummy. I always rinse for at least 1 full minute—you’ll see the water transform from cloudy to transparent.
Shake the strainer gently to remove excess water, then transfer the rice to your rice maker’s inner pot. The grains should look separate and glisten slightly, not clumped together. This rinsing step is non-negotiable for achieving distinct, fluffy grains.
Step 2: Add Liquids and Aromatics
Pour in the 4 cups Water and 0.5 cup Chicken Stock to the rice maker’s pot. The combination of water and stock adds subtle depth without overpowering the rice. Add the 1 tsp Kosher Salt, 1 tsp Extra-Virgin Olive Oil, and 1 tbsp Unsalted Butter—the fat helps prevent sticking and adds richness.
For enhanced flavor, include the 2 cloves Garlic Cloves (minced), 1 whole Bay Leaf, and 1 tsp Lemon Zest. These aromatics infuse during cooking. Stir gently to distribute the rice and seasonings evenly, then level the surface with a spatula for uniform cooking.
Step 3: Cook on Standard Cycle
Close the rice maker’s lid and select the standard white rice cycle. Most machines default to this setting, which typically runs for 20-25 minutes. Resist the urge to open the lid during cooking—the steam trapped inside is what allows the rice to cook evenly and absorb liquid properly.
You’ll know the cycle is complete when the machine switches to “keep warm” mode. Modern rice makers automatically adjust temperature and timing, so there’s no need to monitor progress. The machine will maintain the perfect environment for hands-free cooking.
Step 4: Rest and Fluff
Once the cooking cycle finishes, let the rice rest with the lid closed for an additional 10 minutes. This allows the grains to steam and absorb any remaining liquid, ensuring consistent texture throughout. The rice will continue to cook slightly during this rest period.
After resting, open the lid and remove the Bay Leaf. Gently fluff the rice with a fork, breaking up any clumps and redistributing the grains. The texture should be light and separate, with each grain distinct yet tender. If you notice any uncooked rice at the bottom, it means you didn’t add enough liquid—next time, ensure you use the full 4.5 cups of liquid (water plus stock).
Step 5: Garnish and Serve
Transfer the rice to a serving bowl and sprinkle with the 2 tbsp Fresh Parsley (chopped) and 2 whole Green Onions (thinly sliced). The fresh herbs add brightness and color contrast to the dish. Finish with a pinch of 0.25 tsp Black Pepper for subtle heat.
Serve immediately while hot. The rice should hold its shape when scooped, with no residual liquid in the serving dish. Each serving will be perfectly fluffy, fragrant, and ready to complement any main dish. The subtle notes from the aromatics will be noticeable but not overpowering.
Pro Tips For Making Rice Maker
- Rinse the Rice: Always rinse your long-grain white rice until the water runs clear—it removes excess starch so your rice comes out fluffy instead of gummy. I learned this the hard way after too many sticky batches.
- Use the Right Ratio: Stick to a 1:1.5 rice-to-water ratio for perfect texture in the rice maker. Sounds simple, but I ruined two pots before I started measuring precisely.
- Skip the Cold Water: Use room temperature or warm water in your rice maker—it starts the cooking process faster and prevents uneven texture. Cold water can leave the center undercooked.
- Add Fat at Start: Melt the butter and olive oil into the water before adding rice—this distributes the richness evenly and prevents clumping. My grandmother swore by this, and she was right.
Storing and Reheating This rice maker
Refrigerator Storage
Let the rice cool for no more than 2 hours before transferring to an airtight container. Store in the fridge at 40°F or below for up to 4-5 days. I use glass containers with snap-tight lids to maintain freshness and prevent absorption of other fridge odors. ❄️
Freezer Storage
For longer storage, portion the cooled rice into freezer-safe bags or containers. Leave 1 inch of headspace for expansion and squeeze out excess air to prevent freezer burn. Frozen rice stays fresh for up to 6 months without significant texture loss.
Stovetop Reheating
Add the rice to a skillet with 2 tbsp water or chicken stock per cup of rice. Heat over medium-low heat for 5-7 minutes, stirring occasionally. This method restores moisture and prevents dryness. The grains will separate beautifully with a little steam.
Microwave Reheating
Place rice in a microwave-safe dish and sprinkle with 1 tbsp water per cup. Cover with a damp paper towel and heat on 70% power for 2-3 minutes, stirring halfway through. This gentle approach prevents rubbery textures.
Reviving Leftovers
If your rice seems dry after storage, sprinkle with 1-2 tsp water and cover for 5 minutes before reheating. For fried rice applications, use day-old rice—it fries up perfectly without turning mushy. I always make extra for this reason.
Nutrition Facts
Frequently Asked Questions
Can I use brown rice in my rice maker?
Yes! Use a 1:2 rice-to-liquid ratio and select the brown rice setting if available. The cycle will take 45-60 minutes for proper texture.
Why does my rice turn out mushy?
This usually means too much water or not rinsing the rice first. Always use the exact liquid amounts and rinse until water runs clear to remove excess starch.
How do I make my rice more flavorful?
Try cooking with chicken stock instead of water, or add aromatics like garlic, bay leaf, or lemon zest to the pot before starting.
Can I cook other grains in my rice maker?
Most devices handle quinoa, couscous, or mixed grains well. Check your manual for specific ratios, but a 1:1.5 grain-to-water ratio works for most.

- Jollof Rice Sauce Recipe: West African Tomato and Spice Infusion - September 25, 2026
- Japanese Rice Soup Recipe: Umami-Rich Comfort in a Bowl - September 25, 2026
- Homemade Cream Of Rice Recipe: Silk-Smooth Breakfast in Minutes - September 25, 2026