
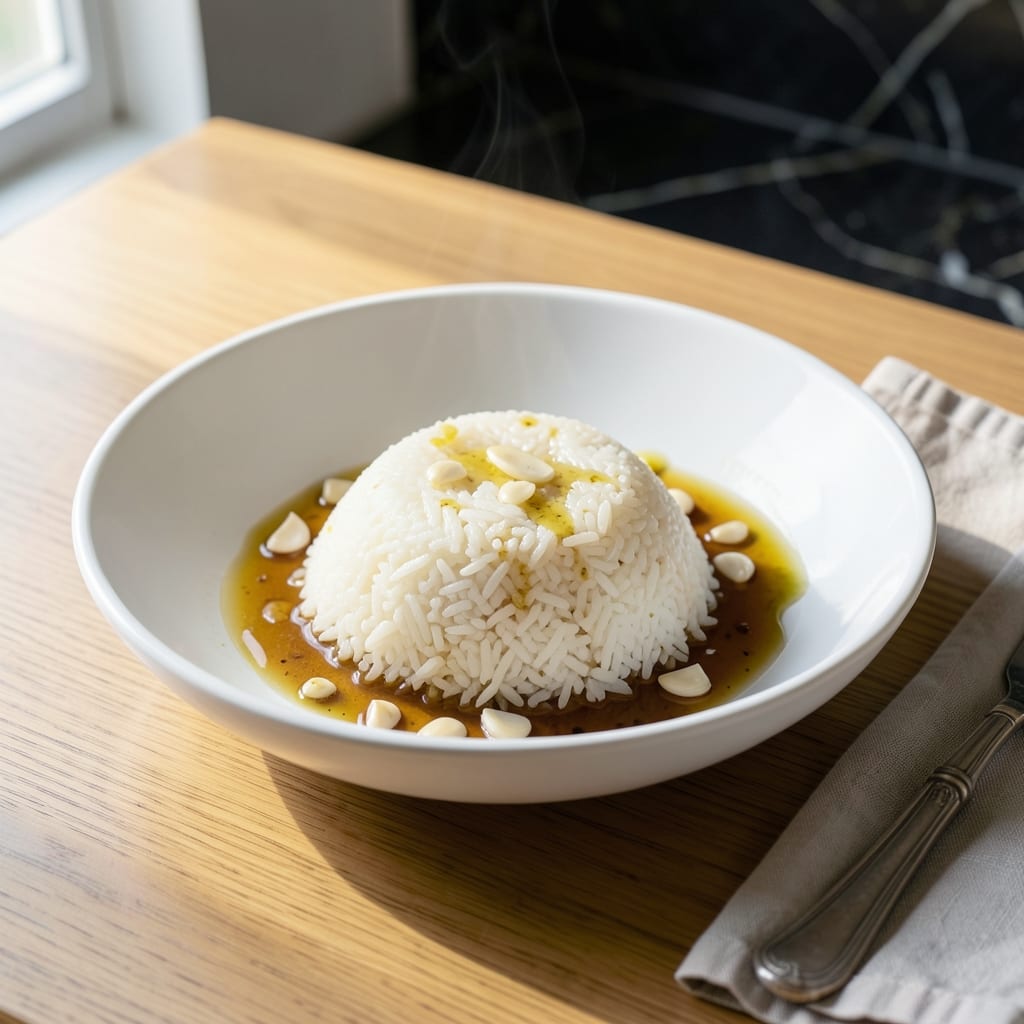
Achieving perfect rice in a cooker comes down to the right ratio and technique. This method delivers fluffy, separate grains without guesswork or watching the pot.
I’ve tested various approaches, and the key is using a 1:1.5 rice-to-water ratio for white rice. Rinse the grains first to remove excess starch, which prevents gummy textures.
Once cooked, let it steam for 10 minutes after the cycle ends. This final step ensures even moisture and light, airy results every time.
Customize with broth, herbs, or spices for extra flavor. The process stays simple, and the outcome is consistently reliable.
Ingredients for Rice Recipe for Rice Cooker
A handful of pantry staples plus precise measurements create consistently perfect results in your cooker.
| Ingredient | Amount | Notes |
|---|---|---|
| Long-Grain White Rice 🌾 | 2 cups | Rinsed to remove excess starch |
| Water 💧 | 3 cups | Filtered for best texture |
| Kosher Salt 🧂 | 1 tsp | Diamond Crystal preferred |
| Unsalted Butter 🧈 | 1 tbsp | Optional for richness |
| Chicken Broth 🍲 | 1 cup | Substitute for water for extra flavor |
| Garlic Cloves 🧄 | 2 cloves | Minced, added to broth |
| Fresh Parsley 🌿 | 2 tbsp | Chopped, for garnish |
| Bay Leaf 🍃 | 1 whole | Removed after cooking |
| Ground Black Pepper 🌶️ | ½ tsp | Freshly ground preferred |
| Olive Oil 🫒 | 1 tsp | For rinsing rice bowl |
The rice quality matters most. Jasmine or basmati deliver the fluffiest grains, while short-grain varieties tend to clump. Whole Foods or Costco offer excellent bulk options. For the broth, Swanson or Kitchen Basics are reliable brands. Always rinse the rice—even pre-rinsed brands benefit from a quick wash to remove surface starch (worth the extra minute).
No chicken broth? Vegetable broth or plain water work just fine. Short on time? Skip the broth entirely and add a pinch of MSG or Accent for depth. Fresh herbs can be swapped for dried at one-third the amount. The butter is entirely optional but adds a luxurious finish (trust me on the unsalted version).
Uncooked rice stores indefinitely in a cool, dry place. Once cooked, it keeps for 4-5 days in the fridge or 6 months frozen. Portion leftovers into airtight containers for easy reheating—microwave with a splash of water to restore moisture.
Why You’ll Love This Recipe
- Set and Forget: I dump everything in the rice cooker and walk away—no stirring, no watching, no stress.
- Buttery Richness: The butter and chicken broth turn plain white rice into something indulgent without trying too hard.
- Meal Prep Hero: This rice keeps well for days, so I make a big batch for lunches or quick dinners.
- Pennies per Serving: Long-grain rice and broth stretch further than takeout, and honestly, it tastes better.
Step-by-Step Instructions for Rice Cooker Rice
Master the technique for perfectly fluffy grains using your rice cooker’s built-in precision.
Step 1: Rinse and Prepare the Rice
Place the 2 cups Long-Grain White Rice in a fine-mesh strainer and rinse under cold water until the water runs clear. This removes excess starch that would otherwise make the rice gummy. I use my hand to gently agitate the grains during rinsing to ensure thorough cleaning.
After rinsing, drain the rice completely in the strainer for 1-2 minutes. Transfer it to the rice cooker insert. The rice should be damp but not sitting in water at this stage. Here’s the thing—this step prevents clumping and ensures each grain cooks separately.
Step 2: Combine Liquids and Aromatics
Add the 3 cups Water and 1 cup Chicken Broth to the rice cooker insert with the rice. The combination of water and broth creates a subtle depth of flavor without overpowering the dish. Stir in the 1 tsp Kosher Salt, 1 tbsp Unsalted Butter, and 0.5 tsp Ground Black Pepper.
Next, add the 2 cloves Garlic Cloves (minced) and 1 whole Bay Leaf. The garlic infuses the cooking liquid with aromatic complexity, while the bay leaf adds a subtle earthy note. Gently stir to distribute all ingredients evenly throughout the rice.
Step 3: Cook Using the Rice Cooker’s Standard Setting
Secure the lid on your rice cooker and select the standard white rice setting. Most models will automatically adjust the cooking time and temperature, but I’ve found that 20-25 minutes is typical for this quantity. The cooker will maintain the perfect 212°F boiling point throughout the cycle.
Resist the urge to open the lid during cooking—this releases steam and can affect the cooking time and texture. The rice cooker’s sensor will detect when the water has been absorbed and switch to keep-warm mode automatically. You’ll hear a distinct click when it transitions, signaling the cooking is complete.
Step 4: Rest and Fluff the Finished Rice
Once the cooking cycle completes, let the rice rest with the lid closed for an additional 10-15 minutes. This steaming period allows the grains to absorb any remaining moisture and become perfectly tender. The rice will continue to cook gently in its own steam during this time.
After resting, open the lid and remove the 1 whole Bay Leaf. Using a rice paddle or fork, gently fluff the rice from the bottom to the top, breaking up any clumps. The grains should be separate, plump, and glossy. If you notice any uncooked grains at the bottom, it may indicate your rice cooker’s sensor needs attention.
Step 5: Garnish and Serve Immediately
Drizzle the 1 tsp Olive Oil over the rice and sprinkle with the 2 tbsp Fresh Parsley (chopped). The olive oil adds a subtle sheen and richness, while the parsley provides a fresh, vibrant contrast to the savory rice. Stir gently to distribute the garnishes.
Serve the rice immediately while hot. The texture should be light and fluffy, with each grain distinct yet tender. This method consistently produces restaurant-quality rice with minimal effort, thanks to the rice cooker’s precise temperature control and your careful preparation.
Pro Tips For Making Rice Recipe For Rice Cooker
- Rinse the Rice: I learned this the hard way—skipping the rinse leaves your rice gummy. Give it a quick wash under cold water until the water runs clear to remove excess starch.
- Use Broth for Water: Swap half the water for chicken broth (1:1 ratio with water) for rice that actually tastes like something. It’s a small change with a big payoff.
- Let It Steam: After the rice cooker switches to “keep warm,” resist the urge to open it. Let it sit for 10 minutes so the grains firm up and absorb any remaining liquid.
- Stir in Butter Last: Add the unsalted butter and salt after cooking—mixing them in early can make the rice greasy or unevenly seasoned. A quick fluff with a fork blends it perfectly.
Troubleshooting Perfect Results
Rice Stays Undercooked
If your grains are still firm after the cycle ends, you likely didn’t use enough liquid. Add ¼ cup hot water to the cooker, stir gently, and restart the cycle for 5-10 minutes. I’ve found that older rice absorbs more water, so increase to a 1:1.75 ratio for rice stored over 6 months. 💡
Mushy or Gummy Texture
This usually means too much water or insufficient rinsing. Drain any excess liquid immediately and spread the rice on a baking sheet to dry. Next time, reduce water by 2-3 tablespoons and rinse until water runs completely clear. Short-grain varieties need even less water.
Burnt Bottom Layer
This happens when the heating element stays on too long. First, check if your cooker’s non-stick coating is damaged. Then, add a 1 tsp olive oil to the pot before adding rice, which creates a protective barrier. Never scrape the bottom—gentle fluffing prevents damage.
Uneven Cooking
If some grains are perfect while others are hard, your cooker may have hot spots. Stir the rice gently after adding liquid to distribute evenly. Also, ensure you’re not exceeding the cooker’s maximum fill line—most models cook best at 75% capacity or less. 🔥
Rice Cooker Won’t Switch to Warm
This often indicates the sensor is dirty or malfunctioning. Unplug the cooker and clean the heating plate with a damp cloth. If the issue persists, the thermostat may need professional servicing. Always let the unit cool completely before cleaning.
Excessive Steam Release
If steam is escaping around the lid, the seal may be damaged. Check the rubber gasket for cracks or food debris. Replace if necessary—I recommend Oster or Aroma brand replacement parts. Also, ensure the lid is properly aligned and locked before starting.
Nutrition Facts
Frequently Asked Questions
What’s the ideal rice-to-water ratio?
For white rice, use a 1:1.5 ratio—2 cups rice to 3 cups liquid. This ensures perfect texture without mushiness or undercooking.
Do I need to rinse the rice first?
Yes! Rinsing removes excess starch, preventing gummy grains. Swirl rice in cold water until the water runs clear, then drain well before cooking.
Can I use broth instead of water?
Substitute up to 1 cup broth for water to add depth. Chicken, vegetable, or even beef broth work well. Adjust salt to taste.
Why is my rice still crunchy?
Undercooked rice usually means insufficient liquid. Add ¼ cup hot water, stir, and restart the cooker for 5-10 minutes. Older rice may need more.

- Rice Pudding Recipe With Eggs and Milk: Old-Fashioned Custard-Style Comfort - September 30, 2026
- Rice Noodle Sauce Recipe: Bold Umami Depth for Authentic Stir-Fry - September 30, 2026
- Rice Pilaf Recipe: Fragrant Basmati With Toasted Vermicelli - September 30, 2026