
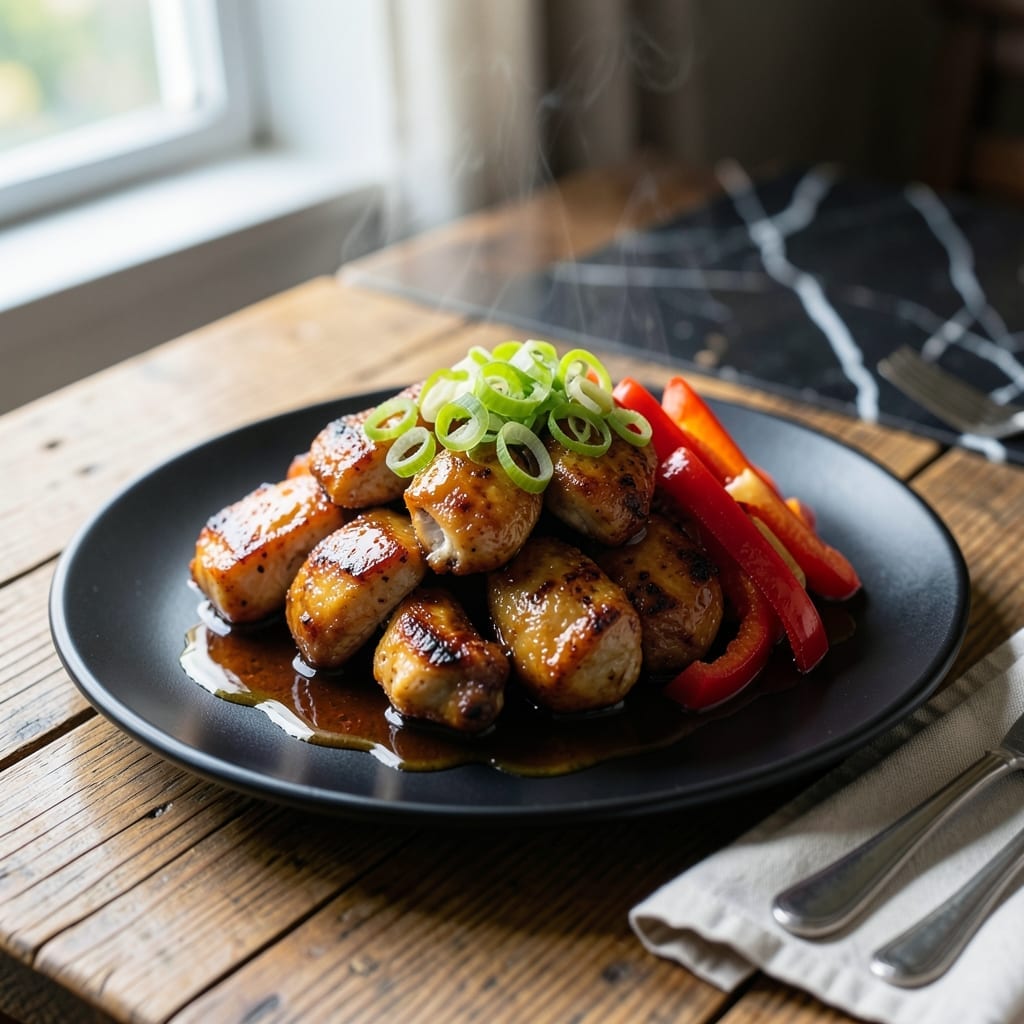
This teriyaki chicken delivers a perfect balance of sweet and savory with every bite. The wok-searing method locks in juices while creating a glossy, caramelized glaze that coats each piece beautifully.
What sets this dish apart is the homemade teriyaki sauce – no bottled shortcuts here. A simple blend of soy sauce, brown sugar, and garlic transforms into something extraordinary when reduced to a thick, sticky consistency.
The result is tender chicken with a glossy, sweet-savory coating that pairs perfectly with steamed rice. The high heat of the wok ensures quick cooking without drying out the meat.
Serve with steamed broccoli or snap peas for a complete meal. This technique works equally well with thighs or breasts.
Ingredients for Terriaki Chicken
Simple pantry staples create this glossy, sweet-savory wok-seared chicken dish in no time.
| Ingredient | Amount | Notes |
|---|---|---|
| Boneless Chicken Thighs 🍗 | 1 ½ lb | Skin-on optional, cut into bite-sized pieces |
| Soy Sauce 🫒 | ½ cup | Low-sodium preferred for balance |
| Brown Sugar 🍚 | ⅓ cup | Packed, light or dark |
| Garlic Cloves 🧄 | 4 cloves | Minced for maximum flavor |
| Fresh Ginger Root 🌿 | 1 tbsp | Peeled and grated fine |
| Rice Vinegar 🍶 | 2 tbsp | Adds bright acidity |
| Sesame Oil 🫒 | 1 tbsp | Toasted for depth |
| Cornstarch 🌾 | 1 tbsp | For thickening the sauce |
| Water 💧 | ¼ cup | To thin sauce as needed |
| Vegetable Oil 🫒 | 2 tbsp | High smoke point for wok searing |
| Green Onions 🧅 | 4 whole | Thinly sliced for garnish |
| Sesame Seeds 🌾 | 1 tbsp | Toasted for extra crunch |
| Steamed Rice 🍚 | 2 cups | Jasmine or basmati recommended |
| Broccoli Florets 🥦 | 3 cups | Fresh or frozen works |
The chicken is everything here. Thighs stay juicier than breasts through the high-heat searing—look for good marbling at Whole Foods or your butcher. For the soy sauce, Kikkoman low-sodium keeps the salt in check. Don’t skip the fresh ginger; the bottled stuff lacks the bright, zesty punch that balances the sugar. Most Asian markets carry everything you need in one stop.
No brown sugar? White sugar plus a splash of molasses works in a pinch. Out of rice vinegar? Apple cider vinegar at half the amount substitutes nicely. If you’re avoiding gluten, tamari instead of soy sauce does the trick. The cornstarch slurry is non-negotiable for that signature glossy finish—just mix it with cold water right before adding to the wok.
Leftovers keep beautifully, though the sauce thickens as it cools. Thin with a splash of water when reheating. Store in an airtight container for up to 4 days in the fridge, or freeze the chicken and sauce separately for 3 months.
Why You’ll Love This Recipe
- One Pan Wonder: I toss everything in a skillet and let the soy sauce, brown sugar, and ginger work their magic with almost no cleanup.
- Sweet & Savory Bomb: The brown sugar caramelizes with the soy sauce, and the garlic-ginger punch makes the chicken irresistibly sticky and rich.
- Meal Prep MVP: I make a big batch on Sunday—reheats beautifully for lunches and tastes even better the next day.
- Budget Stretcher: Boneless thighs stay juicy and cost half what breasts do, so I feel smart serving this to my family.
Step-by-Step Instructions for Teriyaki Chicken
Master the wok technique for perfectly glazed chicken with this straightforward approach.
Step 1: Prepare the Chicken and Marinade
Cut the 1.5 lb boneless chicken thighs into bite-sized pieces, about 1-inch thick. This ensures even cooking and maximum surface area for the sauce to cling to. Pat the pieces dry with paper towels—this prevents steaming and promotes better browning in the wok.
In a bowl, whisk together the 0.5 cup soy sauce, 0.33 cup brown sugar, 4 cloves minced garlic, 1 tbsp grated fresh ginger root, 2 tbsp rice vinegar, and 1 tbsp sesame oil until the brown sugar fully dissolves. This creates your teriyaki base with the perfect balance of sweet, salty, and tangy flavors.
Step 2: Velvet the Chicken for Tenderness
Place the chicken pieces in a separate bowl and toss with the 1 tbsp cornstarch until evenly coated. This process, called velveting, creates a protective layer that locks in moisture and results in exceptionally tender meat. The cornstarch also helps the sauce adhere beautifully to each piece.
Add 2 tbsp vegetable oil to the same bowl and toss again. This additional step ensures the chicken won’t stick during the high-heat cooking process and promotes even browning. Let the chicken marinate in this mixture for 10 minutes while you prepare the remaining ingredients.
Step 3: Wok-Sear the Chicken and Broccoli
Heat a wok or large skillet over high heat until nearly smoking. Add the chicken in a single layer, being careful not to overcrowd the pan. Cook undisturbed for 2-3 minutes until the bottoms develop a deep golden color. The high heat creates that signature wok sear.
Add the 3 cups broccoli florets to the wok and stir-fry with the chicken for another 3-4 minutes until the broccoli turns bright green and the chicken is cooked through. The broccoli should be tender-crisp—still vibrant in color with a slight bite.
Step 4: Create the Glaze and Finish
Pour the prepared teriyaki sauce over the chicken and broccoli. Stir well to coat everything evenly, then cook for an additional 2-3 minutes until the sauce thickens slightly and becomes glossy. The sauce should coat the back of a spoon but still be pourable.
If the sauce is too thick, add the 0.25 cup water a tablespoon at a time to reach your desired consistency. The water also helps deglaze the pan, lifting all those flavorful browned bits into your sauce. Taste and adjust seasoning if needed, though the soy sauce typically provides enough salt.
Step 5: Garnish and Serve
Transfer the teriyaki chicken and broccoli to a serving platter. Drizzle any remaining sauce from the wok over the top. Sprinkle with the 4 whole thinly sliced green onions and 1 tbsp toasted sesame seeds for freshness and crunch. The green onions add a pop of color and mild onion flavor.
Serve immediately over 2 cups steamed rice. The rice soaks up the extra sauce beautifully, ensuring every bite is packed with flavor. For best results, use jasmine or basmati rice as their mild flavor complements the rich teriyaki without competing.
Pro Tips For Making Terriaki Chicken
- Sear Thighs First: Get a good brown crust on the chicken thighs in a hot pan before adding the sauce—I learned this the hard way after ending up with boiled, pale chicken too many times.
- Grate the Ginger: Skip the chopping and grate the fresh ginger root instead; it blends into the sauce better and saves you from chewing on stringy bits.
- Reduce the Sauce: After cooking the chicken, pour the teriyaki sauce into the pan and let it simmer for 3-4 minutes until it thickens into a glossy glaze that actually clings to the meat.
- Rest Before Serving: Give the chicken a solid 5 minutes off the heat before slicing—even if you’re starving—so the juices redistribute and don’t pool on the cutting board.
Pro Cooking Tips for terriaki chicken
Wok Heat Control
Preheat your wok until it’s nearly smoking—that’s about 450-500°F. A properly heated wok ensures the chicken sears rather than steams. I use a carbon steel wok on my gas range for the best heat distribution. 🔥
Velveting Secret
The cornstarch coating on the chicken is non-negotiable. It creates a barrier that locks in moisture while forming that perfect crispy edge. For extra tenderness, I sometimes add 1 tsp baking soda to the cornstarch mixture.
Sauce Timing
Don’t add the sauce too early or it will burn. Wait until the chicken is 80% cooked before introducing your teriyaki mixture. This prevents the sugar from caramelizing too quickly. Stir constantly once the sauce goes in.
Glaze Perfection
For that signature glossy finish, let the sauce reduce until it coats the back of a spoon. If it thickens too much, add 1-2 tbsp water at a time. I always make extra sauce for drizzling over the rice.
Resting Matters
Let the chicken rest for 2-3 minutes after cooking. This allows the juices to redistribute. While waiting, toast your sesame seeds in a dry pan for 30 seconds until fragrant. 💡
Crispy Garnish
For restaurant-quality presentation, quickly fry the green onions in ½ inch of oil at 375°F for 10-15 seconds until crisp. Drain on paper towels and use as a garnish for added texture.
Nutrition Facts
Frequently Asked Questions
Can I use chicken breasts instead of thighs?
Yes, but thighs stay juicier. If using breasts, cut into 1-inch pieces and reduce cooking time by 1-2 minutes to prevent dryness.
How do I make the sauce thicker?
Mix 1 tsp cornstarch with 1 tbsp cold water and stir into simmering sauce. Cook for 1 minute until glossy.
Can I make this ahead of time?
Yes! Cook and refrigerate for up to 4 days. Reheat gently with 1-2 tbsp water to loosen the sauce.
What if I don’t have a wok?
A large skillet works fine. Use medium-high heat and cook in batches to avoid overcrowding.

- Jollof Rice Sauce Recipe: West African Tomato and Spice Infusion - September 25, 2026
- Japanese Rice Soup Recipe: Umami-Rich Comfort in a Bowl - September 25, 2026
- Homemade Cream Of Rice Recipe: Silk-Smooth Breakfast in Minutes - September 25, 2026