
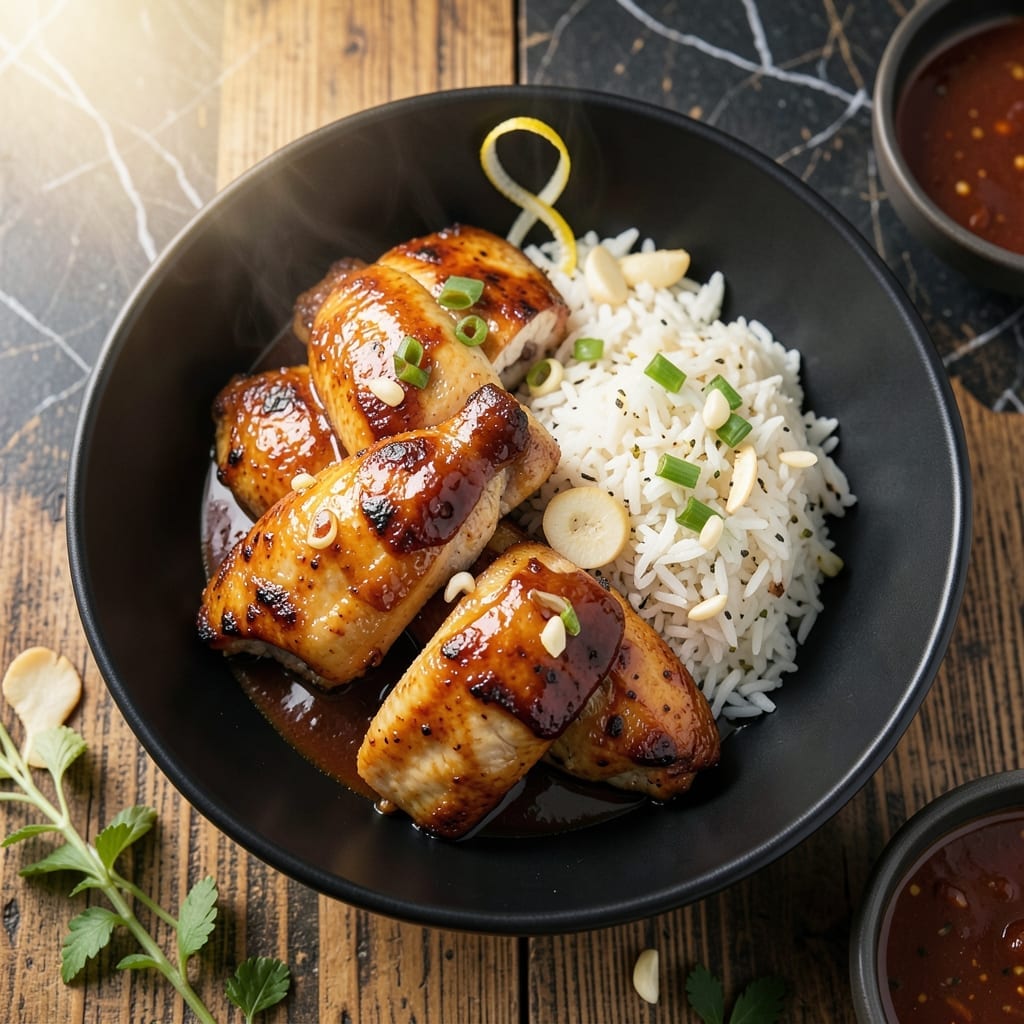
This teriyaki chicken delivers on its promise of tender meat with a glossy, sweet-savory glaze that clings to every bite. The secret lies in the marinade time and high-heat searing that caramelizes the sauce while keeping the chicken juicy.
I’ve refined this method to ensure the thighs stay succulent throughout cooking. A simple blend of soy sauce, brown sugar, and garlic creates that signature umami-rich flavor without overpowering the dish.
The result is a restaurant-quality meal that comes together in under 45 minutes. The glaze reduces to a thick, sticky consistency that pairs perfectly with steamed rice and steamed broccoli.
Serve this for a weeknight dinner or impress guests with minimal effort. The balance of sweet and salty makes it a crowd-pleaser every time.
Ingredients for Teryaki Chicken
Simple ingredients deliver restaurant-quality flavor with tender thighs and glossy glaze.
| Ingredient | Amount | Notes |
|---|---|---|
| Boneless Skinless Chicken Thighs 🍗 | 1 ½ lb | Patted dry for even browning |
| Soy Sauce 🫒 | ½ cup | Low-sodium preferred for balance |
| Brown Sugar 🍚 | ⅓ cup | Light or dark, packed firmly |
| Fresh Garlic Cloves 🧄 | 4 cloves | Minced finely for even distribution |
| Fresh Ginger Root 🌿 | 1 tbsp | Peeled and grated |
| Rice Vinegar 💧 | 2 tbsp | Unseasoned variety preferred |
| Cornstarch 🌾 | 1 tbsp | For thickening the glaze |
| Water 💧 | ¼ cup | For cornstarch slurry |
| Vegetable Oil 🫒 | 2 tbsp | High smoke point for searing |
| Sesame Oil 🫒 | 1 tsp | Toasted, for finishing |
| Green Onions 🧅 | 3 whole | Thinly sliced for garnish |
| Sesame Seeds 🌾 | 1 tbsp | Toasted, for garnish |
The chicken thighs are non-negotiable for tenderness—boneless and skinless ensure even cooking without chewiness. Costco carries high-quality bulk packs, but any supermarket’s fresh stock works. Look for thighs with some marbling for juiciness. The soy sauce should be Japanese-style (like Kikkoman), as it has a cleaner flavor profile than Chinese varieties for this application.
Substitute honey for brown sugar if you prefer a different sweetness profile, though the molasses notes in brown sugar add depth. No fresh ginger? Ground ginger at one-quarter the amount works in a pinch. For a gluten-free version, use tamari instead of soy sauce. The cornstarch can be swapped for arrowroot, but avoid flour—it won’t create the same glossy finish.
The glaze thickens as it cools, so serve immediately for that perfect sticky texture. Leftovers keep 3-4 days in the fridge—reheat gently to avoid drying out the chicken. Freezes beautifully for up to 3 months if stored in airtight containers.
Why You’ll Love This Recipe
- One Pan Wonder: I toss everything in a skillet and let the sauce simmer while the chicken soaks up all that garlic and ginger flavor.
- Sweet & Savory Boom: The brown sugar caramelizes with the soy sauce, creating that sticky, finger-licking glaze I just can’t resist.
- Meal Prep MVP: I make a big batch on Sunday and it’s my lunch all week—still tastes fresh reheated.
- Budget Stretcher: Chicken thighs stay juicy and cheap, so I can feed my whole family without breaking the bank.
Step-by-Step Instructions for Teryaki Chicken
Precision in timing and technique ensures perfectly tender results with a glossy, caramelized glaze.
Step 1: Sear the Chicken Thighs to Golden Perfection
Pat the 1.5 lb boneless skinless chicken thighs completely dry with paper towels—this is non-negotiable for achieving a proper sear. Heat 2 tbsp vegetable oil in a large skillet over medium-high heat until shimmering but not smoking.
Working in batches if necessary to avoid crowding, add the chicken thighs in a single layer. Sear undisturbed for 4-5 minutes per side until deep golden brown and an instant-read thermometer registers 165°F. The searing creates a flavorful fond that will enrich the sauce.
Step 2: Create the Teryaki Glaze Base
In a bowl, whisk together 0.5 cup soy sauce, 0.33 cup brown sugar, 4 cloves minced fresh garlic cloves, 1 tbsp grated fresh ginger root, and 2 tbsp rice vinegar until the sugar fully dissolves. This balance of sweet, salty, and tangy flavors defines authentic teryaki.
Pour this mixture into the skillet with the chicken, reducing heat to medium. Simmer for 2-3 minutes, spooning the liquid over the thighs frequently. You’ll notice the sauce beginning to thicken and cling to the meat—this is the foundation of your glaze.
Step 3: Thicken and Finish the Sauce
In a small bowl, create a slurry by whisking 1 tbsp cornstarch with 0.25 cup water until smooth. Pour this into the simmering sauce while stirring constantly. The mixture will transform within 1-2 minutes into a glossy, thick glaze that coats the back of a spoon.
Return the chicken to the skillet if removed, and toss to coat evenly in the thickened sauce. Simmer for an additional 1-2 minutes to ensure the flavors meld completely. The glaze should be rich and syrupy, not watery.
Step 4: Rest and Garnish for Maximum Impact
Transfer the chicken to a serving platter and let it rest for 5 minutes. This allows the juices to redistribute, guaranteeing the promised tenderness. While resting, drizzle any remaining sauce from the skillet over the top.
Garnish with thinly sliced 3 whole green onions and 1 tbsp toasted sesame seeds. For an extra layer of aroma, finish with a drizzle of 1 tsp sesame oil. The contrast of vibrant green and nutty seeds elevates the presentation and flavor profile.
Pro Tips For Making Teryaki Chicken
- Sear First, Glaze Last: I learned this the hard way—browning the chicken thighs in a hot pan before adding the teriyaki sauce prevents steaming and gives you that sticky, caramelized crust. About 3-4 minutes per side on medium-high heat does the trick.
- Grate the Ginger: Fresh ginger root can be fibrous if minced, so use a microplane to grate it finely—about 1 tablespoon for this recipe. Sounds fussy, but it blends seamlessly into the sauce and coats the chicken evenly.
- Skip the Overcrowding: Resist the urge to dump all the thighs in the pan at once. Cooking in batches guarantees each piece gets properly seared instead of boiling in its own juices, which makes the sauce watery.
- Thicken the Sauce: After removing the chicken, simmer the leftover sauce for 2-3 minutes until it reduces slightly—it should coat the back of a spoon. This turns a thin, sad drizzle into a glossy, clingy glaze that actually sticks to the meat.
Essential Equipment for Great teryaki chicken
Skillet Choice
I always reach for my 12-inch stainless steel skillet—it distributes heat evenly for perfect searing. A cast iron skillet works too, but requires extra attention to prevent hot spots. Avoid nonstick for this recipe as you need the fond for flavor development.
Thermometer Importance
An instant-read thermometer is your best friend here. I use a ThermoWorks Thermapen to hit that 165°F internal temp precisely. Guessing leads to dry chicken or undercooked pieces—neither does justice to this dish.
Whisk for Glaze
A small whisk ensures your cornstarch slurry stays lump-free. I keep one dedicated to sauces—I find the OXO Good Grips version fits perfectly in my hand. The right tool makes the glaze smooth and professional-looking every time. 💡
Serving Platter
Use a warm serving platter to maintain temperature while resting. I love my stoneware platter from Le Creuset—it retains heat beautifully. Cold plates cause the glaze to thicken prematurely, making serving difficult.
Garnish Tools
A microplane makes quick work of the ginger, while kitchen shears snip green onions cleanly. For sesame seeds, I toast them in a dry pan for 2-3 minutes until golden. These small tools elevate the final presentation significantly.
Cleanup Helper
A bench scraper is my secret weapon for getting every bit of fond off the skillet. The OXO version has a comfortable grip. Soak your skillet immediately after cooking to make cleanup a breeze. 🔥
Nutrition Facts
Frequently Asked Questions
Can I use chicken breast instead of thighs?
Yes, but expect slightly drier results. Chicken breast cooks faster and lacks the fat that keeps thighs juicy. If using breast, reduce cooking time to 6-7 minutes per side and monitor internal temperature closely.
How can I make the sauce thicker?
Simmer the sauce longer after adding the cornstarch slurry. If it’s still too thin, mix an extra 1 tsp cornstarch with 1 tbsp water and stir it in. The glaze will thicken further as it cools.
Can I make this ahead of time?
Prepare the glaze and chicken separately, then combine and reheat gently before serving. The flavors deepen overnight, and it keeps well for 3-4 days in the fridge.

- Jollof Rice Sauce Recipe: West African Tomato and Spice Infusion - September 25, 2026
- Japanese Rice Soup Recipe: Umami-Rich Comfort in a Bowl - September 25, 2026
- Homemade Cream Of Rice Recipe: Silk-Smooth Breakfast in Minutes - September 25, 2026