
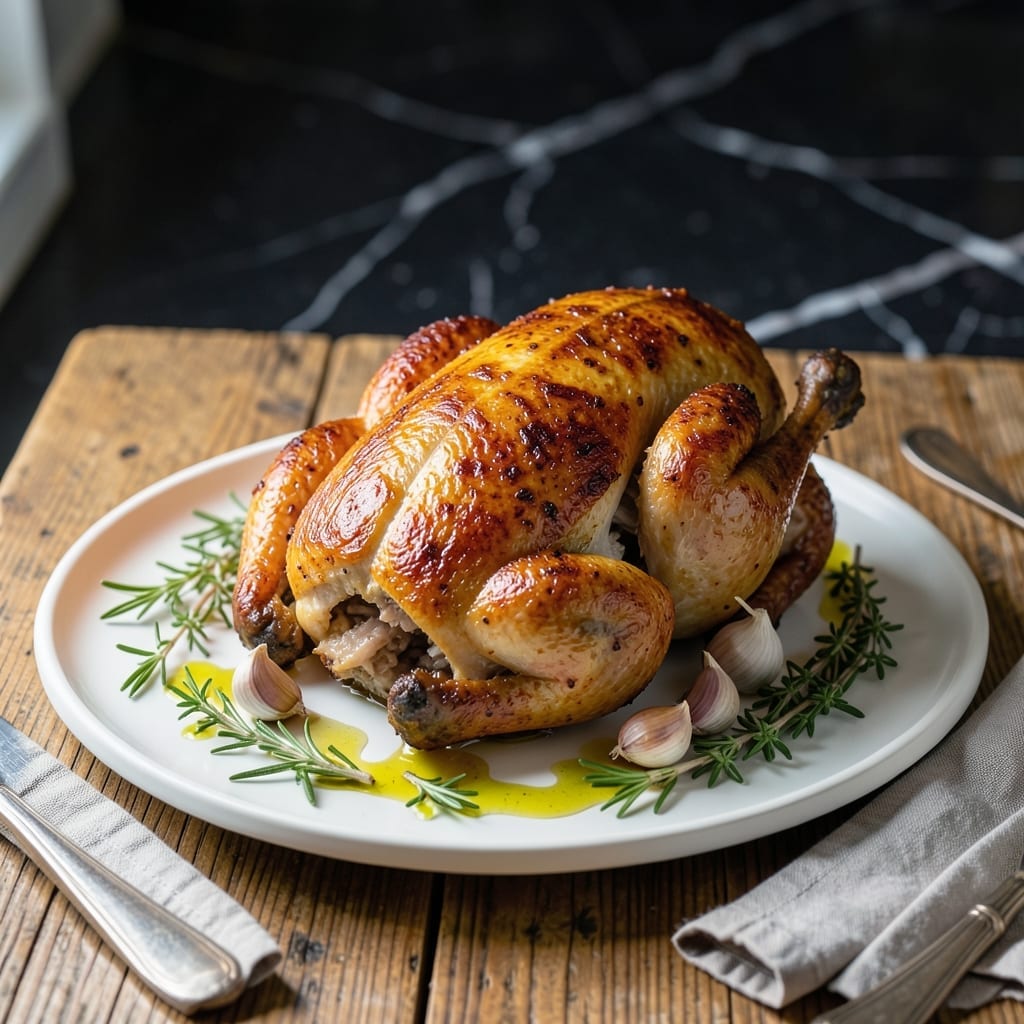
This brine transforms ordinary chicken into juicy, tender perfection every time. The science is simple: salt water breaks down proteins, allowing the meat to retain moisture during cooking.
With just water, salt, and a few aromatic additions, you create a flavor foundation that penetrates deep into the meat. I’ve tested countless ratios, and this one delivers consistent results without overpowering the chicken’s natural taste.
Whether you’re prepping for a weeknight dinner or a special occasion, this method ensures your poultry stays succulent. The process takes minutes to prepare but makes all the difference in the final dish.
Use it for whole birds, breasts, or thighs—this brine works for every cut. The key is giving the chicken enough time to absorb the flavors fully.
Ingredients for Baked Chicken Brine
Nine simple ingredients create a flavor-packed brine for perfect chicken every time.
| Ingredient | Amount | Notes |
|---|---|---|
| Water 💧 | 4 cups | Cold, for brine base |
| Kosher Salt 🧂 | ½ cup | Diamond Crystal preferred |
| Granulated Sugar 🍚 | ¼ cup | Balances saltiness |
| Fresh Garlic Cloves 🧄 | 4 cloves | Smashed, not minced |
| Fresh Rosemary Sprigs 🌿 | 3 pieces | Whole sprigs for infusion |
| Fresh Thyme Sprigs 🍃 | 3 pieces | Whole sprigs for infusion |
| Black Peppercorns 🌶️ | 1 tbsp | Whole, lightly crushed |
| Bay Leaves 🍂 | 2 pieces | Dried, for depth |
| Lemon Slices 🍋 | 4 slices | Thin, with rind on |
The salt is doing most of the work here—Diamond Crystal kosher salt is my go-to because it dissolves cleanly and has no additives. The sugar isn’t just for sweetness; it helps balance the salt and aids in browning. Fresh herbs make a difference, but dried work in a pinch (use one-third the amount). Grab rosemary and thyme from the produce section—they should be vibrant, not wilted.
No fresh herbs? Dried rosemary and thyme at one-third the quantity gets the job done. Out of lemon? A splash of apple cider vinegar adds the acidity you need. Bay leaves can be swapped with a pinch of ground bay leaf, but whole leaves are easier to remove. The peppercorns can be pre-ground if that’s what you’ve got, but whole ones release flavor more slowly.
This brine keeps in the fridge for 1 week—just strain out the aromatics. I make a double batch and freeze half (without the lemon) for up to 3 months. Thaw overnight before using. Always brine in a non-reactive container—glass or stainless steel works best.
Why You’ll Love This Recipe
- Set and Forget: I mix the brine in 5 minutes, then let the chicken soak while I tackle the rest of my to-do list.
- Herb-Kissed Bite: The rosemary and garlic infuse every piece with a savory depth that plain chicken just can’t match.
- Meal Prep Magic: I brine a big batch Sunday night, bake it midweek, and the leftovers still taste fresh in salads or sandwiches.
- Budget Stretcher: A whole chicken costs pennies per serving, and this simple brine makes it taste like a fancy meal. Honestly, it’s my wallet’s best friend.
Step-by-Step Instructions for Baked Chicken Brine
Here’s the method I use to guarantee tender, juicy results every single time.
Step 1: Combine the Brine Base
In a large pot, pour in all 4 cups Water. I always use cold water as the base—this ensures the salt and sugar dissolve properly without cooking the aromatics. Add the 0.5 cup Kosher Salt and 0.25 cup Granulated Sugar.
Place the pot over medium-high heat and stir until both the salt and sugar are completely dissolved. You’ll see the mixture turn from cloudy to clear—that’s your visual cue. Remove from heat immediately once dissolved to prevent the water from getting too hot.
Step 2: Infuse with Aromatics
Add the 4 cloves Fresh Garlic Cloves (smashed), 3 pieces Fresh Rosemary Sprigs, 3 pieces Fresh Thyme Sprigs, 1 tbsp Black Peppercorns (lightly crushed), and 2 pieces Bay Leaves to the warm brine.
Let this mixture steep for 10-15 minutes until the liquid takes on a light golden color and the kitchen fills with a fragrant herbal aroma. The warmth helps extract the essential oils from the herbs and spices, creating a more flavorful brine. Don’t let it boil—just warm infusion is what we’re after.
Step 3: Cool and Add Citrus
Allow the brine to cool to room temperature. I speed this up by setting the pot in a sink filled with ice water, stirring occasionally. This should take about 20-30 minutes depending on your kitchen temperature.
Once cool, add the 4 slices Lemon Slices. The thin slices with rind on will infuse the brine with bright citrus notes that complement the herbal elements. The rind contains oils that add depth to the flavor profile.
Step 4: Submerge and Brine the Chicken
Place your chicken in a large food-safe container or brining bag. Pour the cooled brine over the chicken, making sure it’s fully submerged. I like to weigh it down with a plate if needed to keep everything under the liquid.
Refrigerate and brine for 4-12 hours. The longer you brine, the more pronounced the flavor and moisture retention will be. For best results, I recommend 8 hours—this gives the salt time to penetrate the meat while the herbs and citrus work their magic on the surface.
Pro Tips For Making Baked Chicken Brine
- Brine Overnight: I learned this the hard way—4 hours in the fridge just isn’t enough for the salt and sugar to fully penetrate the meat. Give it a full 12-24 hours for juicy, evenly seasoned chicken.
- Smash the Garlic: Sounds weird, but it works: crush the garlic cloves lightly before adding them to the brine so their flavor infuses faster and more evenly.
- Cool the Brine: After burning my first batch (literally), I now make sure the brine is completely cool before submerging the chicken—hot brine starts cooking the meat prematurely.
- Use Warm Water: Dissolve the kosher salt and sugar in 2 cups of warm water first—it helps them incorporate fully before diluting with cold water and ice to chill the mixture quickly.
Common Mistakes When Making Perfect Results
Over-Salting the Brine
Using table salt instead of kosher salt is a common error—table salt is much denser, so ½ cup would make your brine nearly twice as salty. I always use Diamond Crystal kosher salt for consistent results. Measure carefully to avoid an inedible result.
Skipping the Cooling Step
Adding chicken to warm or hot brine starts cooking the meat prematurely. Let your brine cool to room temperature first—I speed this up with an ice bath. This prevents the outer layer from overcooking while the inside stays raw.
Insufficient Brining Time
Brining for less than 4 hours won’t allow the salt to penetrate deeply enough. For whole chickens, I recommend 8-12 hours in the fridge. Smaller cuts like chicken breasts can be ready in 4-6 hours, but don’t rush it. 💡
Using Reactive Containers
Metal containers like aluminum or copper can react with the salt and acids in your brine, imparting off-flavors. Stick to glass, stainless steel, or food-safe plastic. I use a large glass baking dish for easy cleanup.
Not Fully Submerging Chicken
Any part of the chicken exposed to air won’t benefit from the brine. Use a plate or a brining bag to keep everything submerged. I often place a small bowl on top of the chicken in the brine to weigh it down completely.
Reusing Brine
Once brine has been used, it’s contaminated with raw chicken juices and should never be reused. Always discard used brine and make a fresh batch for your next project. This prevents cross-contamination and foodborne illness.
Nutrition Facts
Frequently Asked Questions
How long should I brine chicken breasts?
For boneless chicken breasts, 4-6 hours is ideal. Bone-in pieces can handle 8-12 hours for deeper flavor penetration. Never exceed 12 hours or the texture may become mushy.
Can I use table salt instead of kosher?
No, table salt is much denser. Use ¼ cup table salt to replace ½ cup kosher salt in this recipe. Diamond Crystal kosher salt dissolves most evenly for consistent results.
What if I don’t have fresh herbs?
Dried herbs work in a pinch. Use 1 tablespoon dried rosemary and 1 tablespoon dried thyme to replace the fresh amounts. The flavor will be slightly more concentrated.
Can I freeze brined chicken?
Yes, but brine first then freeze. Pat dry before freezing to prevent ice crystals. Thaw in the fridge overnight before cooking for best texture.

- Jollof Rice Sauce Recipe: West African Tomato and Spice Infusion - September 25, 2026
- Japanese Rice Soup Recipe: Umami-Rich Comfort in a Bowl - September 25, 2026
- Homemade Cream Of Rice Recipe: Silk-Smooth Breakfast in Minutes - September 25, 2026